39
3
ii i
3.2
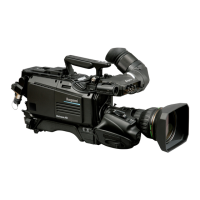
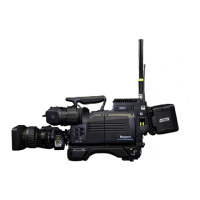
Camera and Peripheral Installation and Connection
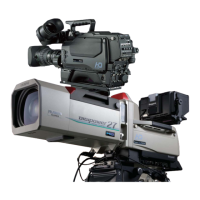
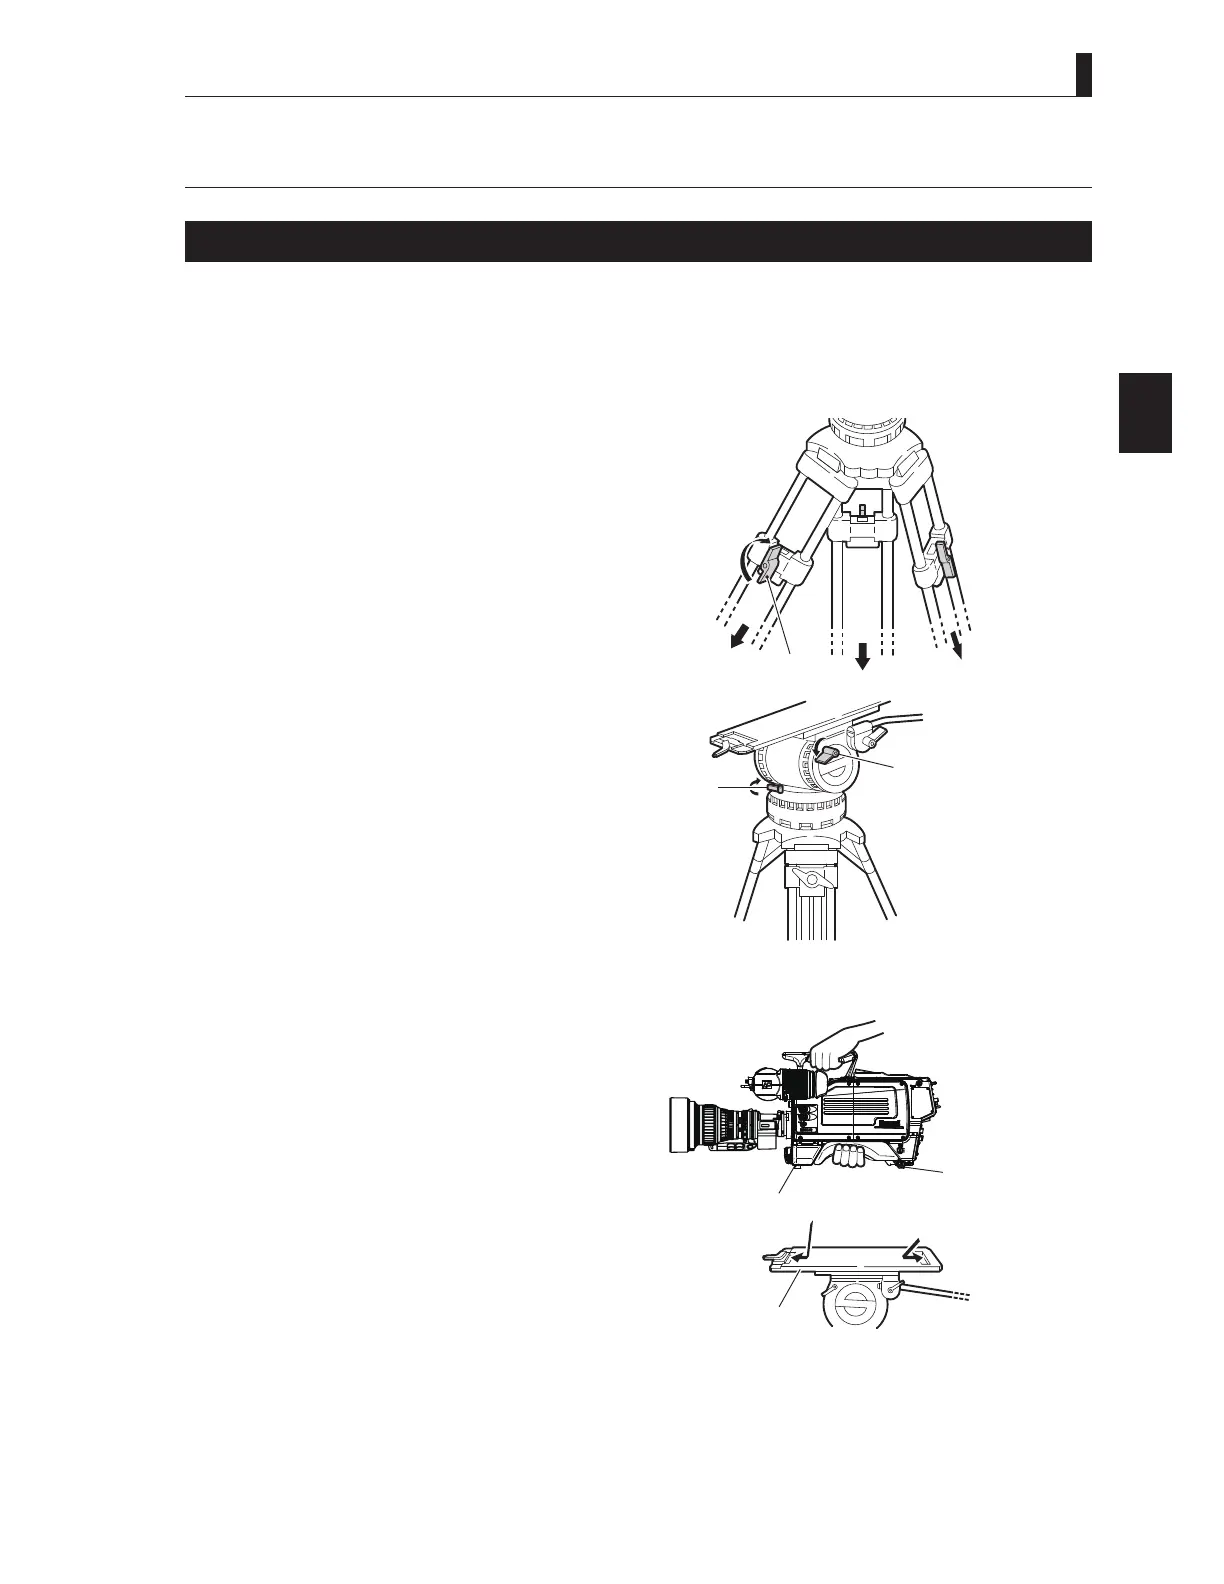
Mounting/Removing the Camera on/from the Tripod
■
Mounting the Camera on the Tripod
7KLVVHFWLRQH[SODLQVKRZWRPRXQWWKHFDPHUDRQDWULSRG$QXPEHURIGLIIHUHQWNLQGVRIWULSRGVDUHDYDLODEOHWRVXLWGLIIHUHQW
applications and purposes. For details on the tripod, refer to the instructions accompanying the tripod to be used. Mounting on a
VIDEO-18 will be described below as an example.
Loosen the lock knobs and extend the tripod legs.
$GMXVWWKHKHLJKWRIWKHWULSRGWRWKHGHVLUHGKHLJKW
2 Tighten the lock knobs to lock the tripod legs.
3 Make sure that the tilt lock and pan lock are locked.
If they are not locked and loose, tighten them.
CAUTION:
Be sure to tighten the lock knobs before mounting
the camera on a tripod. If the tripod is unstable, the
camera might fall when it is mounted on the tripod,
resulting in a damage to the camera or injury to the
user.
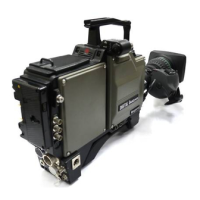
4 Insert the rear wedge of the camera into the groove
of the tripod mount plate and move it backward
slightly.
①,②
ock the legs after
ad usting the height
Tripod
Lock knob
Tilt lock
Pan lock
③ Make sure the tilt lock and
pan lock are locked.
OFF
EXT
POWER
CTI
ST N B
BSCCU
M ae
Camera r ed e
Camera rear
ed e
④ Insert the camera wedges.
 Loading...