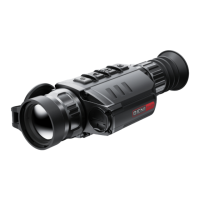
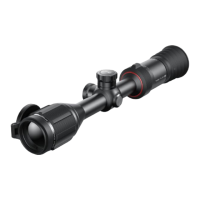
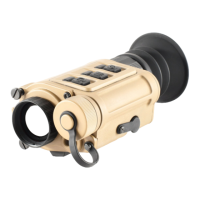
InfiRay Outdoor • Geni Series• Operating Manual www.infirayoutdoor.com
All rights reserved and shall not be copied and distributed in any form without written permission
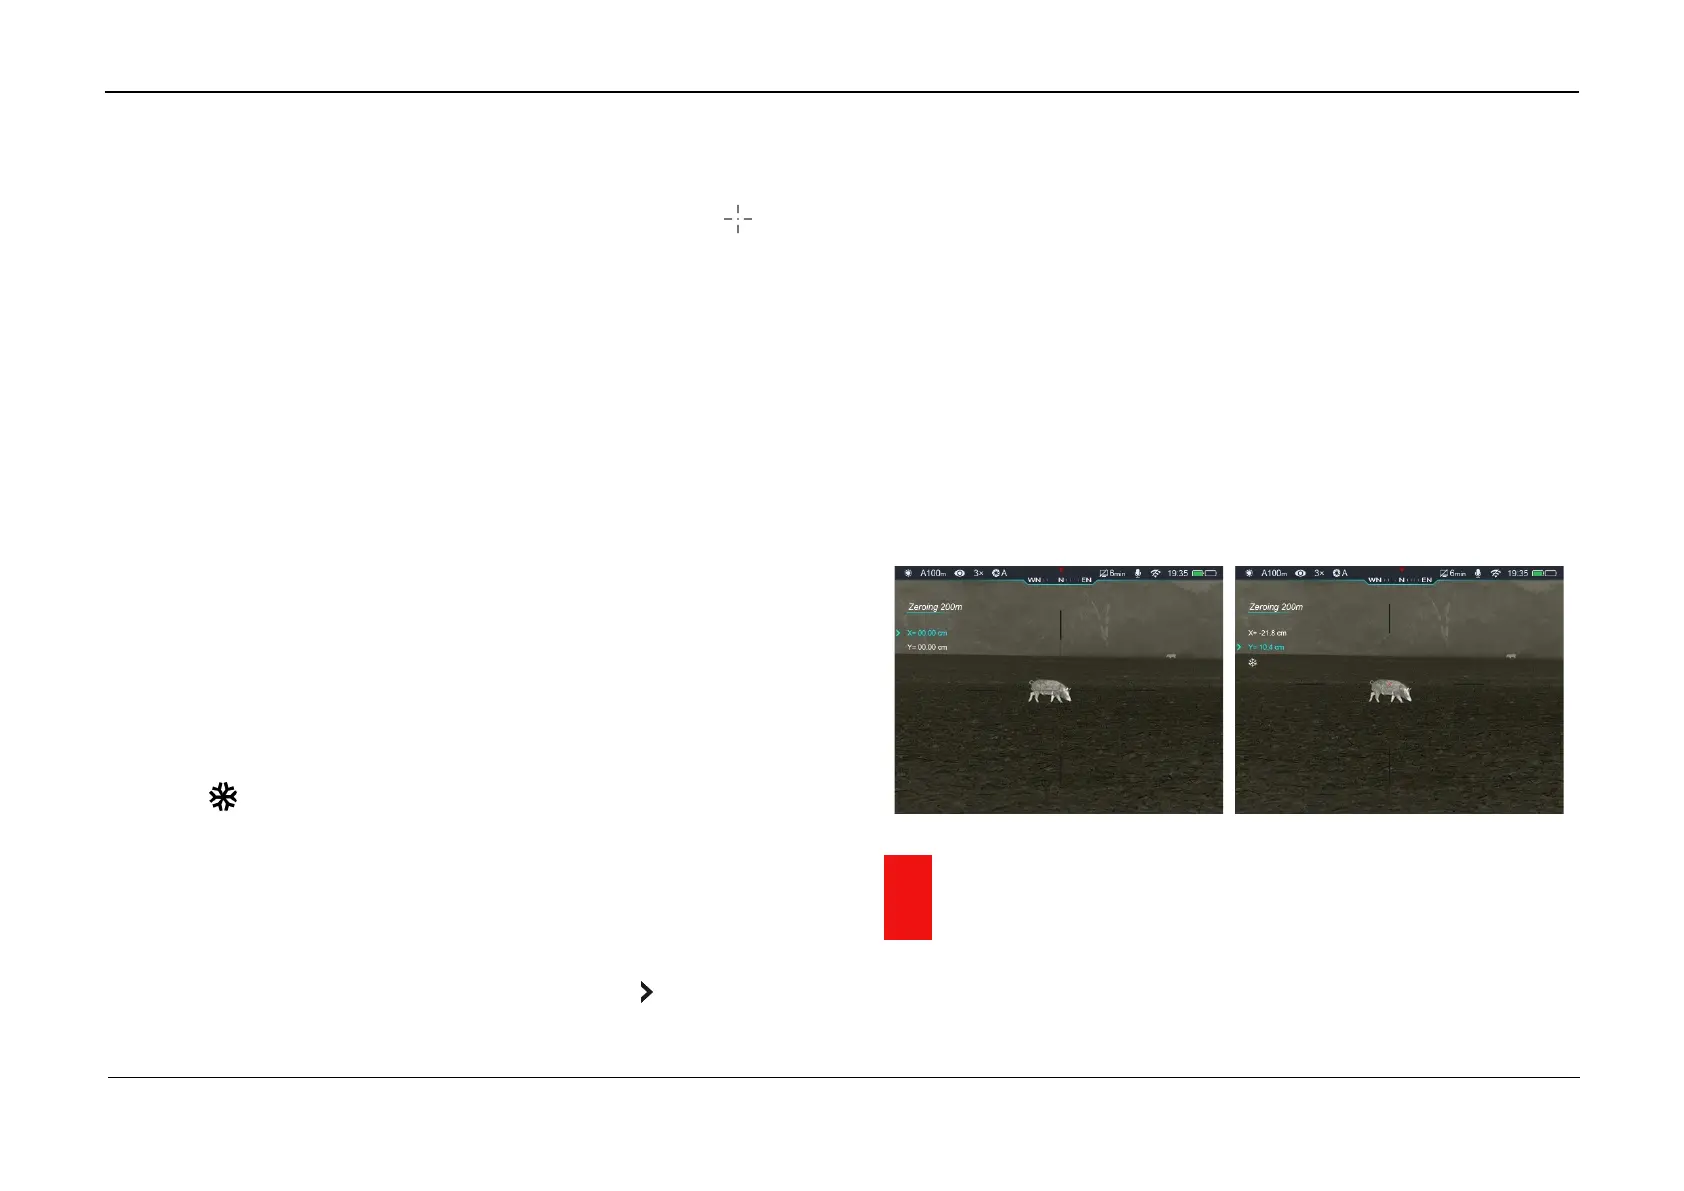
Zeroing - submenu Zeroing Distance - Reset Zeroing Distance).
➢ After setting the zeroing distance, select the Zeroing option and
briefly press the M (5) button to enter Zeroing interface (see the Main
Menu Option Zeroing - submenu Zeroing Distance - submenu
Zeroing). The X and Y coordinates of the reticle are displayed in the
upper left corner of the screen.
➢ Aim and shoot the target.
➢ Observe the location of impact. Suppose that the red cross hairs in the
right picture represents the impact point, but the cross is only as a sign
and does not appear on the actual interface.
➢ If the impact point does not match the aiming point (the center of the
reticle), keep the reticle center the aiming point, then press and hold
down the UP (6) + Down (4) buttons at the same time until a symbol of
freeze appears on the left of the screen, and the image is frozen.
➢ Move the reticle with the Up (6) / Down (4) button until the reticle
matches the point of impact.
➢ Briefly press the M (5) button to switch the movement direction between
X (the default direction) and Y. The location of cursor represents the
current selected option, and the icon turns into blue.
➢ Press the Up (6) button to move the reticle right or up and the Down (4)
button to move the reticle left or down.
➢ When moving the reticle, a white dot appears on the screen,
representing the original position of the reticle.
➢ When the reticle moves to the impact point, press and hold the M (5)
button to save the new position of the reticle and exit to the home screen.
➢ Take another shot - the point of impact should now match the aiming
point.
11 Calibration
Calibration enables to equalize the detector temperature and eliminate the
 Loading...