Installation
‑43‑
Table 5–4 Installation clearance
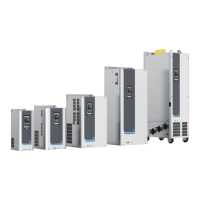
Power Rating
Clearance (mm)
200 kW to 400
kW
A2 ≥ 10 B2 ≥ 250 C2 ≥ 20 D2 ≥ 20
Note
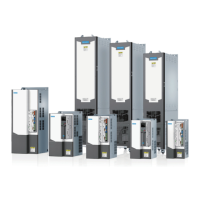
T10 to T12 models can only be installed in cabinets individually. They cannot be installed in
a side‑by‑side or up‑down way. If side‑by‑side or up‑down installation is required, contact
Inovance.
5.4 Tools
Tools for mechanical installation
Table 5–5 Tools for mechanical installation (T1 to T12 models)
Tool
Description
Electric drill with an appropriate
drilling bit
Used to drill mounting holes on the mounting surface
Wrench or socket wrench Used to tighten or loosen screws
Wrench sizes: 13, 16, and 18
Phillips and straight screwdrivers
(2.5 mm to 6 mm)
Used to tighten or loosen screws
Torque wrench Used to tighten or loosen screws
Crowbar Used to pry off the upper access cover or cover to
facilitate installation
Crane
Used to lift the AC drive
Tape measure
Used to measure the installation dimensions of the AC
drive
Gloves Used to prevent static electricity during mechanical
installation
Bottom mounting bracket
(standard)
Used to fix the AC drive in the cabinet
Guide rails (optional) Connected to the bottom mounting bracket to gently
push the AC drive into the cabinet along the guide rails
Screws
Used to fix the AC drive onto the mounting surface

 Loading...