Do you have a question about the Integra DRX-7 and is the answer not in the manual?
Details on positioning front, surround, and height speakers for optimal sound.
Explains placement and use of height speakers for 3D sound.
Describes setup for ceiling-mounted height speakers for immersive audio.
Details on using specialized speakers for Dolby Atmos overhead sound.
Instructions for connecting front speakers using bi-amping for improved audio quality.
Table outlining various speaker channel configurations and compatibility.
Guide for standard speaker connection to the unit's terminals.
Specific wiring instructions for bi-amping front speakers.
Instructions for connecting a TV, including ARC and non-ARC setups.
Details on connecting a TV that does not support ARC.
Guide for connecting audio-video components via HDMI.
Instructions for connecting AV components without HDMI ports.
Guidance on connecting audio sources like CD players and turntables.
How to connect TVs or projectors using component video cables.
Setup for enjoying audio/video in a separate room (Zone 2).
Details for outputting audio to Zone 2 via pre-out or speakers.
Details for outputting audio to Zone 3 via pre-out or speakers.
Instructions for connecting antennas, network, and power cables.
Guidance on positioning antennas for optimal radio reception.
How to connect the unit to a network for streaming services.
Instructions for connecting the power cord safely.
Guide for initial power-on and automated setup process.
Automatic speaker calibration for optimizing sound settings.
Configuration options for HDMI features like CEC and Standby Through.
Setting up the ARC function to receive TV audio.
Enabling control features for CEC-compliant devices.
Allowing AV component signals to pass through when unit is in standby.
How to play audio/video sources and adjust volume.
Explanation of different sound modes for movies, music, and games.
Accessing network services like Internet Radio and Music Server.
Playing music files from a USB storage device.
Features like AirPlay for streaming music and listening to the radio.
Streaming music wirelessly from iOS devices or computers.
Tuning into AM/FM radio stations and setting presets.
Adjusting bass and treble for front speakers and multi-zone audio.
Troubleshooting steps like restarting or resetting the unit.
Solutions for issues where the subwoofer is not outputting sound.
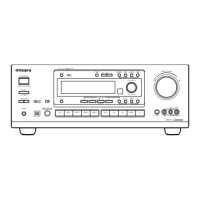
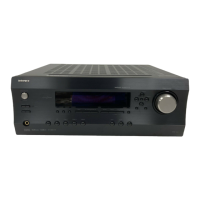
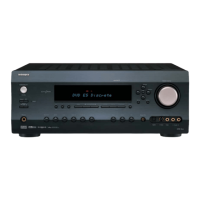
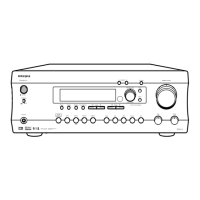
Identification and function of controls and jacks on the front of the unit.
Identification and function of all connection terminals on the rear.
Overview and explanation of the buttons on the remote control.
Explains the information shown on the unit's display and indicator lights.
| Channels | 9.2 |
|---|---|
| Frequency Response | 5 Hz–100 kHz/+1 dB, -3 dB (Direct Mode) |
| IMAX Enhanced | Yes |
| Dirac Live | Yes |
| Roon Tested | Yes |
| Network Connectivity | Ethernet, Wi-Fi |
| Multi-room Output | Yes |
| Digital Audio Inputs | 2 Optical, 1 Coaxial |
| Phono Input | Yes |
| Ethernet | Yes |
| THD+N (Total Harmonic Distortion + Noise) | 0.08% |
| Input Sensitivity and Impedance | 200 mV / 47 k-ohms (Line) |
| Signal-to-Noise Ratio | 106dB |
| Speaker Impedance | 4 Ohms–16 Ohms |
| HDMI Inputs | 7 |
| HDMI Support | HDR10, Dolby Vision |
| Audio Formats Supported | Dolby Atmos, DTS:X |
| Wireless Technology | Wi-Fi |
| Streaming Services | Spotify, TIDAL, Deezer, Pandora, TuneIn |
| Room Calibration | Dirac Live |
| Zone Audio | Zone 2 |
| Video Support | 8K/60Hz, 4K/120Hz, HDR10+, Dolby Vision, HLG |
| Bluetooth | Yes |
| HDMI Outputs | 3 (2 main, 1 zone) |
| Dimensions (W x H x D) | 435 x 201.5 x 395 mm (17 1/8" x 7 15/16" x 15 9/16") |