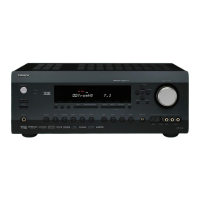
85
En
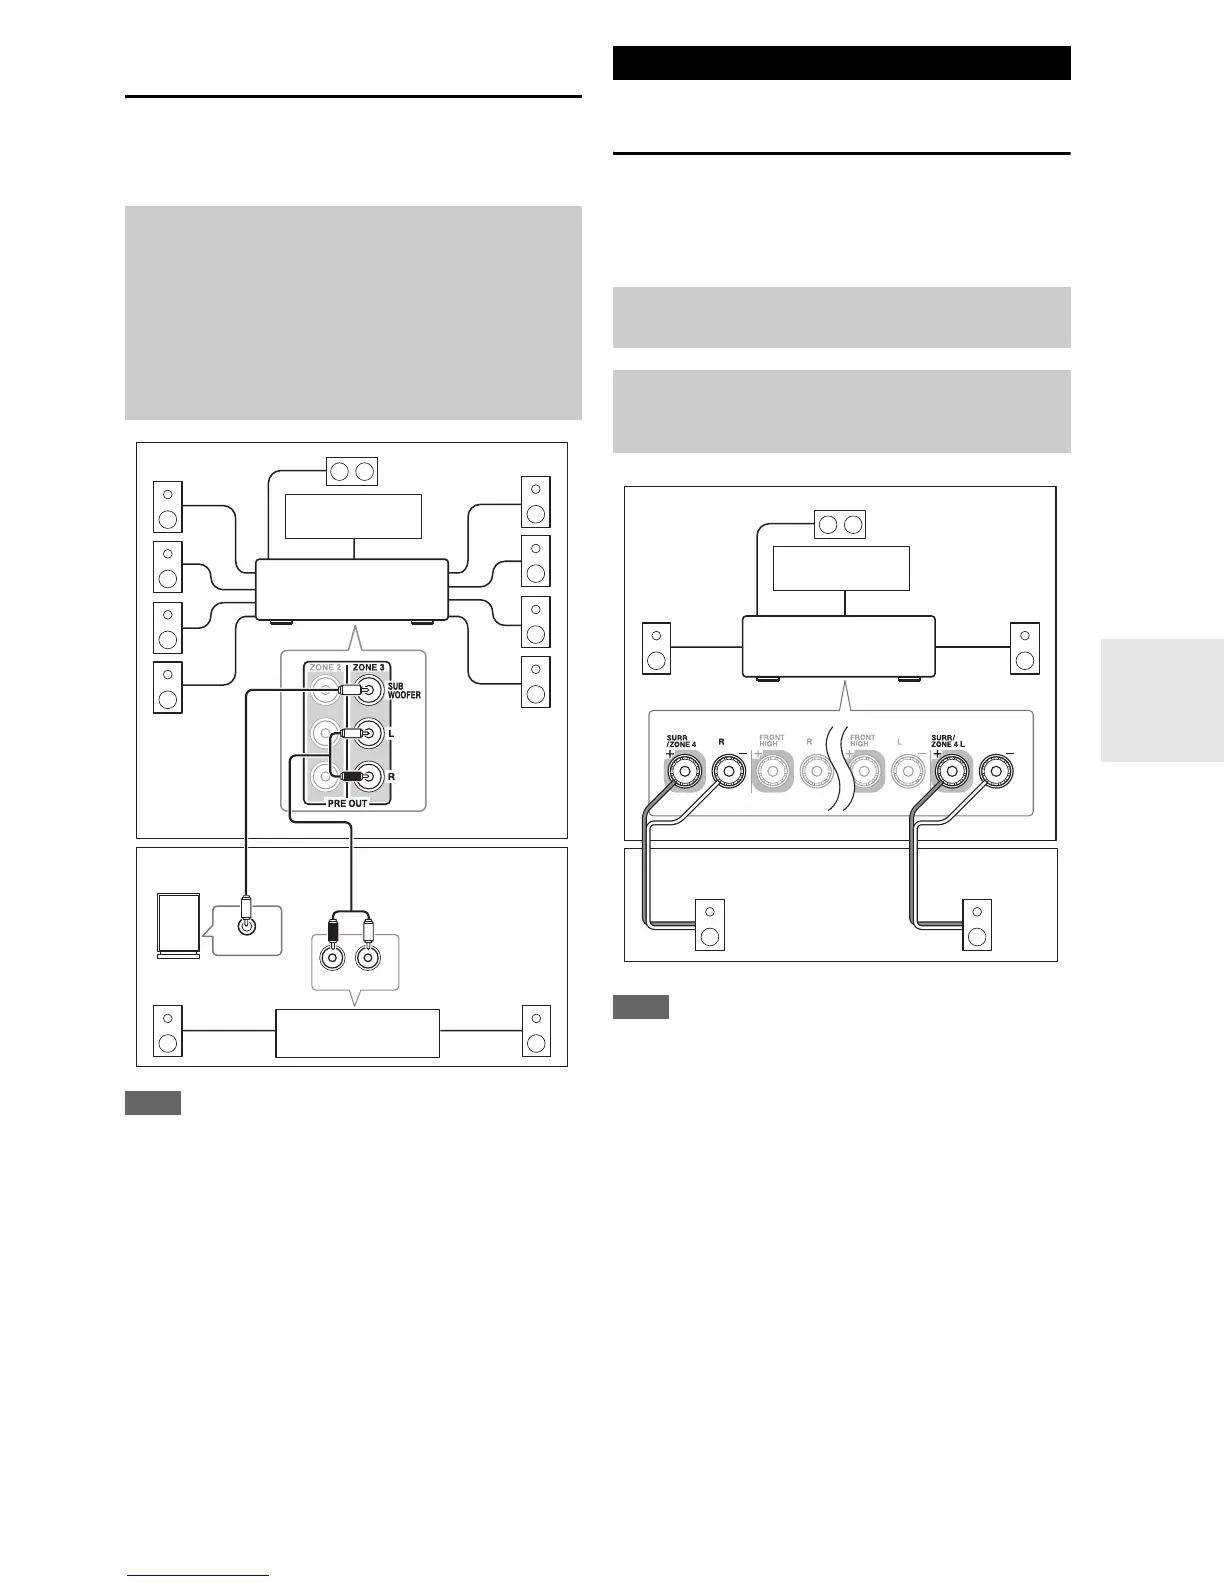
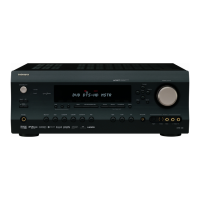
Connecting Your Zone 3 Speakers to an
Amp in Zone 3
This setup allows 9.2-channel playback in your main lis-
tening room and 2-channel stereo playback in Zone 3,
with a different source in each room.
Note
• With the default settings, the Zone 3 volume must be set on the
Zone 3 amp. If your Zone 3 amp has no volume control, set the
“Zone 3 Out” setting to “Variabl e” so that you can set the
Zone 3 volume on the AV receiver (➔ 86).
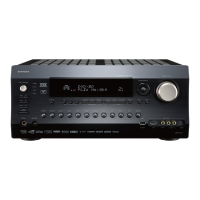
Connecting Your Zone 4 Speakers Directly
to the AV receiver
This setup allows 3.2-channel playback in your main room
and 2-channel stereo playback in Zone 4, with a different
source in each room. This is called Powered Zone 4, as the
Zone 4 speakers are powered by the AV receiver.
Note
• With this setup, the Zone 4 volume is controlled by the AV
receiver.
• Powered Zone 4 cannot be used if “Powered Zone 2” or “Pow-
ered Zone 3” is set to “Not Act”.
• This setting cannot be used if “Front High + Front Wide” set-
ting is set to “Ye s”.
Hookup
• Use an RCA audio cable to connect the AV receiver’s
PRE OUT ZONE 3 L/R jacks to an analog audio input on
your Zone 3 amp.
• Use an RCA audio cable to connect the AV receiver’s PRE
OUT ZONE 3 SUBWOOFER jack to the line input on a
powered subwoofer in Zone 3.
• Connect your Zone 3 speakers to the speaker terminals on
your Zone 3 amp.
R
L
IN
LINE INPUT
Main room
TV
Zone 3
AV receiver
Receiver/
integrated amp
Powered subwoofer
Connecting Zone 4
To use this setup, you must set the “Powered Zone 4”
setting to “Act” (➔ 86).
Hookup
• Connect your Zone 4 speakers to the AV receiver’s
SURR/ZONE 4 L/R speaker terminals.
RL
Main room
Zone 4
TV
AV receiver