52
Connecting the Power/Basic Operations
• Before you plug in the RDC-7.1, confirm that all connections have been made properly.
• Turning on the power may cause a momentary power surge, which might interfere with other electrical equipment
on the same circuit, such as computers. If this happens, use a wall outlet on a different circuit.
• The RDC-7.1 is shipped with the main power (Power) switch in the on position ( ). When the power cord is
plugged in for the first time, the RDC-7.1 will automatically enter the standby state and the [Standby] indicator will
light (same condition after step 2 below on the left column).
Note:
Any components connected via will also be turned
on when the remote controller’s [On] button is pressed.
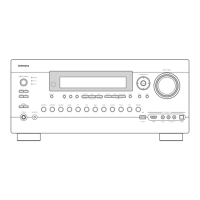
On
On
Standby/On
Standby
Pure Audio
On
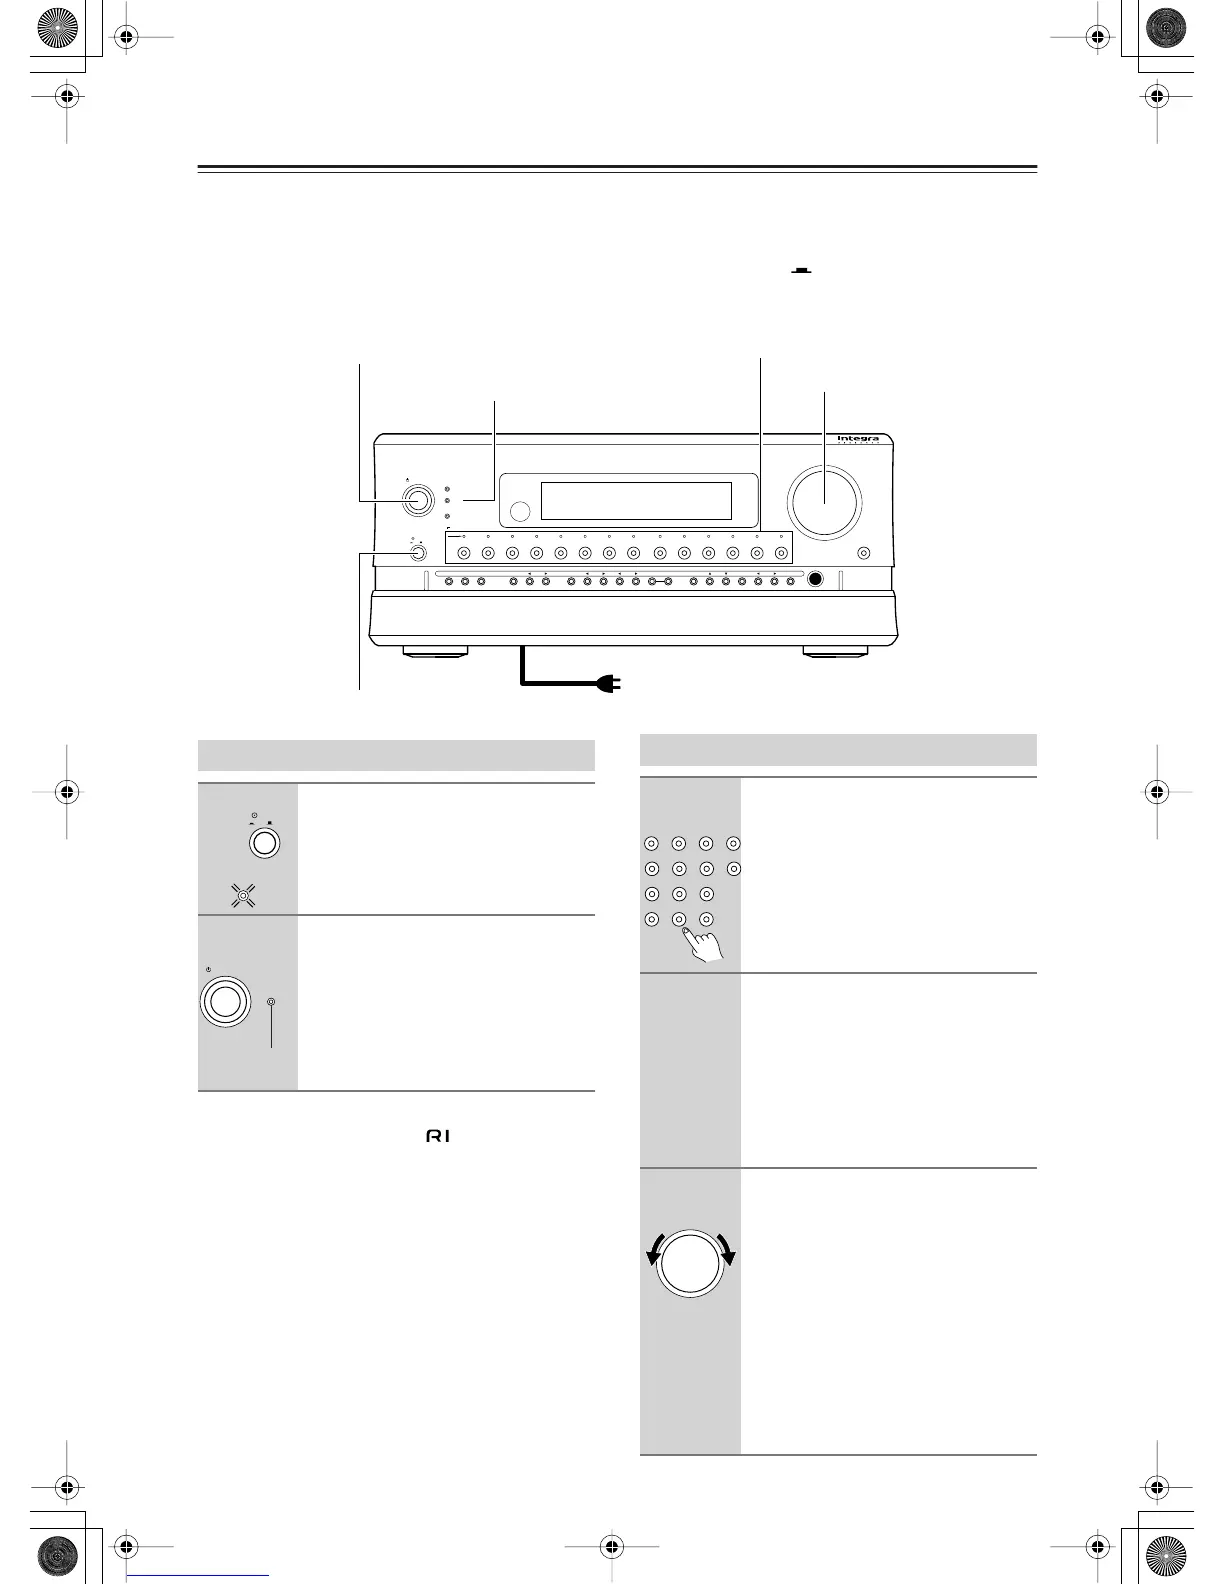
Master Volume
Power
DVD
Video
1
Video 2
Video 3 Video 4
Video 5 Video 6 Video 7
Tape 1
Tape 2
Tuner
Phono Net Audio
C D
Open/Close
Zone 2
()
GRN
Rec
/
Zone
3
()
RED
O f f
Phones
Clear
Rec
/
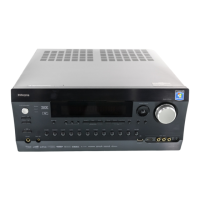
Zone 3Zone 2 Off DSPDisplay Tuning Tuning ModePreset Memory Setup ExitEnter
Dimmer
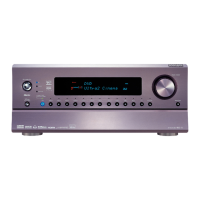
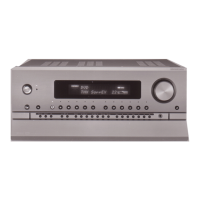
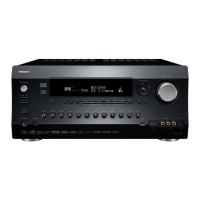
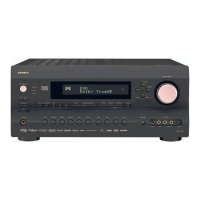
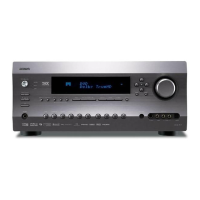
AV Controller RDC
-
7.1
Master Volume
Standby/On
Power
Input source buttons
Standby indicator
To wall outlet
Turning on the Power
1
Plug the power cord into an AC
wall outlet.
Press the [Power] switch to set the
RDC-7.1 to standby state.
The [Standby] indicator will light up.
2
Press the [Standby/On] button to
turn on the RDC-7.1.
The display will light up and the
[Standby] indicator will turn off.
If you press the [Standby/On] button
again, the RDC-7.1 returns to the
standby state.
On
Power
O f f
Standby
Standby/On
Standby
Turn off
Operating on the RDC-7.1
1
Select an input source.
Press the input source button.
*You cannot listen to a source in main
room A, and to another source in main
room B.
2
Start playing the device selected.
When playing a picture device such as a
DVD player, you need to switch input to a
monitor such as a TV set.
Some picture-playing devices such as a
DVD-type game machine may also
require setting of sound output. Refer to
the manual of the device connected.
3
Adjust the volume level with the
[Master Volume] dial.
You can adjust the volume level in the
range from –
∞
, –81.5 dB to 18.0 dB
(when Relative is selected in the Volume
Setup sub-menu).
Hint:
The RDC-7.1 is a product for users to
enjoy home theater, so it is equipped
with a wide range of volume levels.
Please fine tune the volume level
according to your preferences.