70
Enjoying Movies and Music in the Remote Zone (Zone 2/3)
—Continued
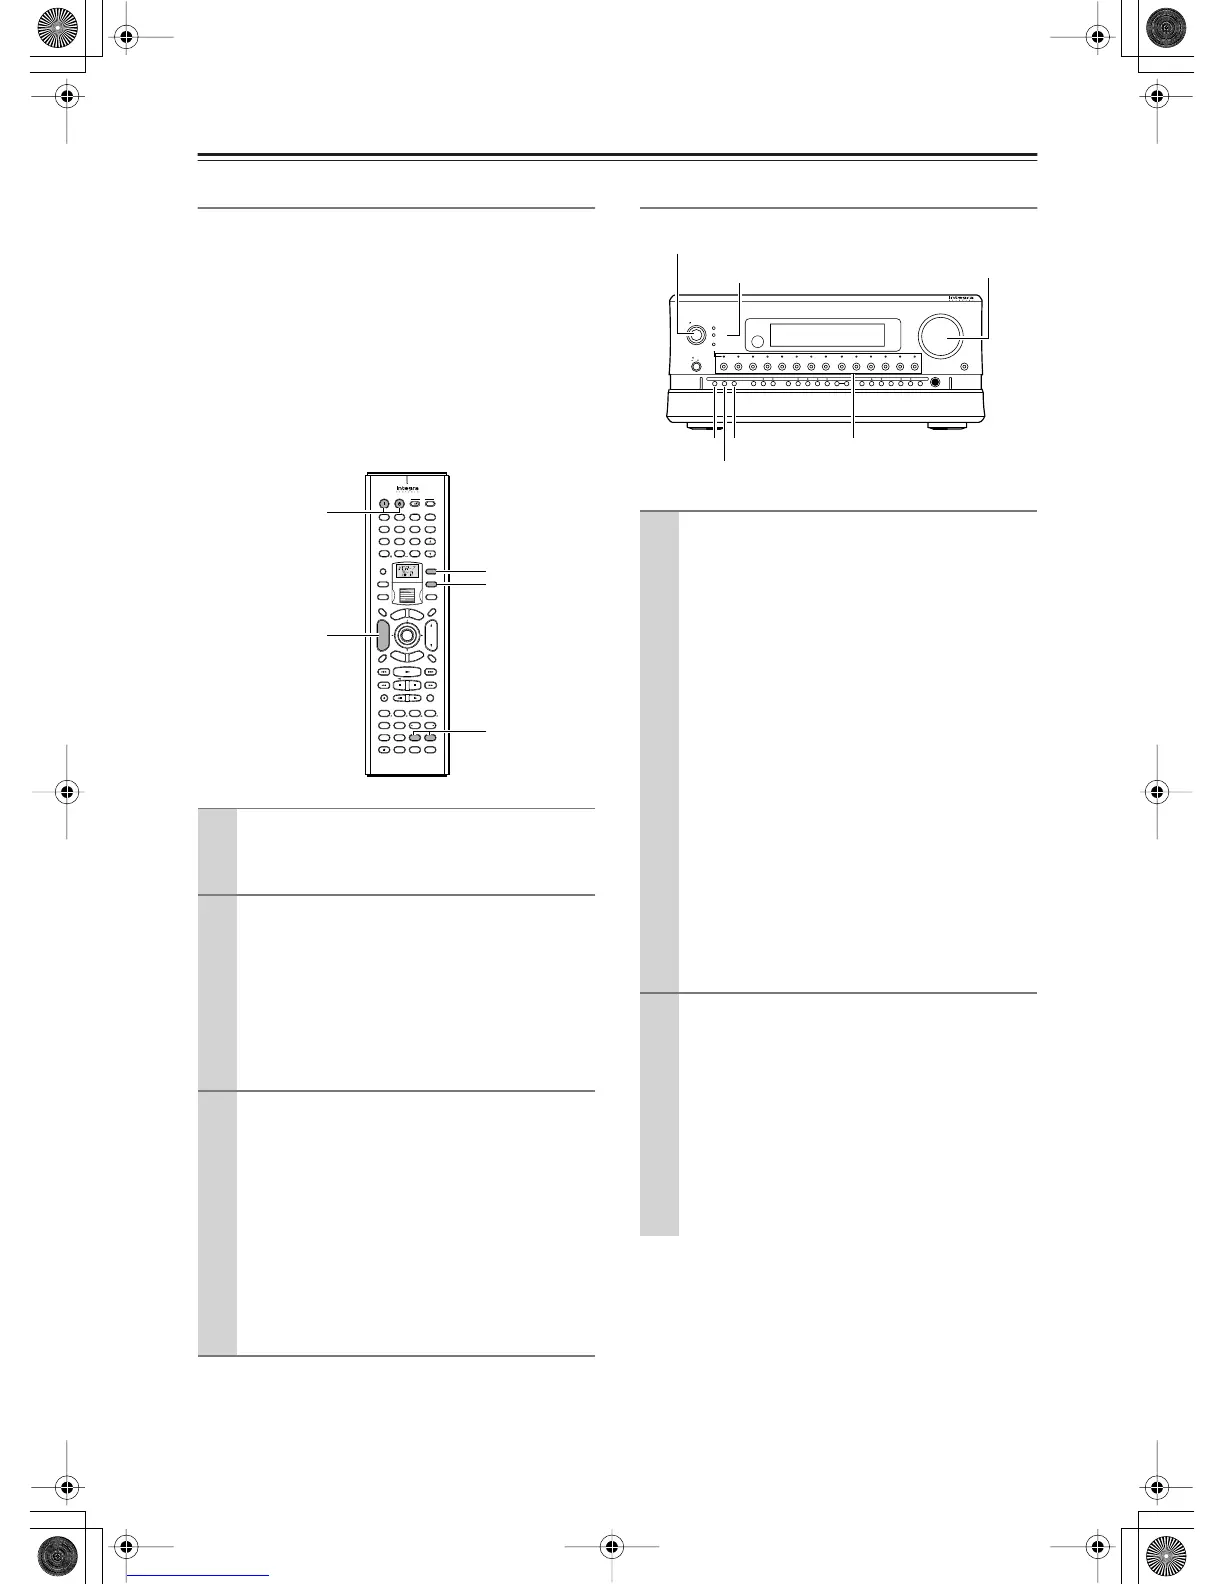
Operating with the Remote Controller
When operating with the remote controller, how to
operate depends on the location of Zone 2 or Zone 3, or
the distance from the RDC-7.1.
• Point the remote controller at the infrared receiver on
the RDC-7.1, and then operate the controller.
• Install a remote controller sensor in Zone 2 or Zone 3
through an IR connection (See pages 46-49).
• Switch the Transmission Signal Format to RF (Radio
Frequency) (depending on the destination) (See page
141).
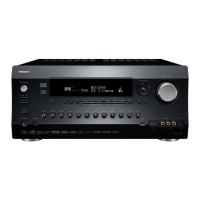
Operating on the RDC-7.1
1
Power on the devices in Zone 2 or Zone 3.
Press the [Zone 2] or [Zone 3] button, and then
the [On] button.
2
Select a source.
Rotate the scroll wheel to select a source while
the [Zone 2] or [Zone 3] button is lighted (if the
button is not lighted, press the [Zone 2] or [Zone
3] button to light it).
• When you have selected the tuner, you can
choose a preset channel with the [CH Disc
+/–] button.
3
Adjust the volume level.
Press the [Zone 2] (or [Zone 3]) button, and
within 5 seconds, press the [Level –/+] button to
adjust the volume level.
Notes:
• When the pre-main amplifier or receiver is
connected, the volume level should be adjusted
at the connected component side.
• When not using Zone 2 or Zone 3, press the
[Zone 2] (or [Zone 3]) button, and then press
the [Standby] button.
ABC DEF
PQRS TUV WXYZ
GHI JKL MNO
Caps Delete
Language Loca
t
ion
Album Ar
tist GenrePlaylist
Repeat Video Music Photo
@.-'/
--
/
---
Direct Tuning
#
Custom
Display
Dimmer
T
V
Input
Sleep
Random
Main A Main B
Muting
AngleSubtitleAudio
MemorySearchA
-
BRepeat
On Standby
T
V
T
V CH
T
V VOL
RC
-
554M
E
x
i
t
G
u
i
d
e
Rec
Last Memory
Prev
CH
Enter
S
e
t
u
p
R
e
t
u
r
n
Test
Tone
CH SEL
Pure A
Surround
Direct
Stereo
Re
-
EQ
THX
A
ll
CH
ST
Level
+
Level
-
L Night
Audio
SEL
DSP DSP
+
10 0
Clear
123
456
789
Input
T
o
p
M
e
n
u
M
e
n
u
VOL
CH
Disc
I
+
-
+
-
Zone
3
Zone
2
InputMode
Macro
S
e
r
v
e
r
A
u
d
i
o
A
D
J
CH Disc +/–
On, Standby
Level –/+
Zone 2
Zone 3
1
Turn on the power supply to the RDC-7.1, and
then select a source for Zone 2 or Zone 3.
For Zone 2
:
Press the [Zone 2] button, and then
select the source with the input source buttons.
The indicator above the selected input source
button will light green.
For Zone 3
:
Press the [Rec/Zone 3] button, and
then, select the source with the input source but-
tons. The indicator above the selected input
source button will light red.
When you press the [Zone 2] or [Rec/Zone 3]
button, the [Standby] indicator on the RDC-7.1
blinks for three seconds, so perform operations
while it is blinking.
When the same input source is selected for Zone
2 and Zone 3, it will light orange.
To switch the source for Zone 2 (or Zone 3) and
the main room simultaneously:
Repeatedly press the [Zone 2] (or [Rec/Zone 3])
button to display “Z2Sel:SOURCE,” and then
select the source.
2
Adjust the volume level.
For Zone 2
:
Press the [Zone 2] button, and then
adjust with the [Master Volume] dial.
For Zone 3
:
Press the [Rec/Zone 3] button, and
then adjust with the [Master Volume] dial.
Notes:
• When a pre-main amplifier or receiver is con-
nected to the RDC-7.1, the volume level
should be adjusted at the connected component
side.
On
Standby/On
Standby
Pure Audio
On
Master Volume
Power
DVD
Video
1 Video 2
Video 3 Video 4
Video 5 Video 6 Video 7
Tape 1
Tape 2
Tuner
Phono Net Audio
C D
Open/Close
Zone 2
()
GRN
Rec
/
Zone
3
()
RED
O f f
Phones
Clear
Rec
/
Zone 3Zone 2 Off DSPDisplay Tuning Tuning ModePreset Memory Setup ExitEnter
Dimmer
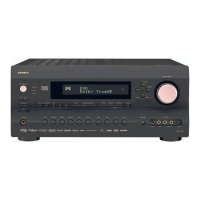
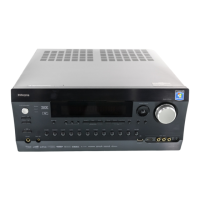
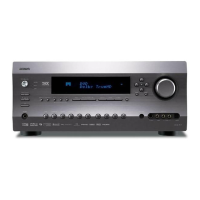
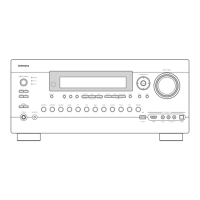
AV Controller RDC
-
7.1
Zone 2
Master Volume
Standby/On
Off
Rec/Zone 3
Input source buttons and
indicators
Standby indicator