38 Installation Guide
2. Unscrew the two screws located below the rubber plugs.
3. Open the bubble assembly and remove all three foam
inserts and the plastic protective lens cover.
4. Set the address and baud rate for the dome shown on
the page 17.
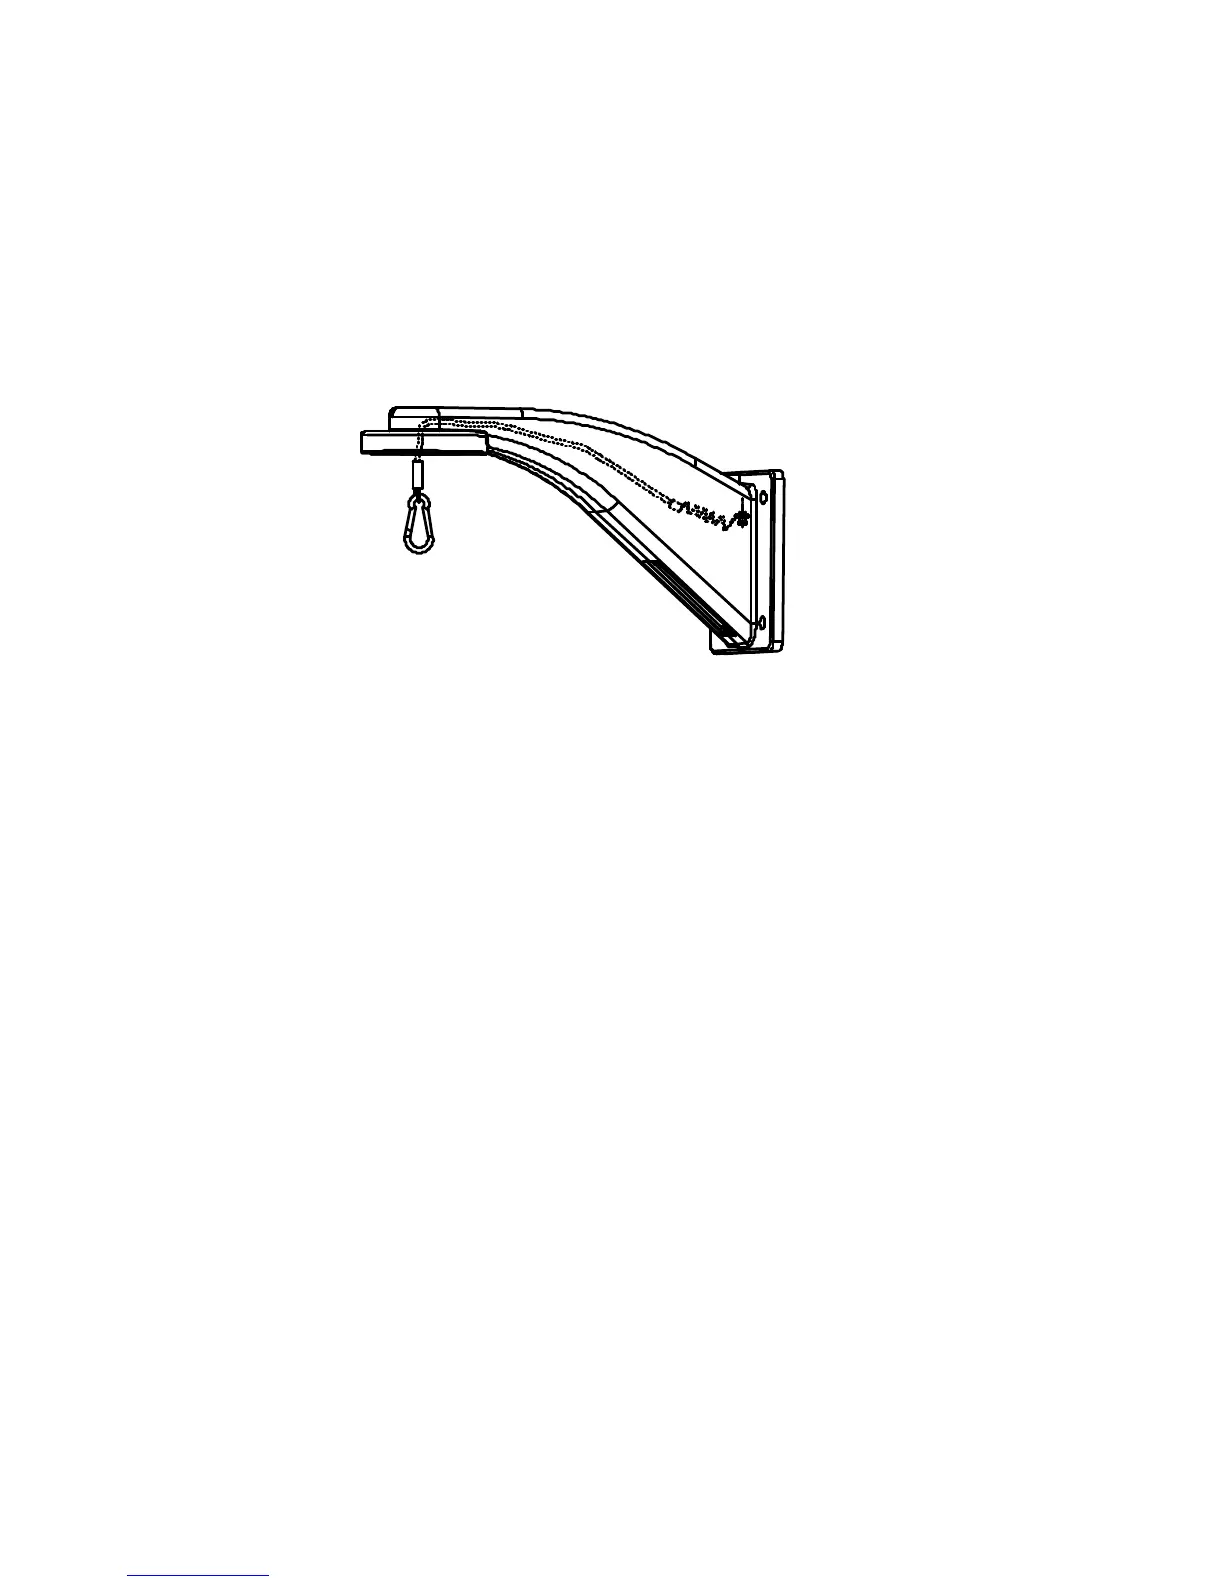
5. Attach the safety cable to the bracket.
6. Use the supplied template to mark out the mounting area.
Drill four screw holes in the wall according to the holes of
the bracket, and then insert M8 expansion screws (not
supplied) into the mounting holes.
7. Attach the bracket to the wall by aligning the four screw
holes of the bracket with expansion screws on the wall.
8. Secure the bracket with four hex nuts and washers.
Mount the camera on the bracket
To mount the outdoor HD-TVI PTZ dome:
1. Hang the safety cable to the dome and then hook the
dome to the bracket, as shown below.