Intermec EasyLAN Interface Kit Installation Instructions 3
Chapter 1 — Physical Installation
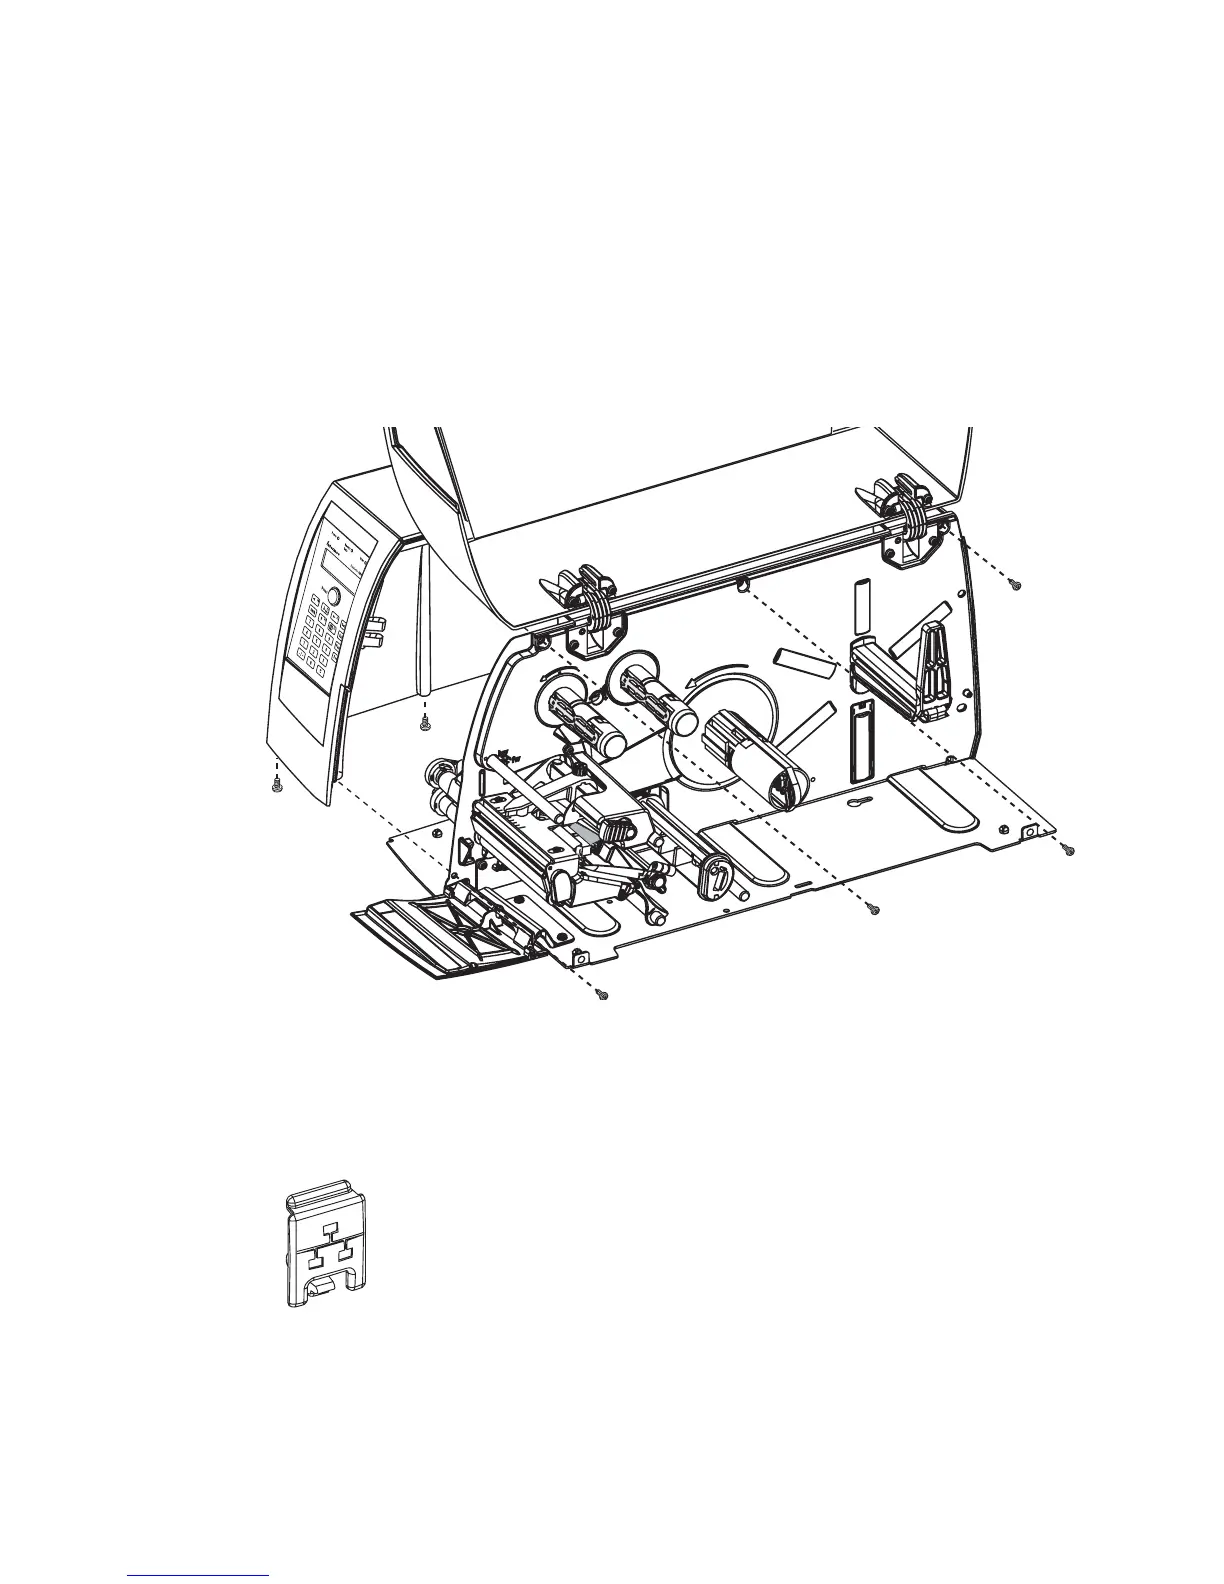
EasyCoder PM4i printers
• Using a #T20 Torx screwdriver, loosen the four screws that holds the
cover along the lower left edge of the bottom plate.
• Remove the four screws that hold the cover to the center section.
• Pull out the cover so you can disconnect the console cable from the
CPU board.
• Put the cover aside on a soft cloth or similar to avoid scratches.
All Models
• Remove the LAN connector plug, which is snap-locked at the top of
the rear plate.
• Remove the #T20 Torx screw that holds the upper/front part of the
CPU board to the power supply unit and replace it with the hexagonal
spacer included in the kit. Keep the screw.