4
2. SETTING UP
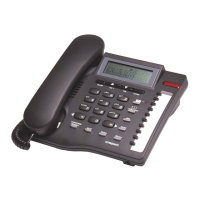
UNPACKING
The carton contains the following:
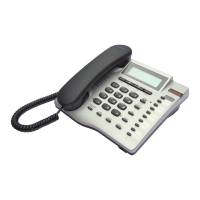
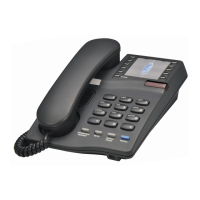
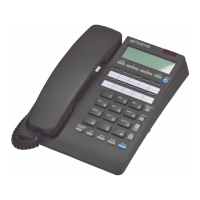
• Telephone body and handpiece
• Coiled handset cord and line cord
• 9V DC adaptor
• Quick Start Guide
GENERAL SETTING-UP
1. Fit the coiled cord to the appropriate sockets in the handset and in the telephone base - please do
not connect the coiled cord into the headset jack
2. Fit the line cord to the rear socket and to your telephone network outlet
3. Set the Ringer Volume and the Ringer Pitch controls
4. Lift the handset to check for dial tone and to wake up the display
5. If using a headset, connect it to the headset jack (see Figure 2B)
6. Fit the adaptor plug to the 9V DC Jack and plug in the adaptor to a mains power outlet
7. Follow the instructions below for general installation
8. See section 9 for other installation instructions and technical settings.
LINE CONNECTION
This telephone is supplied with a line cord and plug compatible with 8 pin modular (RJ45) wall sockets,
with the centre pair being used for all telephony functions. Some units may be supplied with an advanced
type plug compatible with both 8 pin and 6 pin modular wall sockets as standard. Other types of plugs
and cords are available on request.
DISPLAY CONTRAST ADJUSTMENT
Certain background lighting conditions may cause the display to show unlit characters. To set optimum
display performance for your telephone, make sure that the telephone is on-hook and in an idle state.
Press STORE followed by (“VOL+”) and (“VOL-”) keys to achieve the best contrast for your lighting
conditions.
DATE AND TIME SET UP DISPLAY
The best time to set up the Date and Time is during installation, as follows:
Upon installation the display will automatically show step by step prompts to guide you through the
Date and Time setup procedure. This procedure can also be used at any time to change the time and
date settings. The following procedure assumes that all steps in the “General Setting Up” have been
carried out.
If you subscribe to a Caller ID service, the clock may automatically be synchronised to the network’s
clock when the telephone receives its first incoming call containing Caller ID data.