SECTION 4—SEAT/BACK
23
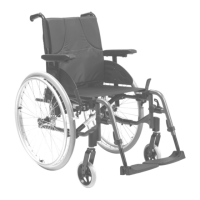
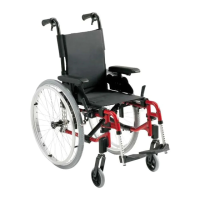
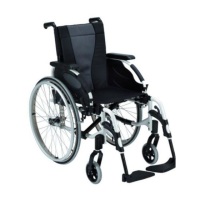
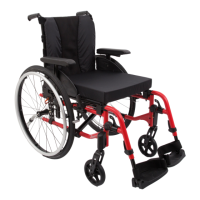
Installing/Removing/Adjusting the Back brace
W A R N I N G
If a back brace is already installed, you don’t have to re-install the back cane
inserts (for fixed backrest canes only).
After ANY adjustments, repair or service and before use, make sure all
attaching hardware is tightened securely - otherwise injury or damage may
occur.
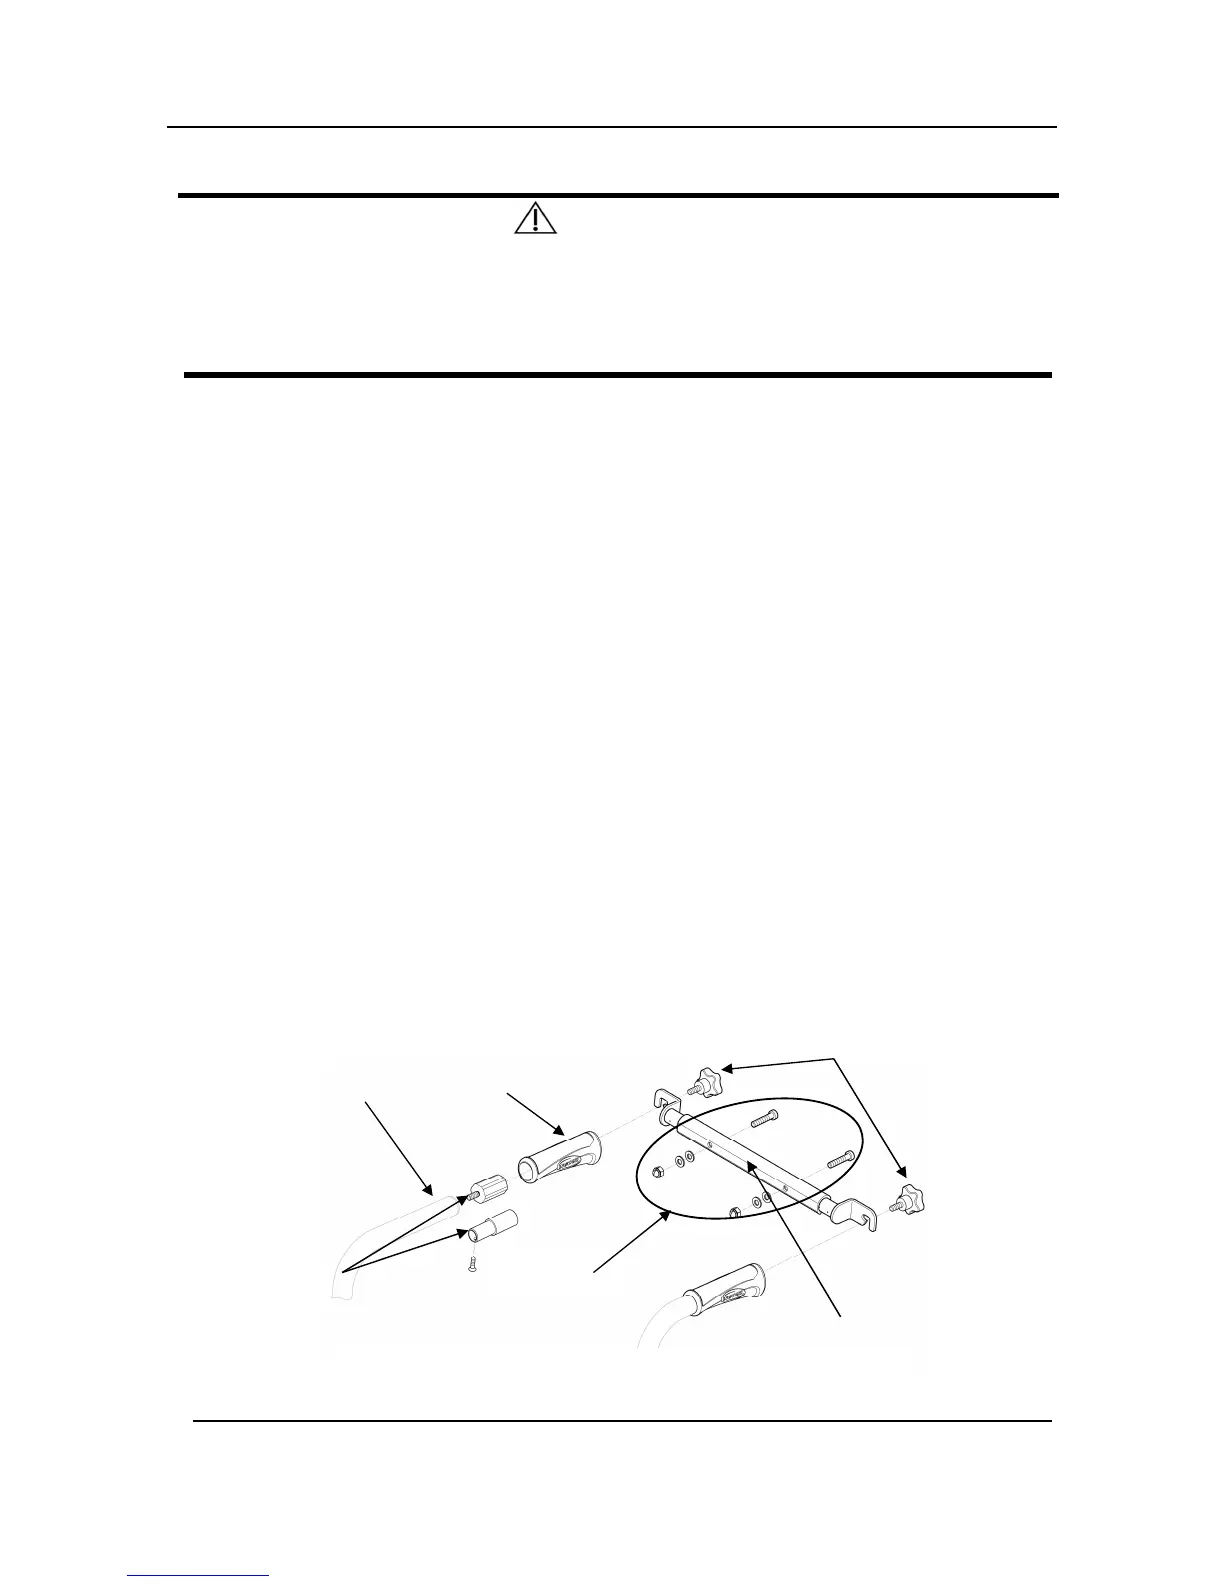
NOTE: For this procedure, refer to FIGURE 4.11.
NOTE: To remove the back brace, reverse this procedure.
Removing/Installing Back brace
1. Remove the end caps from the back canes.
2. Remove the handles from the back canes.
3. Install the inserts into the canes (fixed /recliner backrest canes only).
4. Secure the inserts with mounting screws (fixed backrest canes only).
5. Install the handles on the back canes.
6. Align the back brace ends with the handles of the back canes.
7. Secure the back brace to the back canes with the mounting bolts.
Adjusting Back brace width
1. Loosen Back brace hardware (M6) securing the Back brace Central part.
2. Slide outside parts equally on both side to the desired width using the pre-set width
positions.
3. Firmly tighten Back brace hardware (M6).