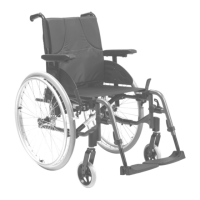
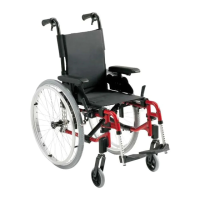
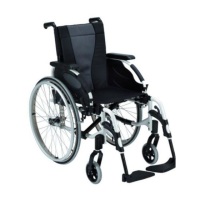
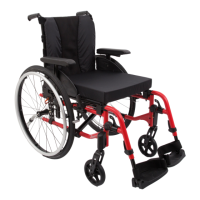
SECTION 9—ANTI-TIPPERS
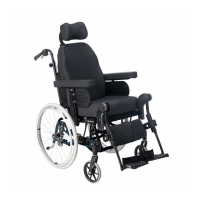
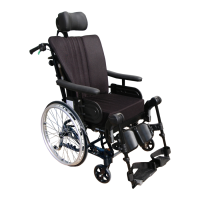
Installing/Adjusting Headrest
W A R N I N G
After ANY adjustments, repair or service and before use, make sure all
attaching hardware is tightened securely - otherwise injury or damage
may occur.
Installing Headrest
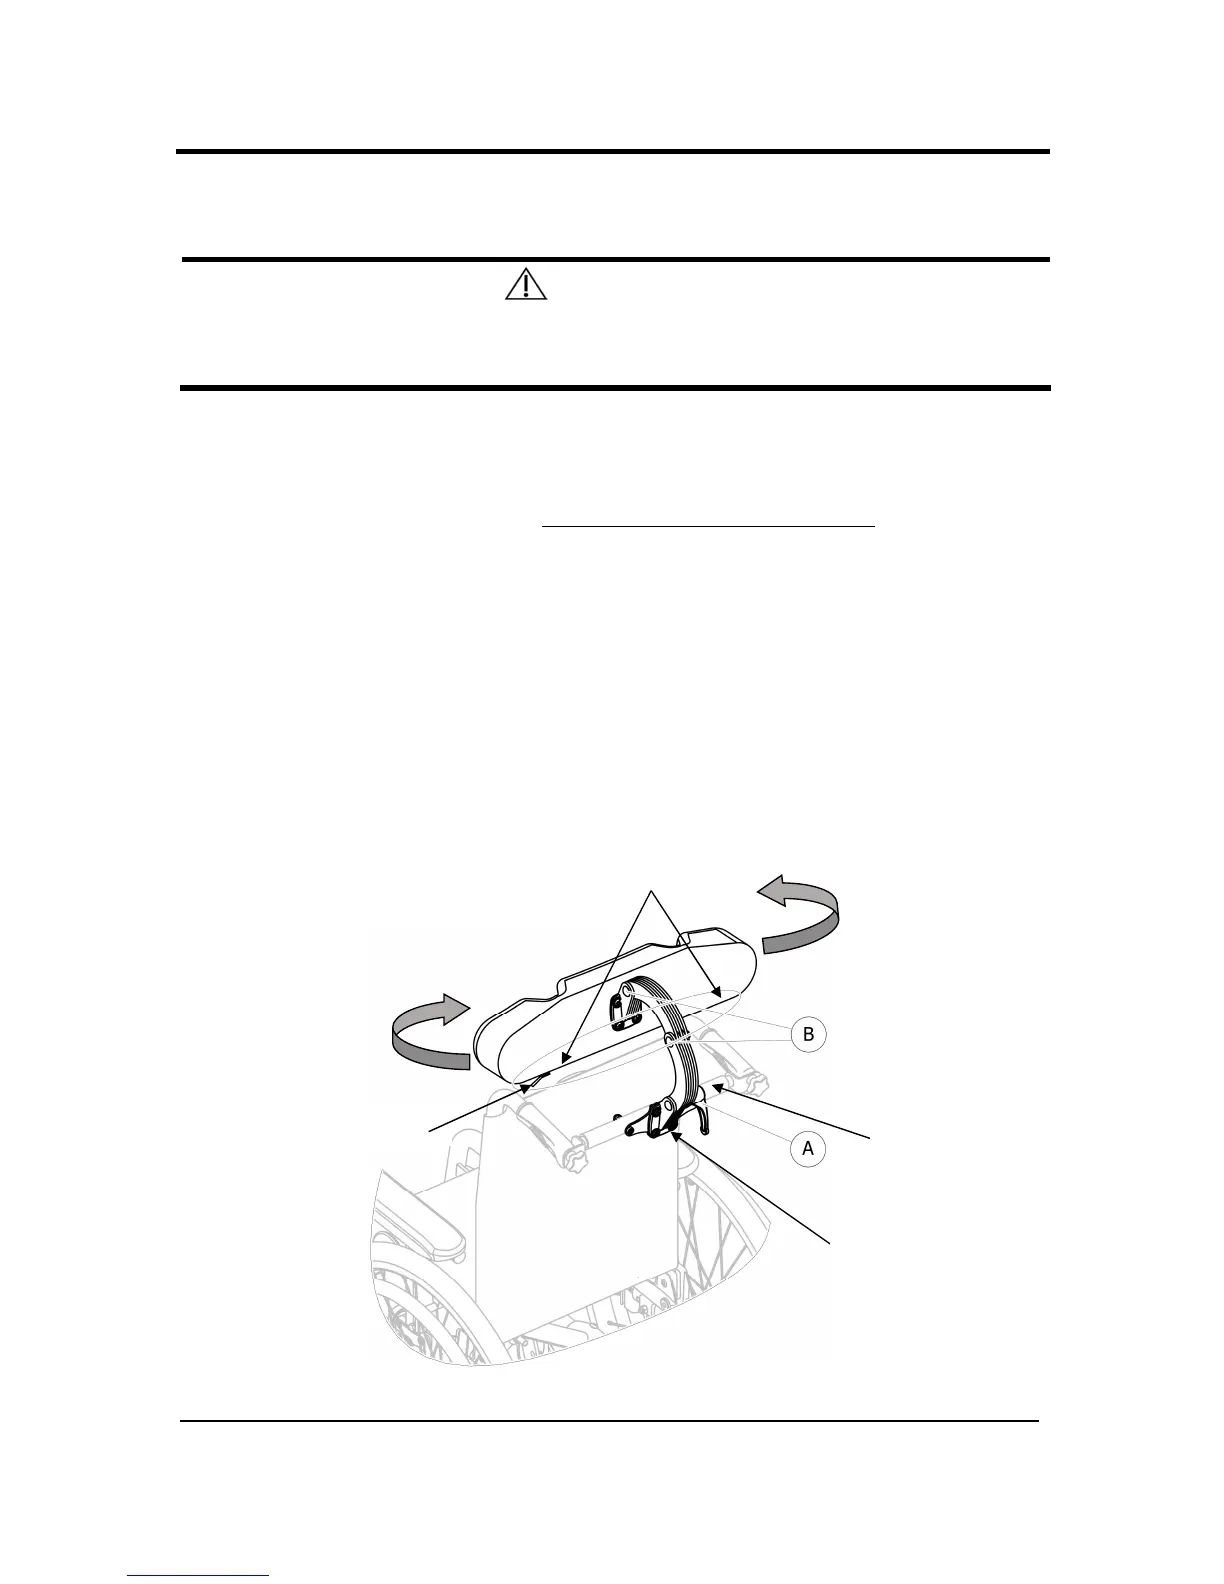
NOTE: For this procedure, refer to FIGURE 8.2.
1. Install the back brace. Refer to Installing removing the back brace paragraph.
2. Set the Headrest bracket (mounting bolts and headrest bracket) in the fixing holes
on the back brace tube.
3. Loosen the handle A and the two screws B.
4. Adjust the height; depth and angle of the headrest by moving the scissor brackets
to the desired position.
5. Re-tighten the handle A and the screws B (5–6 Nm).
6. Adjust the angle of the “wings” by unzipping the headrest zip and loosening the
adjusting screws.
7. Set the required angle and close the headrest zip.