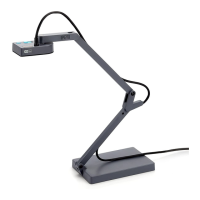
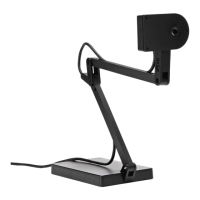
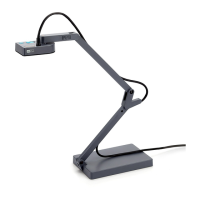
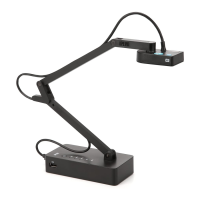
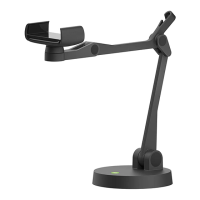
Getting to Know Ziggi (Key Features)
9
Getting to Know Ziggi
Take some time to familiarize yourself with the key features of Ziggi:
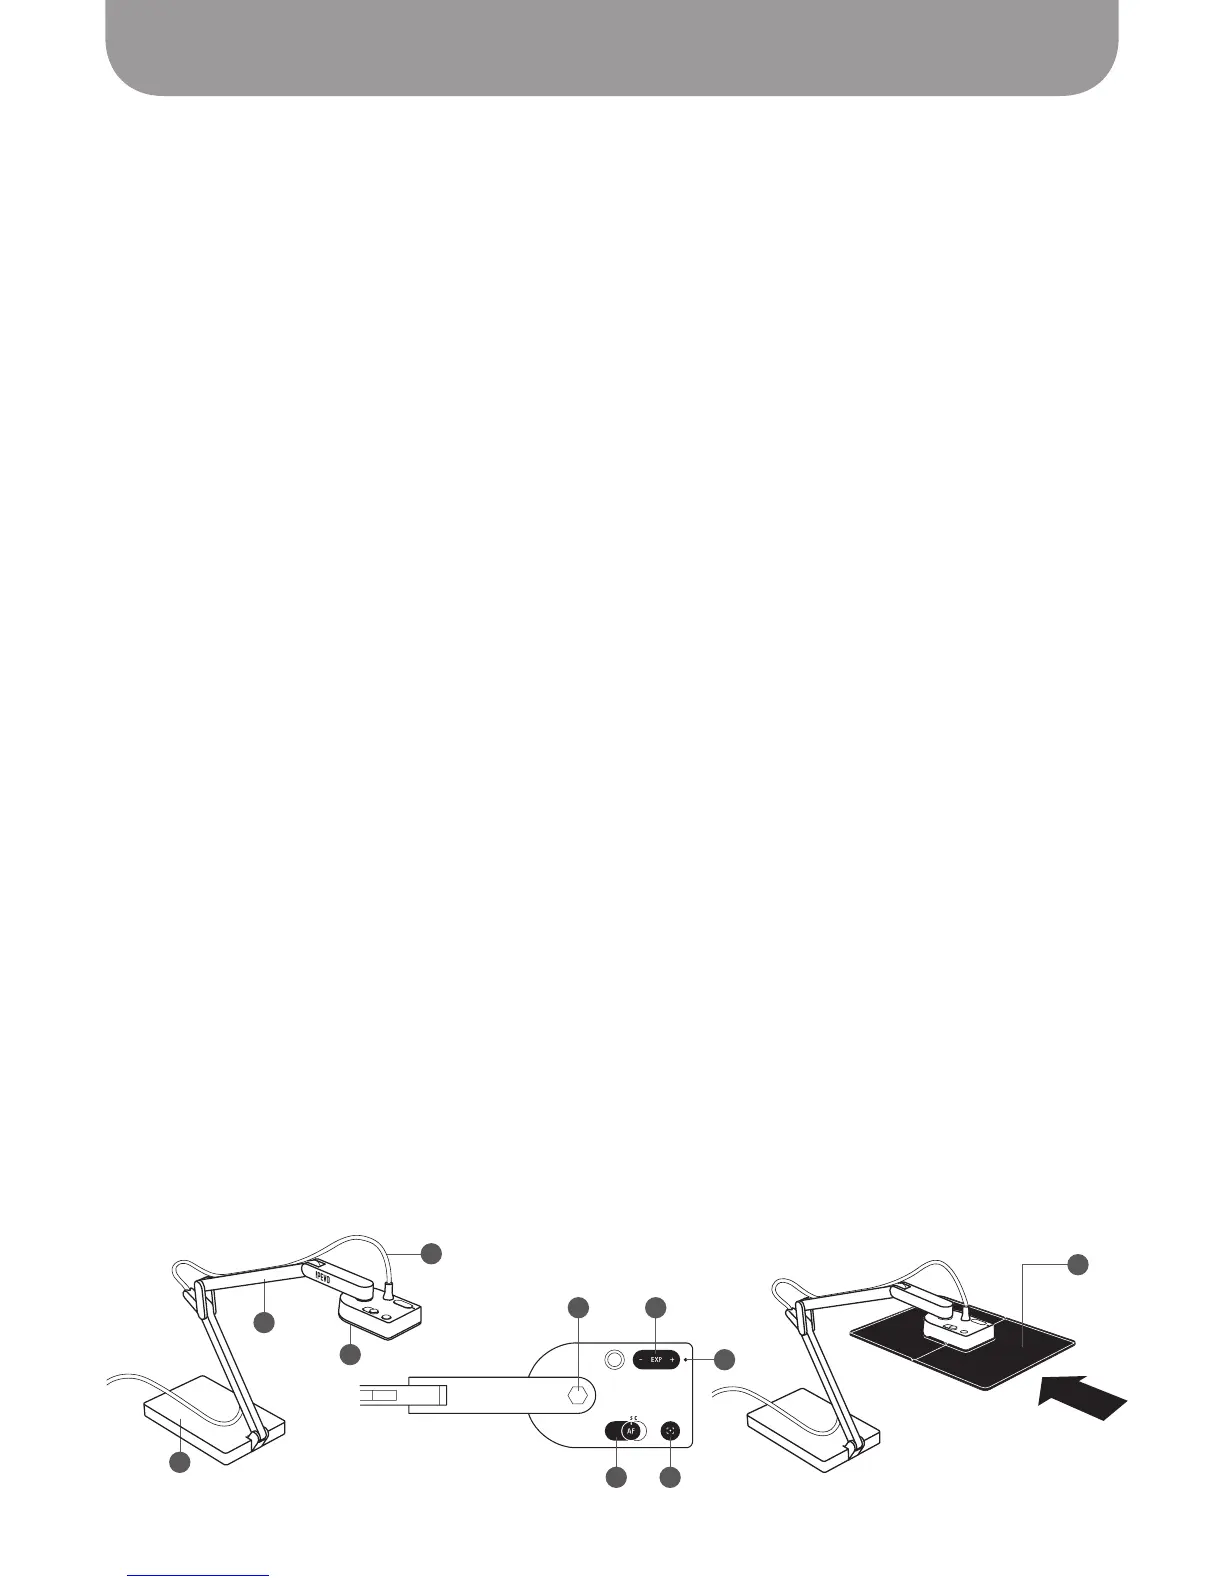
A – Stand
Ziggi’s stand has three points of articulation with generous degrees of freedom, allowing you to
place the camera by hand in any position, depending on subject and desired image size. Collapse the
stand for compact portability.
B – Base
The weighted base provides a sturdy foundation for placing the camera in any position.
C – USB Cord
Inserted into any standard USB port, the cord powers the device and allows it to communicate with
your computer.
D – Camera lens
Ziggi features a 2.0 Megapixel lens for detailed and vibrant images, allowing for a maximum
resolution of 1600 x 1200. Ziggi has an automatic Macro mode for maintaining sharp focus on objects
as close as 2 inches (5 cm) away.
E – Swivel head
In addition to the joints of the stand, you can further customize your image by swiveling the camera.
270° of swivel is possible – 180° clockwise and 90° counterclockwise.
See Pages 15 and 16 for more on
orientation.
F – EXP +/- (Exposure Value)
This toggle allows you to increase or decrease artificial exposure of the image, making it brighter (+)
or darker (-).
See Pages 17 and 18 for more on exposure.
G – Autofocus (AF) switch
Set your focus to one of two modes. Continuous (C) causes Ziggi to constantly determine the best focus
for your image. Single (S) causes Ziggi to stay at a single focus.
See Page 19 for more on focus.
H –
Focus button
In Single focus mode, press this button for sharp focus of your subject. It takes a few seconds for
Ziggi to determine and set proper focus.
I – LED
The LED gives you an easy way to know whether Ziggi is operating: white for operating, off for not.
When you start the Ziggi software, the LED will light up. The LED has been positioned on the top of
the camera so it will not reflect on any digital screens you might be capturing.
J – Anti-Glare Shield
If you are experiencing glare in your video capture, consider mounting the Anti-Glare Shield onto the
camera.
See Page 27 for more on the Anti-Glare Shield.
E
G
F
H
I
J
A
C
B
D