-14-
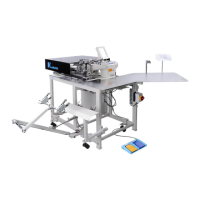
[Machine with puller]
I. Remove the eight screws O , and then open the puller top
co
ver 0 .
2.
Dr
aw up all
of
the lubri
ca
ting oil inside the
ma
chine into the oil bottle
@)
.
3. Fill the machine with oil until the oil l
eve
l r
eac
h
es
the top referen
ce
line on the oil
ga
uge. (R
efe
r to page 5.)
4. Close the puller top cover
0 a
nd
sec
ur
e it with the eight screws C, .
9.
~)ti}!J;!i I STANDARD ADJUSTMENTS
A ji:~ CAUTION
0
.n
·
ng
I I I v 1
1~
((
-J
JI&#
A !tt*ffii !)'
1
;J:
11
~~
114
·l!t-
!t'a'J
1¥J
~ fflilli
!it~it'tt
.ill'.#:'f
iJ
ll
1¥1
tt
*
ffi
m:
fitt
flJ
.
{r:
.ill:
fi
~ f~u-t,
i,'
1~
IJ
J
trr~
l!.
llfi(,
1
t-t
J
:1
t11
1<ll
JJF
x,
,{I
L f (
f-
1
illz;1
1~ 1
1A
w~m.
,
ii1s
-t1JiX~m~
~-t-
Ylf1.g
1
-
J:~lf•
t1
i
,J,
(fr
~~
-~':'i'i
1
Ji
.ib~
c
'1;
fJ11
1:Jii
.,H
Jg
JF
.!lfl~
fli
L.:11:
.
''' ',/,i
~~t
!J
'
1
;fl
1~ f
!i
ll
·t,
~
.!.I:!
~&
d
1,
lf'j:
ll·t
. ~IL~.ilH jitt-~
•®
i
f!J!
Jtl
I{!.
llfi
(~
ij
!J
:'lif
ll·t
i
i'i
~if-1
}J1J
rt.:CT:'tc:-i:~
11
*
~~-i::1&
',
Yr
'.
i!S&
{i
1Jlc:1&
L
:.,
i
i'
J~
lt::~
[i:rlJ,Gt
11'
l)Ho
uWl
t:
Jl
·/1
~~Jll
0
M
ai
nt
enan
ce
and inspec
ti
on of the sewing machine should o
nl
y be carried out by qualified peraonne
l.
Ask
yo
ur dealer
or
a qualified electrician
to
carry
out
any
maint
e
nance
and
inspection
of
th
e ele-
ctical system.
Turn
off
the p
owe
r switch and disconn
ec
t the power
co
rd
from the wa
ll
outlet at
th
e fo
ll
ow
in
g times,
otherwise the machine may operate
if
the tr
ea
dle is
pr
essed by
mi
stake, which
co
uld r
es
ult in injur
y.
Howevey, the motor will keep turning even after the p
owe
r is switched
off
as a result
of
the motor' s
in
ertia, Wait until the motor stops fully befor starting work.
Wh
en carrying out insp
ec
ti
on, adjustm-
ent and maintenance. When re
pl
acing consumable parts such
as
the looper.
If the p
owe
r
sw
itch n
ee
d to be le
ft
on when
car
rying out ome adjsutment, be ctremely careful to
ob
se
rve sll safety
pr
ec
aution
s.
If
any
sa
fety devices have b
ee
n removed, be ab
so
lutely s
ur
e to re-insta
ll
them to their orig
in
al posi-
tions a
nd
ch
ec
k that th
ey
aerate corr
ec
tly before using the machine.
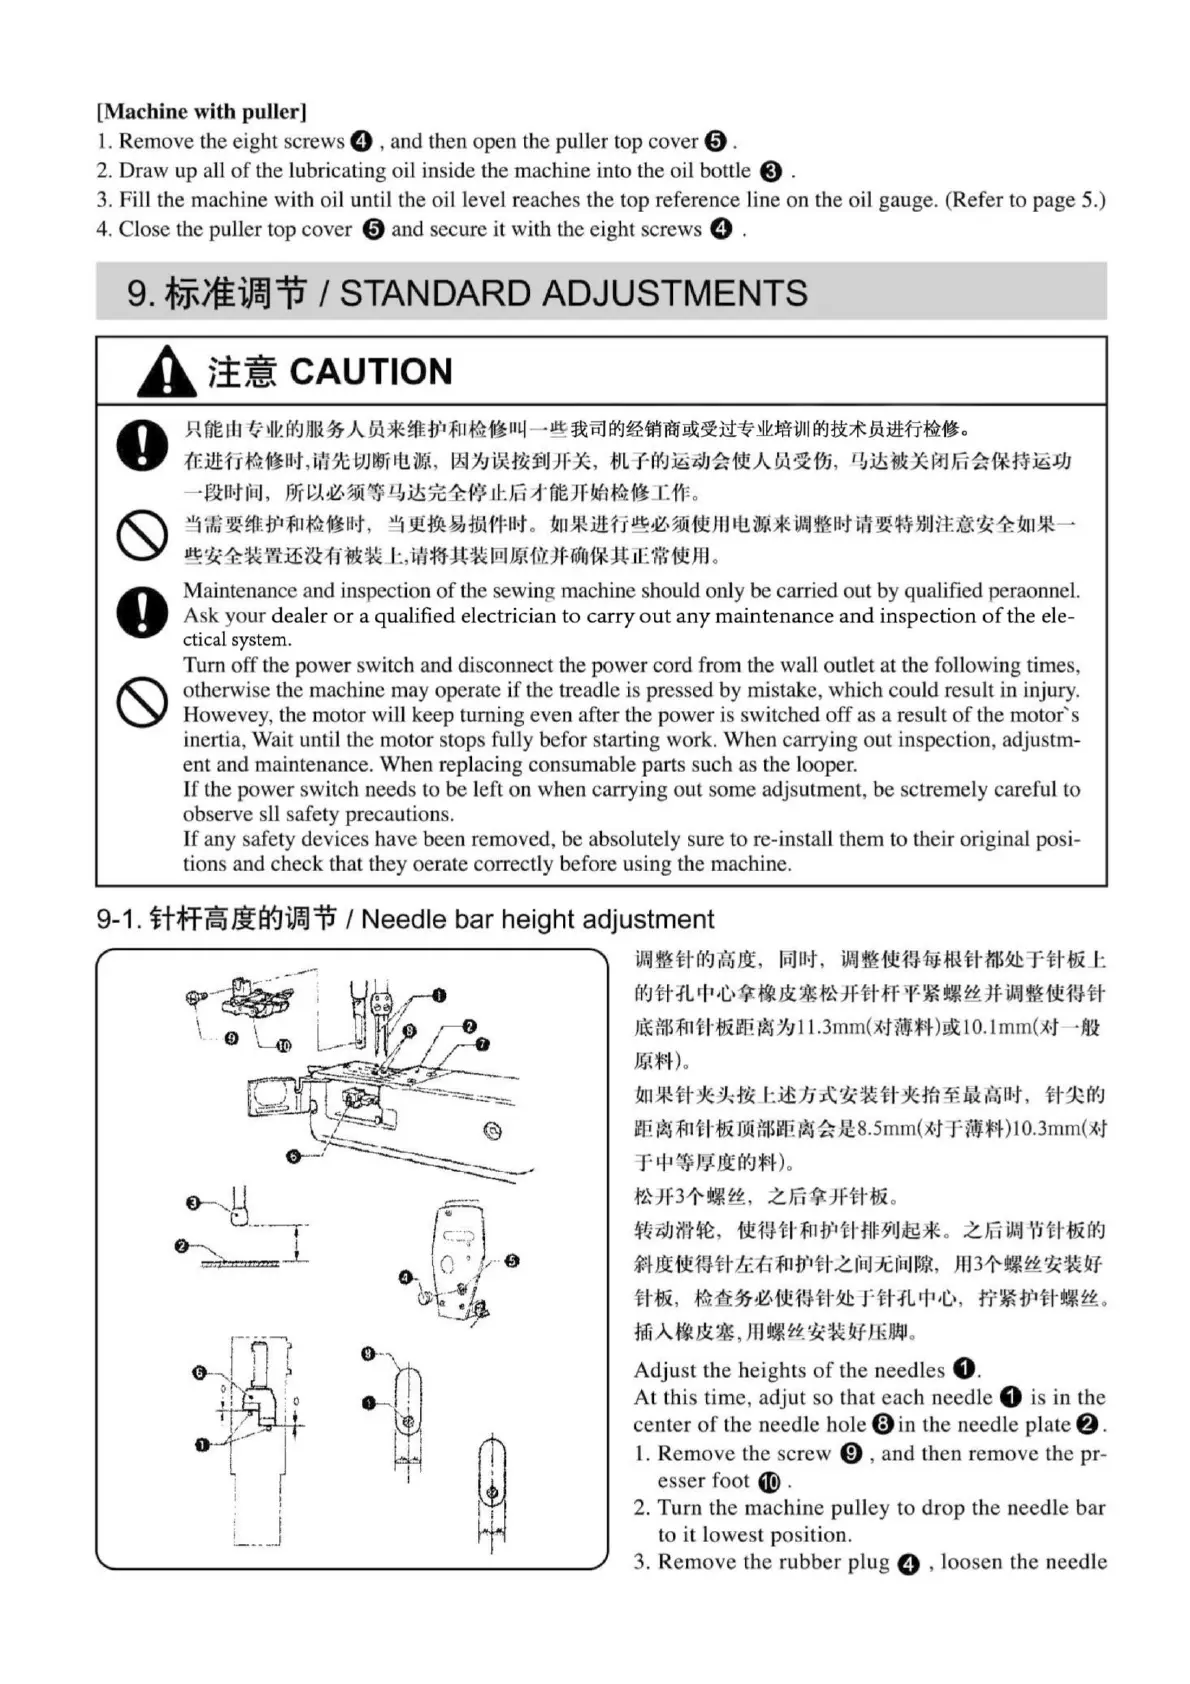
9-1.
ttff~Jla{Ji)IJiJ
/ Needle bar
height
adjustment
jp.j~tU
r-.i
t~
J.1l'.,
lnJ
U•t,
jp.j~
1
J!!t!t4ti
.ff..!
i l·
f.l
S~
T
·t
H& I:
((-J
't
l·
.fL
rl
1
,C,
,
~
~$1.~f~ff # .ff
•f-
~
,:.f!
~~
Jf
W,J
~
~1
!J
tf
·
J!iE:'flSfllH;j:Jjffi
r~ Y
:1
I l.3mm(
x•HilffDwt
I
0.
l
mm(
M ·
mt
J.
mst).
~
*tt~~~
~
~n
~~~tt~
m
~M~
M
.
tt~~
~fi l
~i
f11t l·
;j:JjTJiifflS~E
Ii
i~
)£8.5mm(M f Mfl) I
0.3mm
(M
T
•I•
~ J•;
/Jr
(t-J.f
~
).
f~
}F
3
1-
;,mtt,
Z.ITT~JF~
·
.f&
.
~'tlz;l
1
i!
'H
~,
i!l!
tW~
l·
;f
n!J
·
1
t
~t1
t:11
J
,g*
•
Zla
i
iJ..,
l
1'i
t l·
tH
~J
t:
~
/JH
J!!
t{}
tf
·
/c
-1'
-i
f
11
!J'
1
i l·
-L
1h
l
:;}c
lhl µJ
I,
, fn 3
1-
~
tt
1':~ tff
~-
-tJx.
~1:t~
~·
1Jl!
t1'tl·~ r t
UL
rr
,C,
,,
fr~
f)'
•
tj
-
~tt
.
fffl
A ~ b'V~,
Jll
~~
'.J<~
~f J
liJl.l4J
.
Adju
st
th
e heig
ht
s
of
the n
ee
dl
es
0 .
At
this time, a
djut
so
that
eac
h n
ee
dl
e O is in the
ce
nter
of
the n
ee
dle hole 0 in the n
eed
le plate @ .
l. Rem
ove
the
sc
rew 0 , and then rem
ove
the
pr
-
esse
r foot
(9
.
2. Turn
the
ma
c
hin
e pull
ey
to d
ro
p the n
ee
dle bar
to it low
es
t position.
3. Rem
ove
the rubber plug O , l
oose
n the n
ee
dle
From the library of Superior Sewing Machine & Supply LLC - www.supsew.com