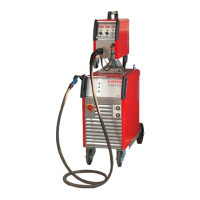
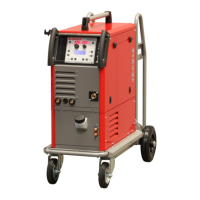
tecMIG 450/600
Operating manual Page 48
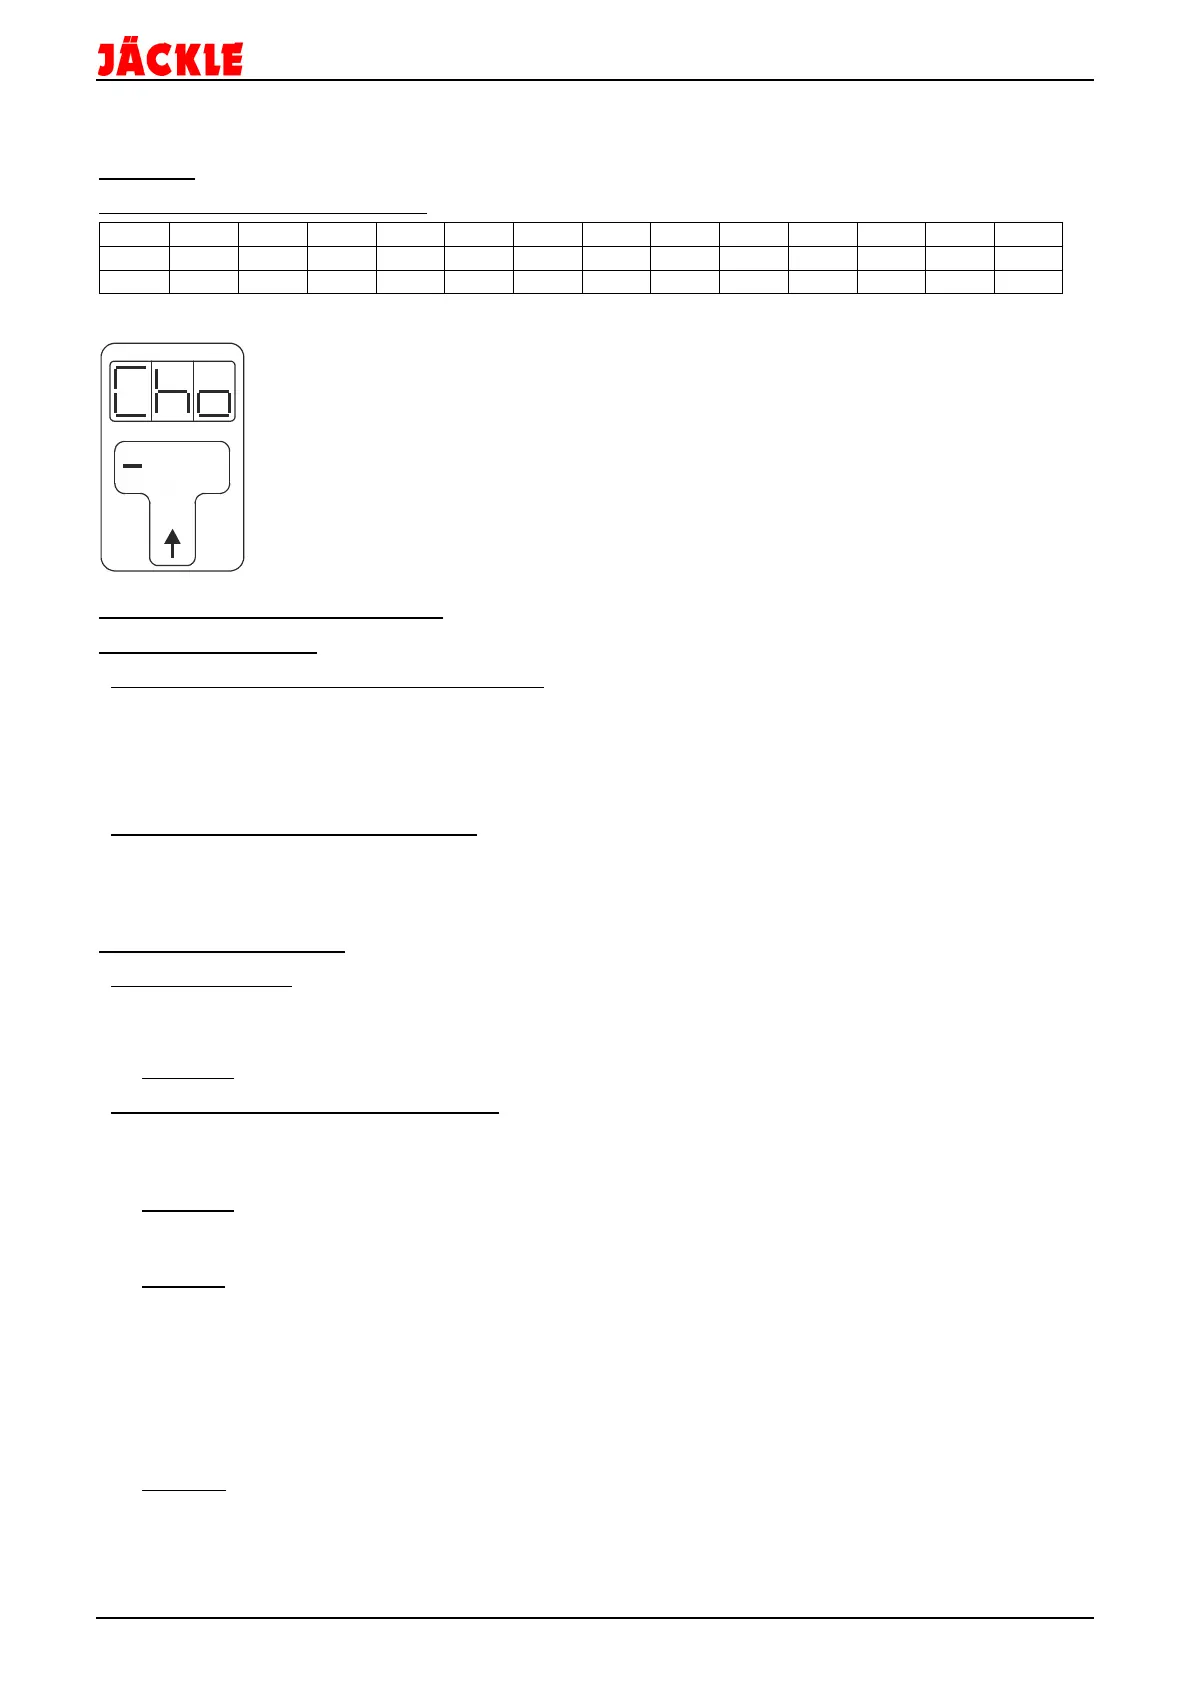
33. Welding torch with Display / Job - sequence
Warning: Switch off the machine for changing the torch !!
Functions (sorted by the control box):
Hnd Cor Sol Mod Cho Sts bUb PrG PoG Job CSC CEC Spt
MC 1
■
■
■
*
■
■
■
■
■
■
■
■
■
■
MC 2
■
■
■
*
■
■
■
■
■
* This function is active during welding!
Hnd
= Hand welding,
Cor
= Voltage correction (Automatic welding),
Sol
= Power,
Mod
= Mode (see below),
Cho
= Choke,
Sts
= Startspeed,
bUb
= Burn back,
PrG
= Pre gas time,
PoG
= Post gas time,
Job
(see below),
CSC
= Crater start current,
CEC
= Crater end current,
Spt
= Spot time
(CSC and CEC only active with crater function)
Tapping on the arrow button will switch between the different functions.
The value can be changed by using the + and – buttons.
The changes are displayed simultaneously on the MC control box.
Functions with extended selections:
Function MODE (Mod):
- Mode 2-cycle / 4-cycle / spot – crater (only MC 1)
Display ‚Mod‘
Use the
- button
to switch between
2-cycle (2)
or
4-cycle (4)
function.
(Indication in the left display
2
or
4
)
Use the
+ button
to switch between
normal operation
(
-
),
spot welding
(
S
) or
crater function
(
C
).
(Indication in the right display
–
or
S
or
C
)
- Mode Automatic welding or Hand welding
Display ‚Mod‘
A long press of the
– button
will change between
Automatic (A)
and
Hand (H)
welding.
(Indication in the middle display
A
or
H
)
Function Job (only MC 1):
- Calling a Single Job:
Press the arrow button repeatedly until ‘Job’ appears on the display.
Select the desired job number using the + or - button and confirm by pressing the arrow button.
The job, e.g. Nr. 2 is selected (= in display).
Comment:
=
Job selected,
u
Job number occupied,
F
Job number free
- Save multiple jobs in a sequence and recall:
It is possible to store several jobs behind the other to move during the welding process between the
individual jobs back and forth. This is useful, for example, if a part must be welded with different welding
power, but the welding process should not be interrupted.
Comment: The jobs must all be of the same wire diameter and gas type.
But it is possible to use standard MIG/MAG and Power in the same sequence.
The job sequence must always be limited by a free job at the beginning and end.
Example:
Job 1
– free,
Job 2
- MIG 160A,
Job 3
- Power 250A,
Job 4
- MIG 100A,
Job 5
– free
In this example, it is possible to change during welding between the welding jobs 2, 3, and 4 by
using the + and - buttons.
It is possible to store several of these job sequences.
They must always be enclosed by a free job.
To activate a job sequence, a job from this sequence must be selected and called up by pressing the
arrow key. When the display of the torch is switched back to the normal display (after 3 seconds), it is
possible to select between the jobs using the + and - button.
Attention: If there is an error in the sequence (e.g., different gases / material), the job sequence cannot
be activated.
To reset the + / - buttons for the power control during welding, open the Job menu and select a free job
e.g. (F 1) and confirm it by pressing the arrow key.