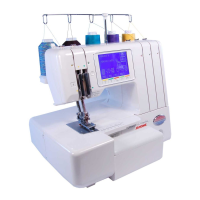
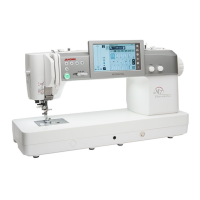
50
Adjusting of Foot Pressure
Depending on the type of fabric, the foot
pressure may have to be decreased or
increased.
A : To increase
B : To decrease
1 Pressure adjusting dial
2 Standard setting position
3 Setting mark
Note: The standard setting of presser dial is that
the standard setting position meets the
setting mark,as illustrated.
Removing the Presser Foot
1 Raise the needle and presser foot.
2 Press the lever on the back of the foot holder.
The presser foot will drop off.
1 Presser foot lifter
2 Foot holder
3 Lever
4 Needle
Attaching the Presser Foot
Place the presser foot so that the pin on the
foot lies just under the groove of the foot
holder.
Lower the foot holder to lock the foot in place.
Raise the presser foot lifter to check that the
presser foot is secure.
* The visual touch screen will indicate which
presser foot (A or B) should be used, based
on the sewing conditions.
How to Replace the Needle Plate
1 Open the looper and side covers.
2 Remove the needles and presser foot.
Return the chaining finger to the “R”
position.
3 Remove the needle plate set screw and the
needle plate.
* Attach the needle plate (A) or (B)
depending on the visual touch screen
indication.
1 Needle plate set screw
A
B
1
2
3
1
4
1
3
2