A WILKINSON STAR LIMITED PRODUCT 01-19 ISSUE 1
released, the current drops over the downslope
me (if set) and the arc will exnguish. The post gas
will ow for the me set.
4T mode
In 4T mode, when the torch switch is pressed down,
it will start the pre gas ow me (if set) and the arc
will start at the “start amps” value.
When the torch switch is released, the arc current
rises to the peak amp current.
When the torch switch is pressed down, the current
drops to the “nish amps” current over the
downslope me (if set).
When the torch switch is released again the arc is
exnguished and the post gas ow me will start .
Cycle mode
When the torch switch is pressed down, it will start
the pre gas ow me (if set) and the arc will start at
the “start amps” value.
When the torch switch is released, the arc current
rises to the peak amp current.
When the torch switch is pressed down, the current
drops to the “nish amps” current over the
downslope me (if set).
When the torch switch is released, the “nish
amps” will rise to the peak current as above. The
process will cycle unl the torch switch is pressed
and released within 500mSec. This will stop the
cycle and the post gas me will start.
Spot mode
In spot welding mode, when the torch switch is
pressed down, it will start the pre ow gas me and
the current will then go to the preset amps for the
set on me (up to 1 sec). The duraon between
spots is determined by the “o” me seng (up to
5 sec). At the end of the spot welding release the
torch switch and welding will end.
Striking mode
The opons for arc striking in the TIG
mode are HF start (non contact start)
or Li arc start (contact start). Press
the HF buon to light the LED next to
the required mode.
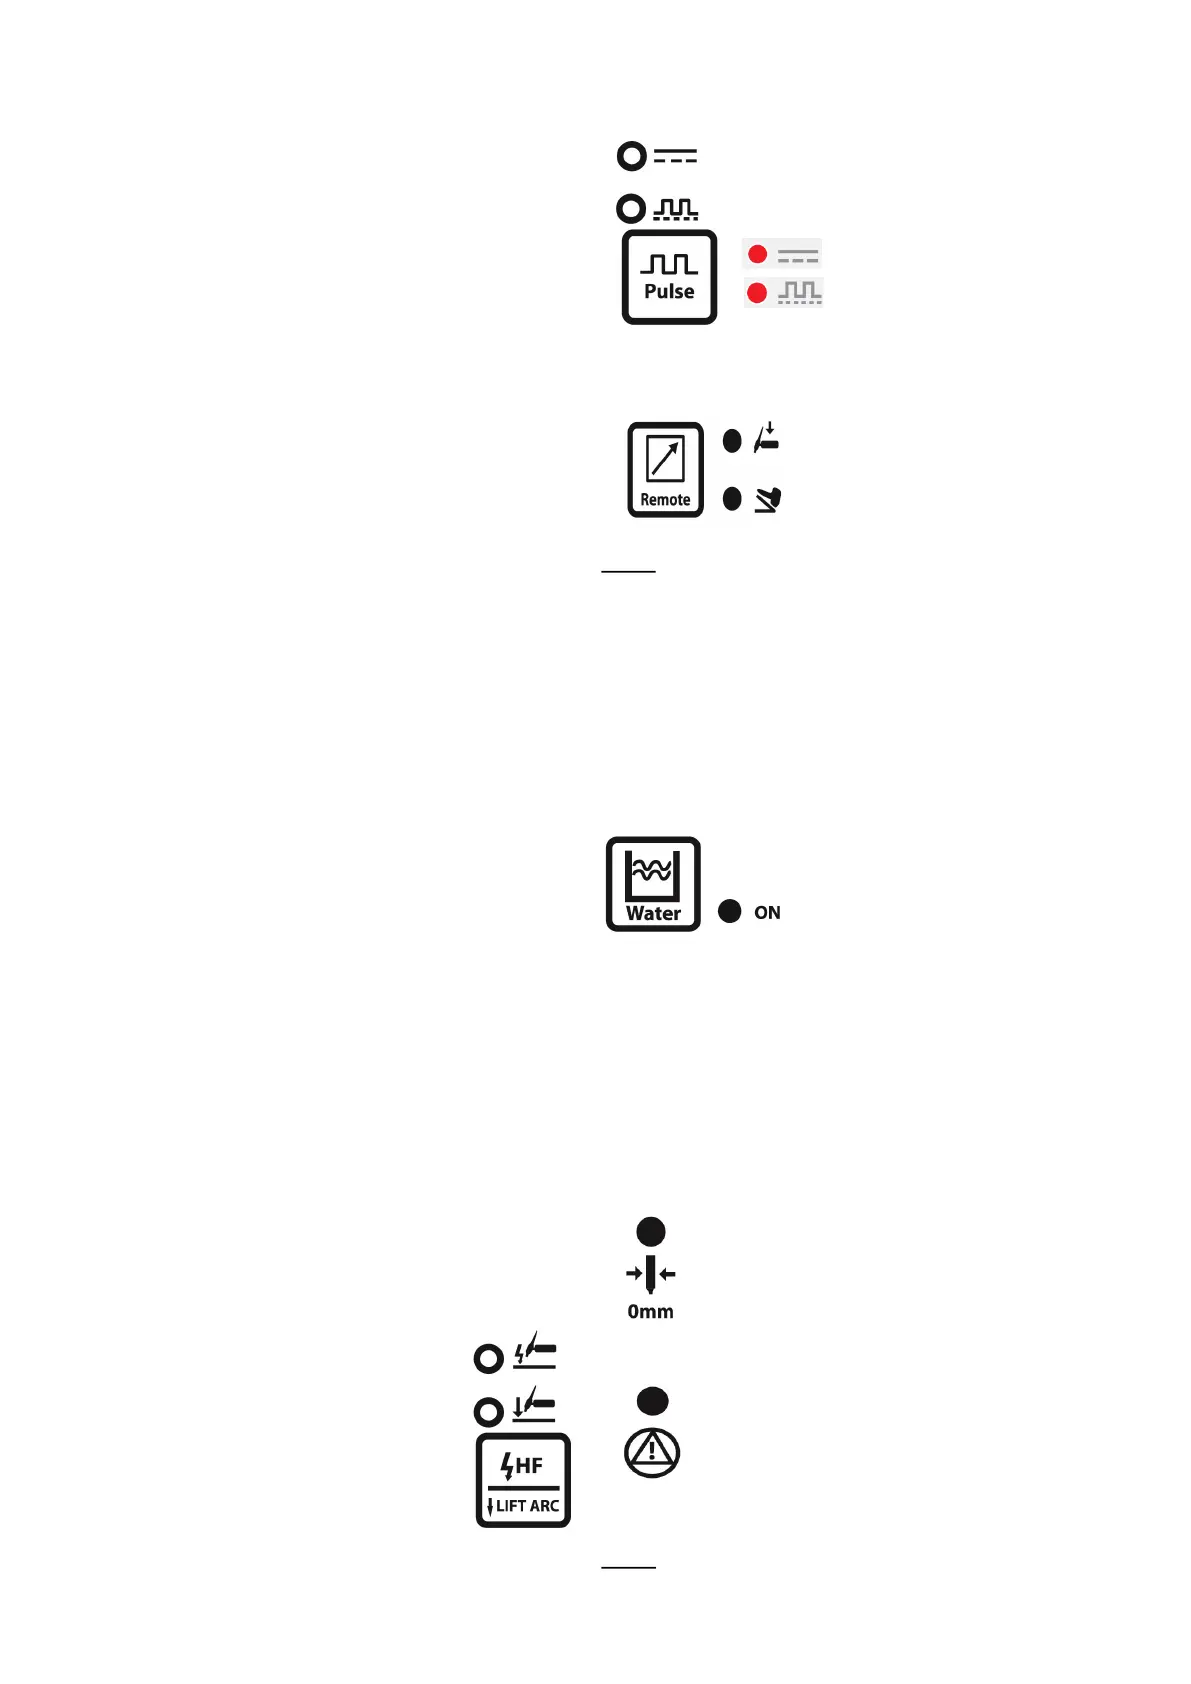
Pulse mode
Pressing the pulse buon will light the
LED for no pulse or pulse
For no pulse
For pulse
Remote mode
When torch indicator is lit the
torch controls the machine.
When the pedal LED is lit the
foot pedal controls the machine
striking and output.
NOTE
Using an analog torch with a remote control in the
handle you can only adjust the output current.
Using the digital torch, you can adjust mulple
parameters and output current. The machine can
detect analog or digital torch you use automacally.
Cooler control
Press the water buon to turn
on the water LED and the
cooler supply.
The water cooler will only start
when a welding arc is
established. Aer the arc is o the cooler will
connue to run for a short period. It will restart if
the arc is re-established.
When the coolant cannot ow an error will show
and the machine will stop unl the defect is cleared.
Tungsten electrode size
To set the tungsten electrode size use the
adjuster knob to select the electrode LED.
Press the adjuster and the LED will ash.
Rotate the adjuster unl the desired
electrode size is shown, then press the
adjuster and the LED will cease to ash.
When the selected tungsten does not
match the output current then the
warning LED will be lit. The machine will
connue to operate but there is possible
deterioraon of the tungsten (amps too
high) or diculty striking (amps to low).
NOTE
Note applicable in DC TIG mode.
 Loading...