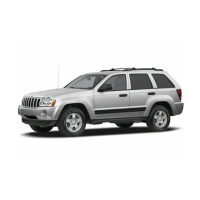
(8) Remove the rear pinion bearing cup and oil
slinger from the axle housing (Fig. 41). Use Remover
D-149 and Handle C–4171. Record the thickness of
the oil slinger for future reference.
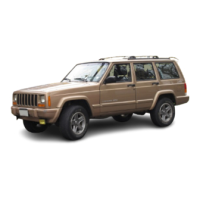
(9) Remove the rear pinion bearing from the pin-
ion with Puller/Press C–293-PA and Adapters
C-293-39 (Fig. 42).
Place 4 adapter blocks so they do not damage
the bearing cage.
(10) Remove the pinion depth shim/oil baffle from
the pinion shaft. Record the thickness of the depth
shim/oil baffle.
INSTALLATION
NOTE: A pinion depth shim/oil baffle is placed
between the rear pinion bearing cone and pinion
gear. If the factory installed ring and pinion gears
are reused, the pinion depth shim/oil baffle should
not require replacement. Refer to Pinion Gear Depth
to select the proper thickness shim before installing
pinion gear.
(1) Install a new oil slinger of the same thickness
as the original into the rear pinion bearing bore of
the axle housing.
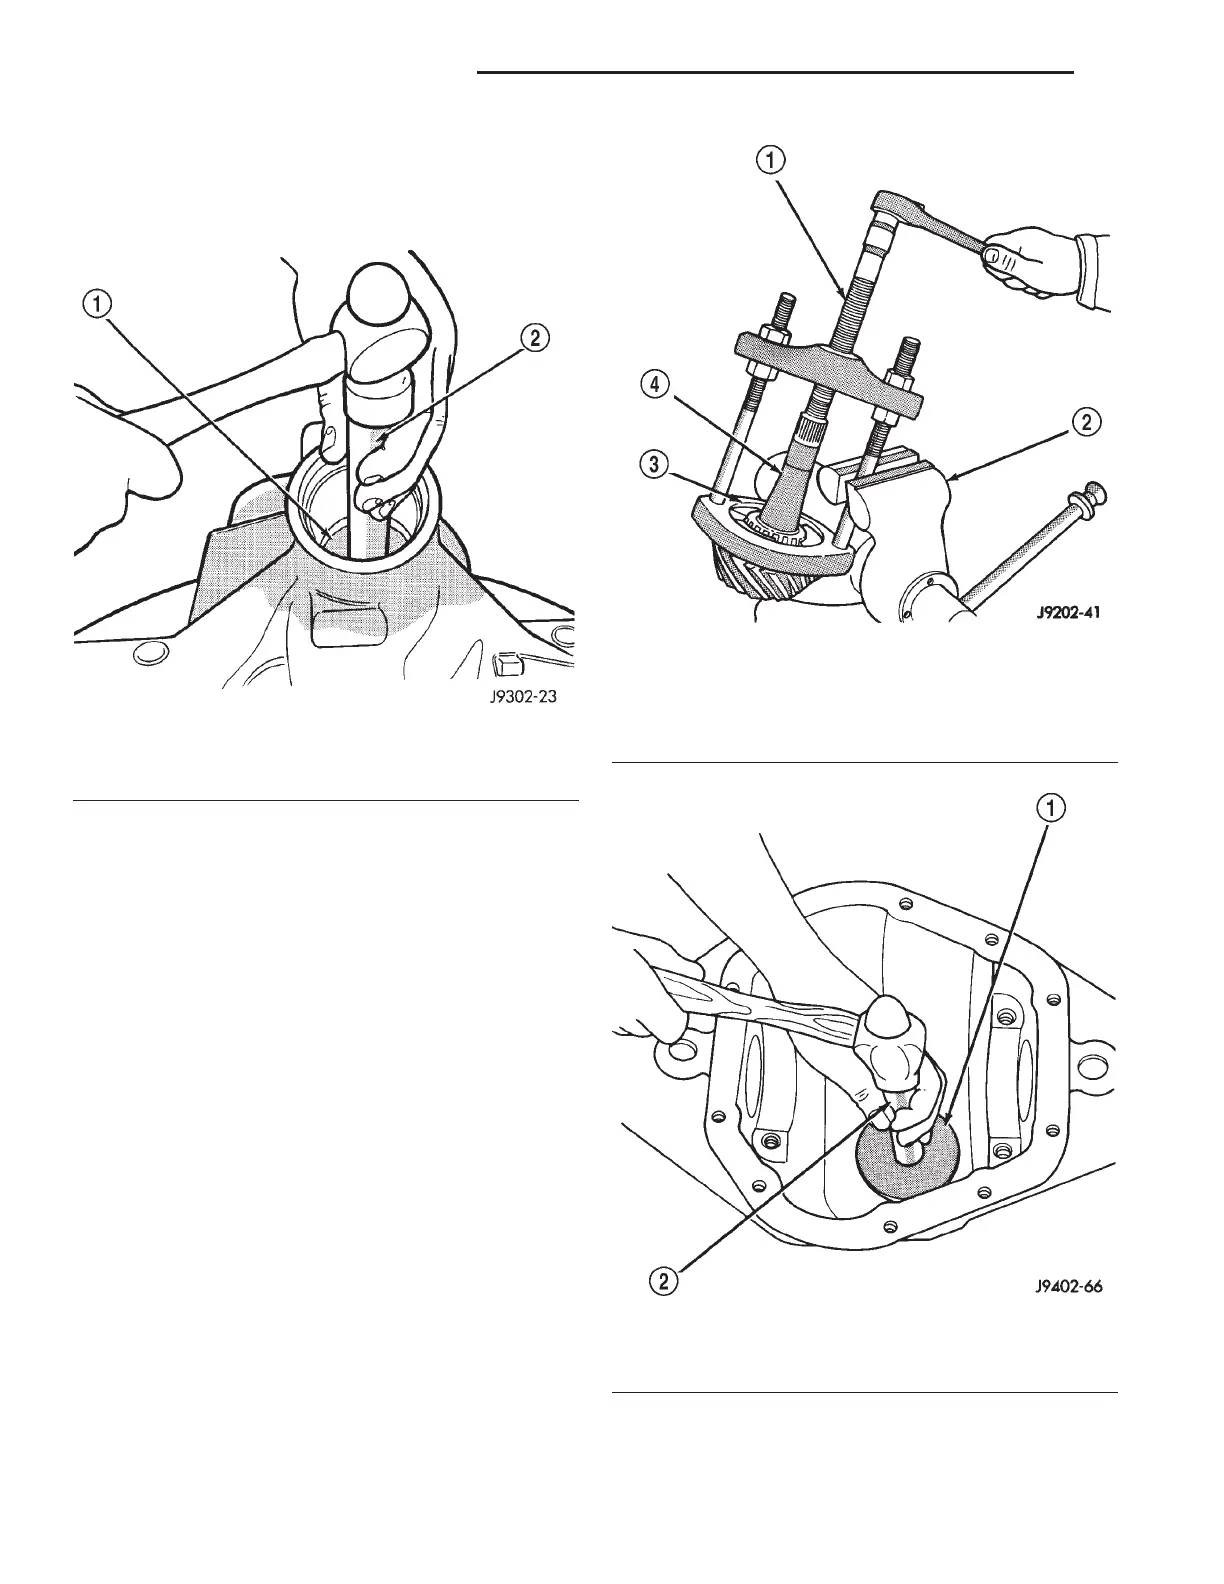
(2) Apply Mopart Door Ease, or equivalent, stick
lubricant to outside surface of rear pinion bearing
cup. Install the bearing cup with Installer D-146 and
Handle C–4171 (Fig. 43). Verify cup is correctly
seated.
Fig. 41 Rear Bearing Cup Removal
1 – DRIVER
2 – HANDLE
Fig. 42 Rear Bearing Removal
1 – SPECIAL TOOL C-293–PA
2 – VISE
3 – ADAPTERS
4 – DRIVE PINION GEAR SHAFT
Fig. 43 Rear Pinion Bearing Cup Installation
1 – INSTALLER
2 – HANDLE
3 - 38 TUBE, 181, AND 186 FBI AXLE XJ
REMOVAL AND INSTALLATION (Continued)
 Loading...