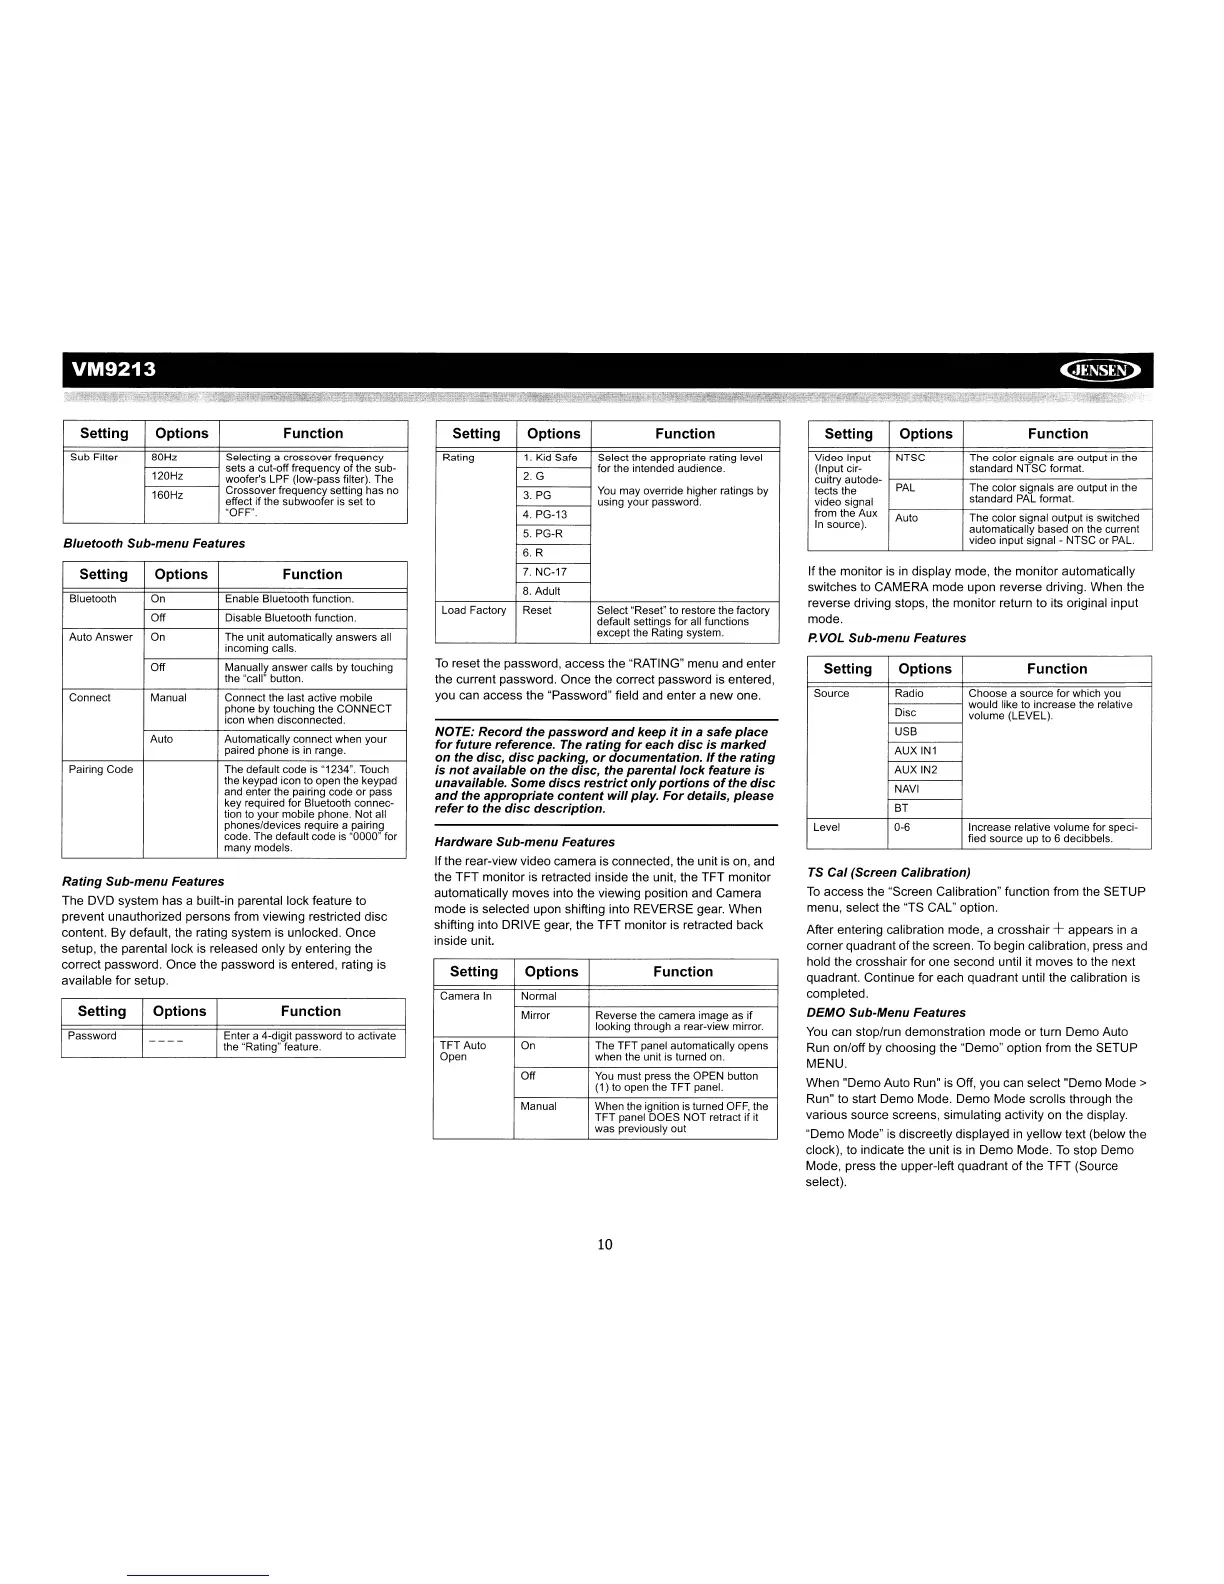
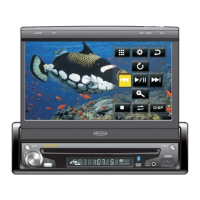
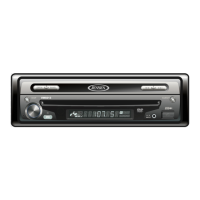
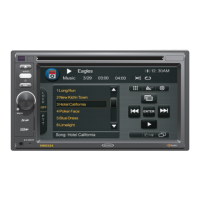
VM9213
~
Setting
Options
Function
Sub Filter
80Hz Selecting a crossover frequency
120Hz
sets a cut-off frequency
of
the sub-
woofer's LPF (low-pass filter). The
160Hz
Crossover frequency setting has no
effect
if
the subwoofer is set to
"OFF".
Bluetooth
Sub-menu Features
Setting
Options
Function
Bluetooth On Enable Bluetooth function.
Off Disable Bluetooth function.
Auto Answer On The unit automatically answers all
incoming calls.
Off Manually answer calls by touching
the "call" button.
Connect Manual Connect the last active mobile
phone by touching the CONNECT
icon when disconnected.
Auto Automatically connect when your
paired phone
is
in
range.
Pairing Code
The default code is "1234". Touch
the keypad icon to open the keypad
and enter the pairing code
or
pass
key required for Bluetooth connec-
tion to your mobile phone. Not all
phones/devices require a pairing
code. The default code is "0000" for
many models.
Rating
Sub-menu Features
The DVD system has a built-in parental lock feature to
prevent unauthorized persons from viewing restricted disc
content. By default, the rating system
is
unlocked. Once
setup, the parental lock
is
released only by entering the
correct password. Once the password
is
entered, rating
is
available for setup.
Setting
Options
Function
Password
----
Enter a 4-digit password to activate
the "Rating" feature.
Setting
Options
Function
Rating
1.
Kid Safe Select the appropriate rating level
2.
G
for the intended audience.
3.
PG
You
may override higher ratings by
using your password.
4. PG-13
5.
PG-R
6.R
7.
NC-17
8. Adult
Load Factory Reset Select "Reset"
to
restore the factory
default settings for all functions
except the Rating system.
To
reset the password, access the "RATING" menu and enter
the current password. Once the correct password
is
entered,
you can access the "Password" field and enter a new one.
NOTE:
Record
the
password
and
keep
it
in a safe
place
for
future reference. The
rating
for
each
disc
is
marked
on
the disc,
disc
packing,
or
documentation.
If
the
rating
is
not
available
on
the
disc,
the
parental
lock
feature is
unavailable. Some
discs
restrict
only
portions
of
the
disc
and
the
appropriate
content
will
play.
For
details, please
refer
to the
disc
description.
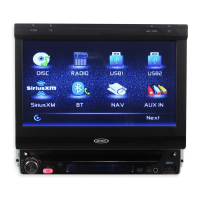
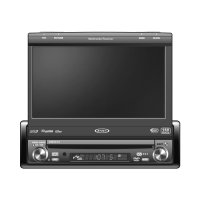
Hardware Sub-menu Features
If the rear-view video camera is connected, the unit is on, and
the TFT monitor is retracted inside the unit, the TFT monitor
automatically moves into the viewing position and Camera
mode is selected upon shifting into REVERSE gear. When
shifting into DRIVE gear, the TFT monitor is retracted back
inside unit.
Setting
Options
Function
Camera
In
Normal
Mirror Reverse the camera image as if
looking through a rear-view mirror.
TFT Auto On
The TFT panel automatically opens
Open
when the unit is turned on.
Off
You
must press the OPEN button
(1) to open the TFT panel.
Manual When the ignition is turned
OFF,
the
TFT panel DOES NOT retract if it
was previously out
10
Setting
Options
Function
Video Input NTSC The color signals are output
in
the
(Input cir- standard NTSC format.
cuitry autode-
PAL
The color signals are output
in
the
tects the
video signal
standard PAL format.
from
theAux
Auto
The color signal output is switched
In
source).
automatically based
on
the current
video input signal - NTSC or
PAL.
If the monitor is
in
display mode, the monitor automatically
switches
to
CAMERA mode upon reverse driving. When the
reverse driving stops, the monitor return to its original input
mode.
P.
VOL Sub-menu Features
Setting
Options
Function
Source Radio Choose a source for which
you
Disc
would like to increase the relative
volume (LEVEL).
USB
AUXIN1
AUXIN2
NAVI
BT
Level 0-6 Increase relative volume for speci-
fied source up to 6 decibbels.
TS
Cal (Screen Calibration)
To
access the "Screen Calibration" function from the SETUP
menu, select the "TS CAL" option.
After entering calibration mode, a crosshair
+appears
in
a
corner quadrant of the screen.
To
begin calibration, press and
hold the crosshair for one second until it moves to the next
quadrant. Continue for each quadrant until the calibration
is
completed.
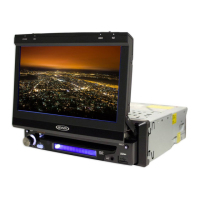
DEMO Sub-Menu Features
You
can stop/run demonstration mode or turn Demo Auto
Run on/off by choosing the "Demo" option from the SETUP
MENU.
When "Demo Auto Run"
is
Off, you can select "Demo
Mode>
Run" to start Demo Mode. Demo Mode scrolls through the
various source screens, simulating activity on the display.
"Demo Mode"
is
discreetly displayed
in
yellow text (below the
clock), to indicate the unit
is
in
Demo Mode.
To
stop Demo
Mode, press the upper-left quadrant
of
the TFT (Source
select).