10
33
5
41
45
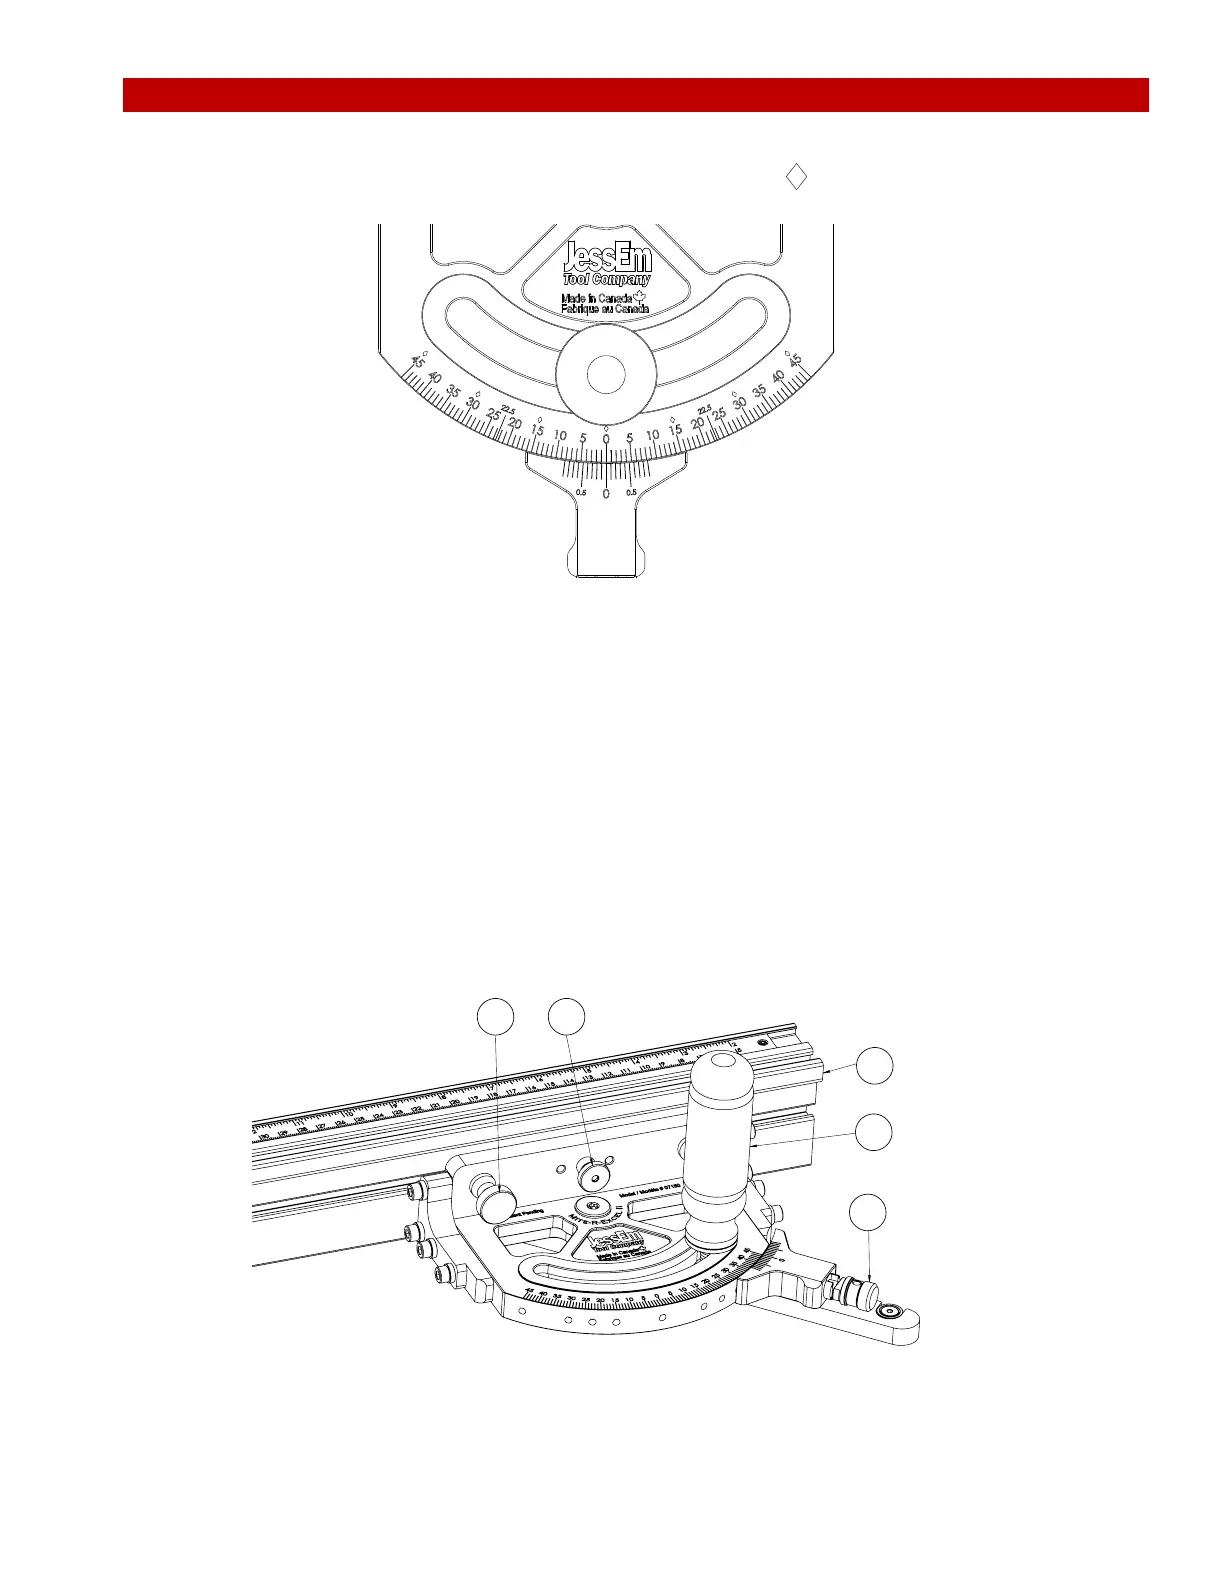
Pull indexing pin knob
out and turn
Figure 19
b.
c.
Turn your gauge until the 45° lines up with the 0° and then rotate the indexing pin knob (Part #5),
releasing the indexing pin knob back into the engaged position. Refer to Figure 16 and Figure
17 for engaged and disengaged positions. Once the indexing pin knob has locked into the 45
degree detent hole on the gauge, lock the Handle (Part #10). You will now be able to perform
your 45 degree cuts.
Repeat the steps above to set the gauge into any of the pre-determined degrees on the gauge.
Loosen the Handle (Part #10).
a
.
15
Pull the Indexing Pin Knob (Part #5) out and away from the gauge and turn it to disengage. This
will now allow the gauge to rotate freely.
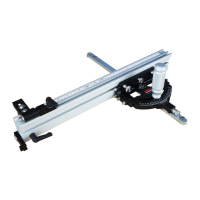
The example used below is setting the gauge to 45°. See Figure 19
Figure 18
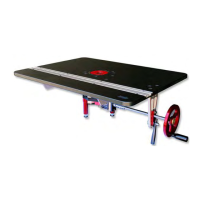
How to Adjust the Mite-R-Excel II™
The Mite-R-Excel II™ is machined with pre-determined detents in the gauge for 0°,15°, 22.5°, 30°, and
45°. The pre-determined detents are laser marked with a diamond on the gauge.
 Loading...