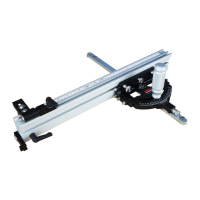
Slide (2) Flence Clamping T-Bolts - Long (Part #64) into the Fence Mount (Part #44) and secure
them in place with the Fence Knobs (Part #45) as shown in Figure 3.
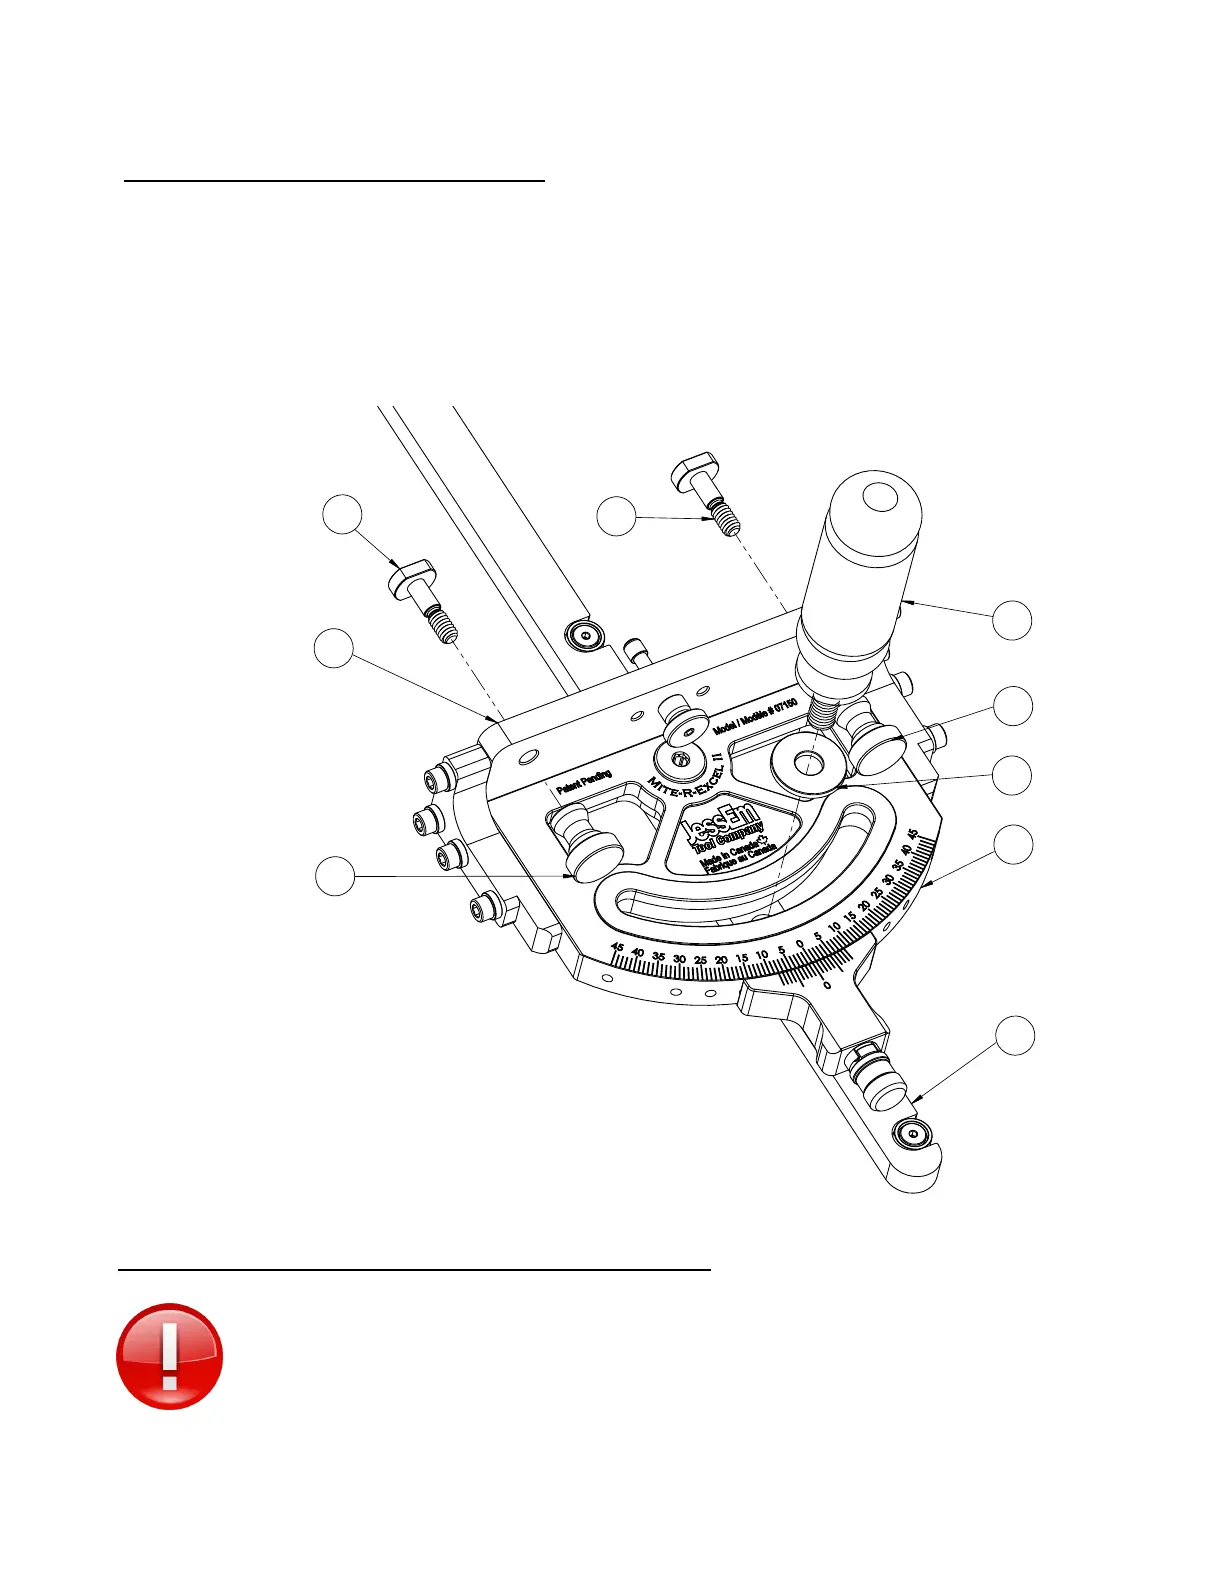
Figure 3
b.
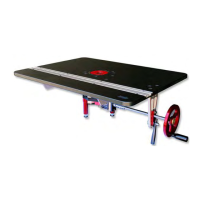
Step 3: Assembling the Mite-R-Excel II™
a.
Slide the 3/8" x 1" Stainless Steel Washer (Part #41) onto the Handle (Part #10) and thread the
handle into the guide bar (Part #56) as shown in Figure 3.
Step 4: Setting/Tightening the Guide Bar in the Miter Slot
** NOTE ** Since all miter slots are machined differently, it is important to set the
guide bar so that it moves smoothly during operation. If after following our directions
below, you notice a tight spot on the miter slot, you can either file or stone off the
high spot on the Miter Slot in your table saw or reset the Mite-R-Excel II™ in that area.
6
44
10
45
41
56
64
64
45
6
 Loading...