Assembly Instructions
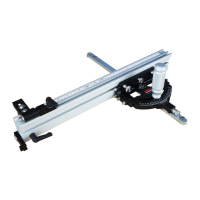
Step 1: Assembly of the Flip Stop
a.
Using the 5/32" hex key, attach the flip stop upper
(Part #20) and the flip stop lower (Part #13) using
(1) ¼-20 x ½" button head cap screw (Part #17)
and (1) ¼-20 x ¾" button head cap screw (Part
#18) along with (2) ¼” x 5/8" washers (Part #19).
See Figure 1
b.
Attach the clamping handle (Part #11) along with
(1) 1/4" x 5/8" washer (Part #19) to the flip stop
assembly using the Flip Stop T-Bolt - Short (Part
#35) as shown in Figure 1.
a.
Loosen the clamping handle (Part #11) and slide the Flip Stop T-Bolt - Short (Part #35) into
the T-slot on the Fence Extrusion (Part #33). See Figure 2
Figure 1
Figure 2
Step 2: Attaching the Flip Stop to the Mite-R-Excel II™ Fence
35
17
18
19
20
13
11
11 35
33
5
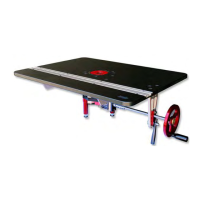
The following instructions are for assembling the Mite-R-Excel II™. Please note that the Mite-R-Excel II™
is factory set and only assembly is required.
 Loading...