PAGE 9 of 54
Mounting the turbine support equipment (RX)
There are just four main accessory components to decide where and how to mount in your model, (battery,
ECU, I/O board and pump). Judge how to position these components within the cable lengths by laying
them out in your model approximately where you would like to mount them. Since the components of the
new RX series engines are so small, the default cables lengths should work for most installations. If longer
cables are needed, consider a battery cable extension with heavy gauge wire as the simplest approach.
1. Battery. Usually the battery will mount in the nose area for balance requirements. When mounting,
make sure it is secure but accessible since it is a component you will be removing regularly.
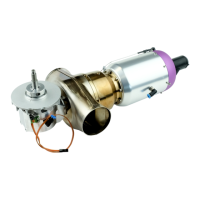
2. ECU should be mounted on a wood plate typically with Velcro. It should
also be located in an easy location for removal. Consider applying the
Velcro on the opposite side of the “on” switch access hole. See photo.
3. The I/O board should be mounted where the LED indicators will be visible
and the data bus jack accessible for plugging in the GSU.
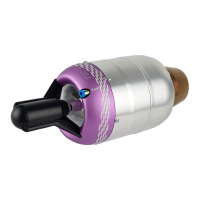
4. Ideally the pump should be mounted inverted using 4/40 screws and nuts
through the flange holes (tubes mounted down and electrical connections
on top. The pump requires a 1” diameter clearance hole. The pump can also me mounted
horizontally with cable ties or clamp. Make sure that the fuel tubes will route so the fuel filter will be
easy to access for cleaning. Favor the pump nearer to the UAT hopper tank keeping the inlet tube
length as short as possible.
In the above pictures is one example on how to mount the pump. In this case, there was plenty of room
under the mounting plate to not pinch the tubes exiting the pump.
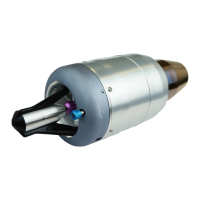
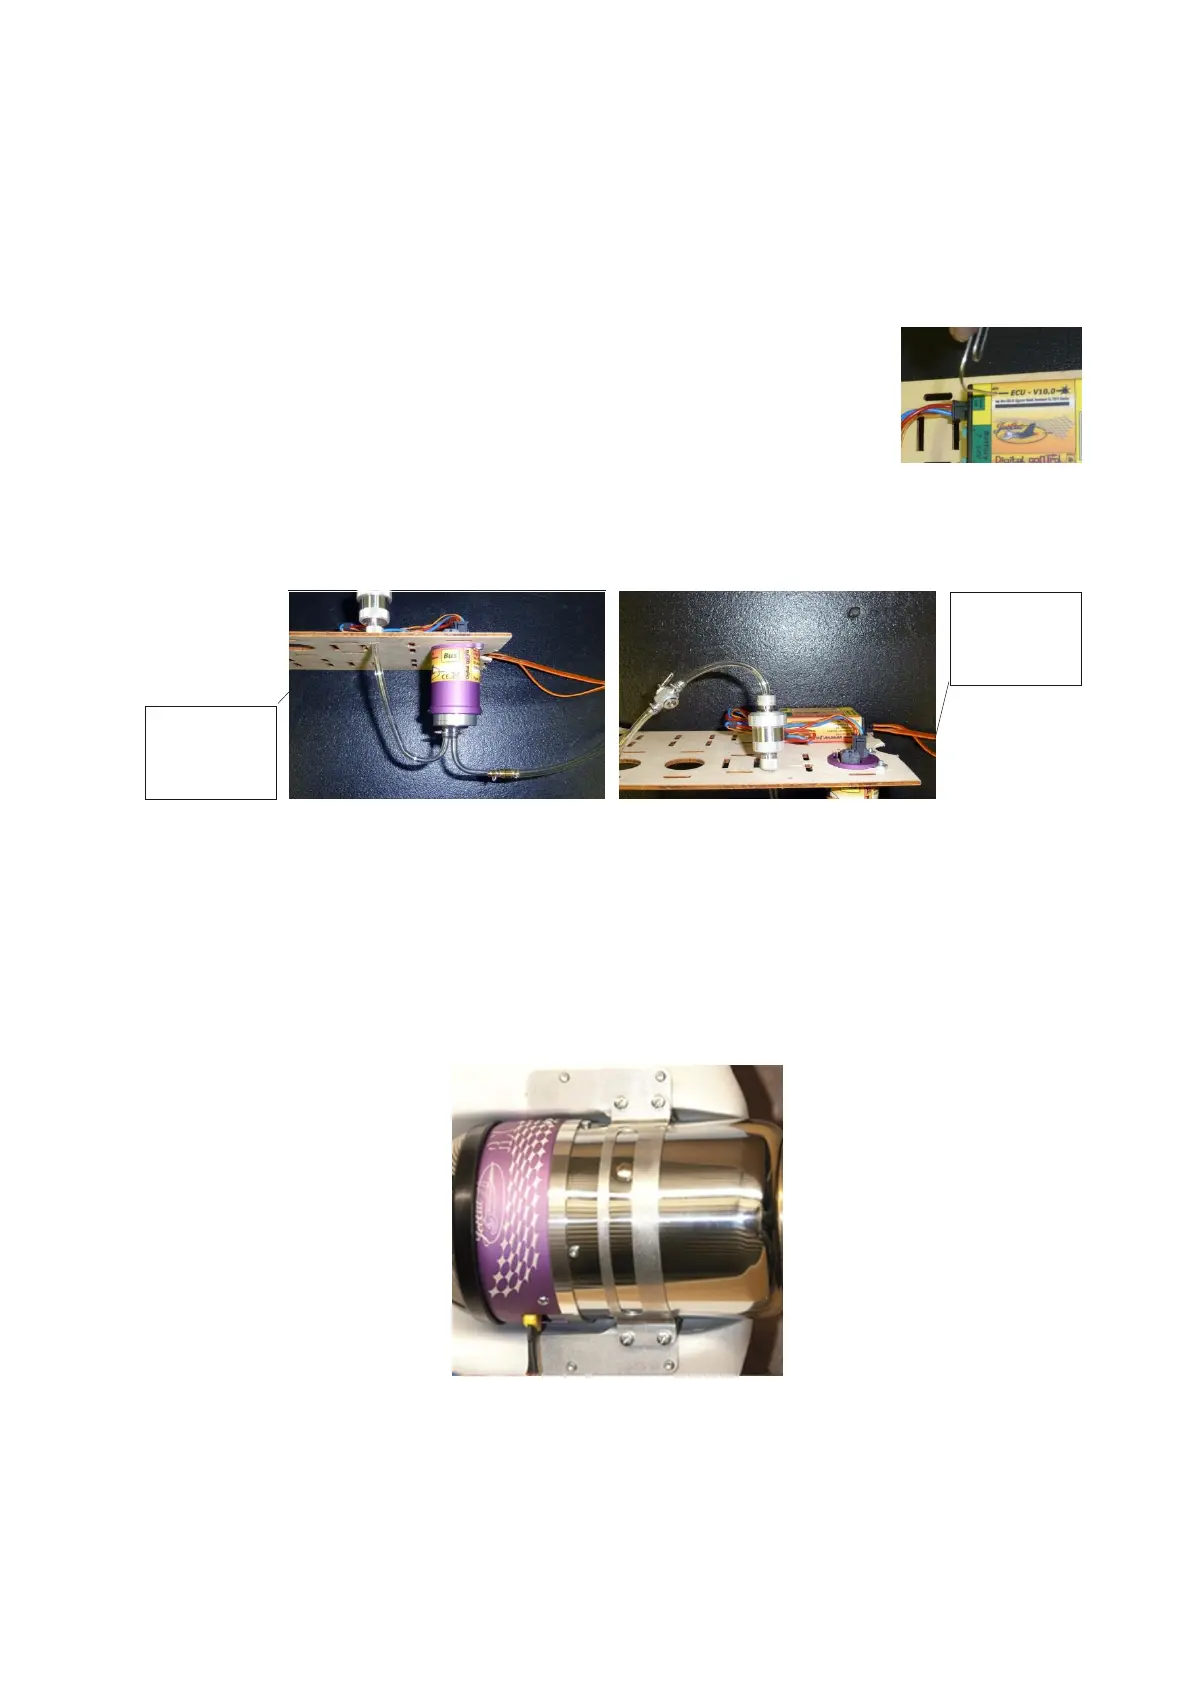
Mounting the turbine (RX/RXi)
A two-piece, aluminum mounting bracket is included with the turbine. Place the bracket around the turbine,
with the center plug situated within the slot of the bracket or in the grooved portion of the turbine body
depending on turbine type. This will help stabilize the turbine along the thrust axis. Secure the turbine,
using four metric mounting screws and lock washers that are provided with brackets. The turbine can be
set to any 360 degree rotational position.
view of
equipment
Topside view
of equipment
plate
 Loading...