– 58 –
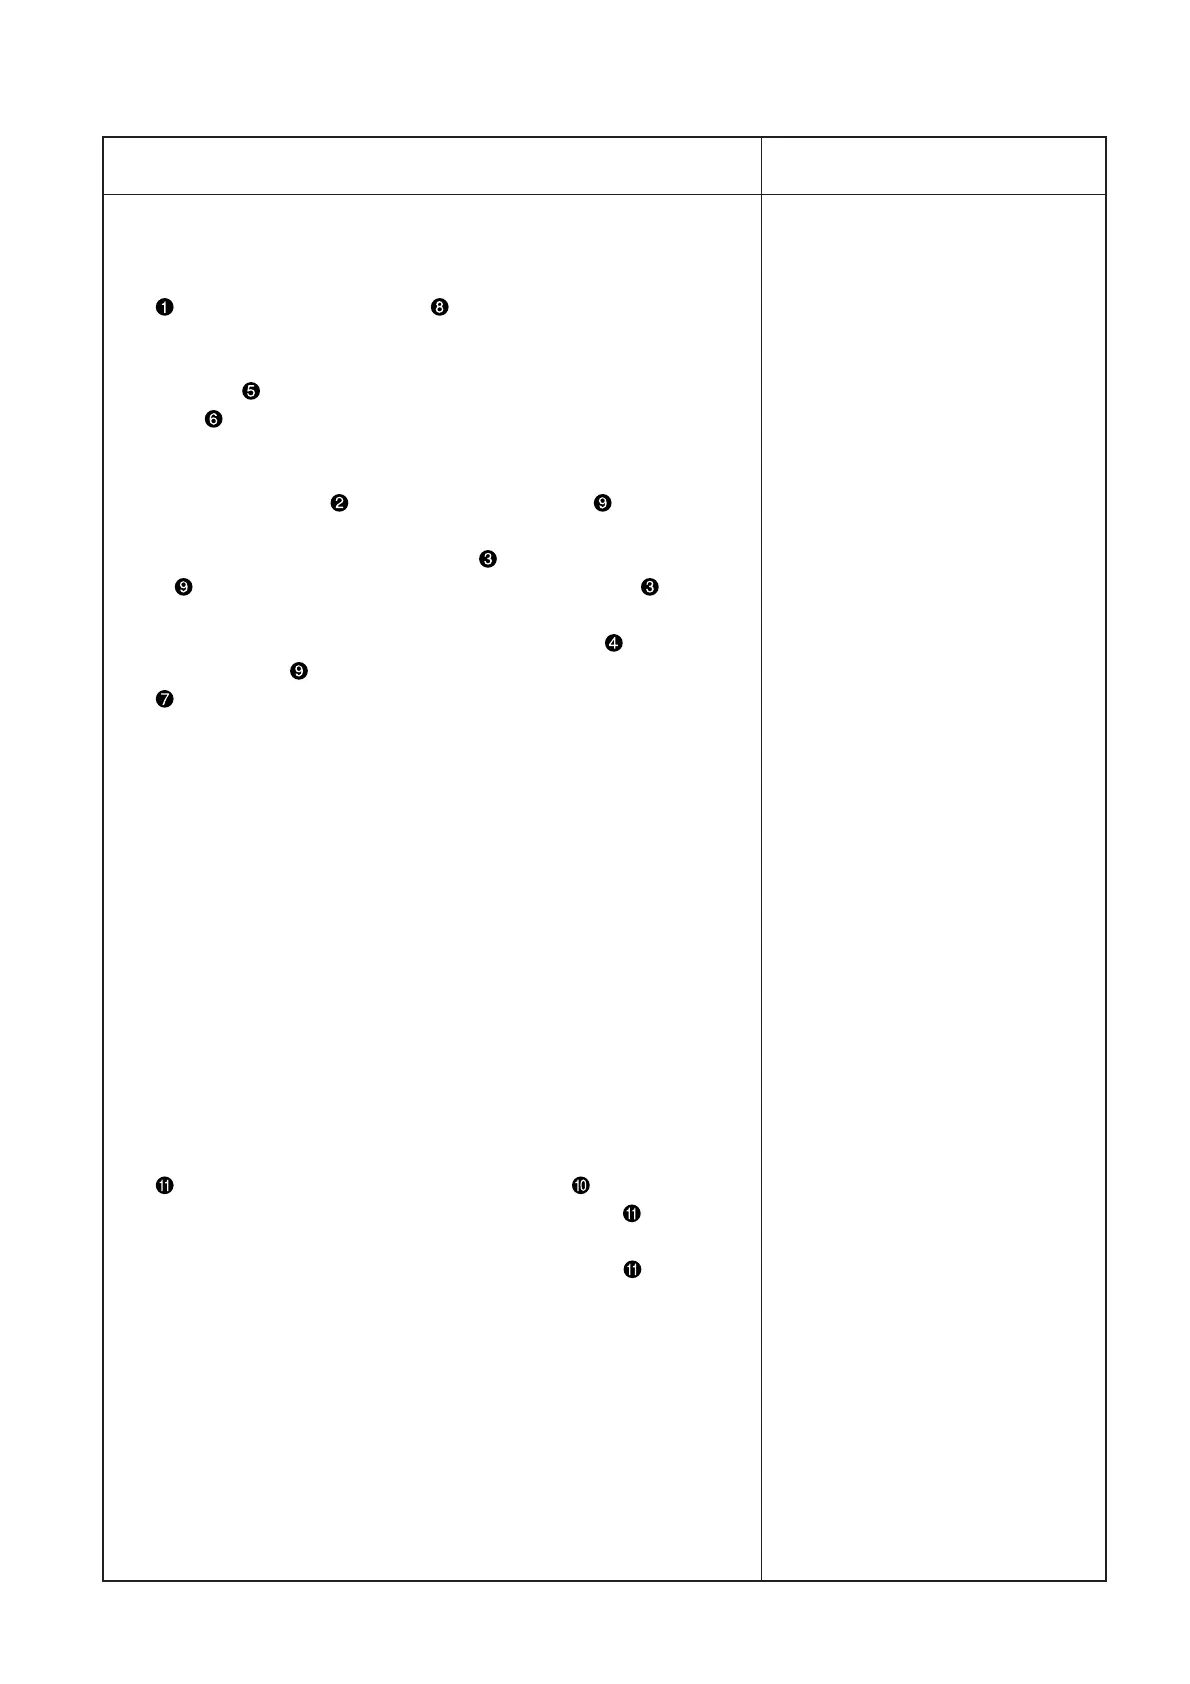
1. Adjustment of laser beam parallelism of the marking light
(1) Adjustment of the horizontal line
o If parallelism of the laser beam is not secured, loosen the setscrew
and turn the marking light A for adjustment.
o In the case of adjustments at the panel beyond the range of origin
correction (±25mm), dislodge the marking light cover and loosen the
setscrew of the rear sensor plate. In this state, turn the sensor
plate for adjustment.
(2) Adjustment of vertical line position
o If parallelism of the vertical laser beam is not secured (See Fig. A),
loosen the setscrew and turn the marking light B for adjustment.
o If the vertical laser beam has deviated in the right or left direction
(See Fig. B), loosen the hinge screw and adjust the marking light
B by turning it around the center of the hinge screw .
o If the radiation range (300mm from the needle center) of the vertical
laser beam is not secured, loosen the setscrew and turn the
marking light B for adjustment around the center of the fixed shaft
.
2. Adjustment of the light value of the marking light
(1) The light value of the marking light is adjusted with the volume control
located on the rear side of the marking light .
o The laser beam is lightened when the volume control is turned to
the right.
o The laser beam is darkened when the volume control is turned to
the left.
Adjustment Procedures Results of Improper Adjustment


 To Next Page