– 5 –
Fix connecting rod ❶ to installing hole B of pedal
lever ❷ with nut ❸.
❶
❹
❸
❸
❶
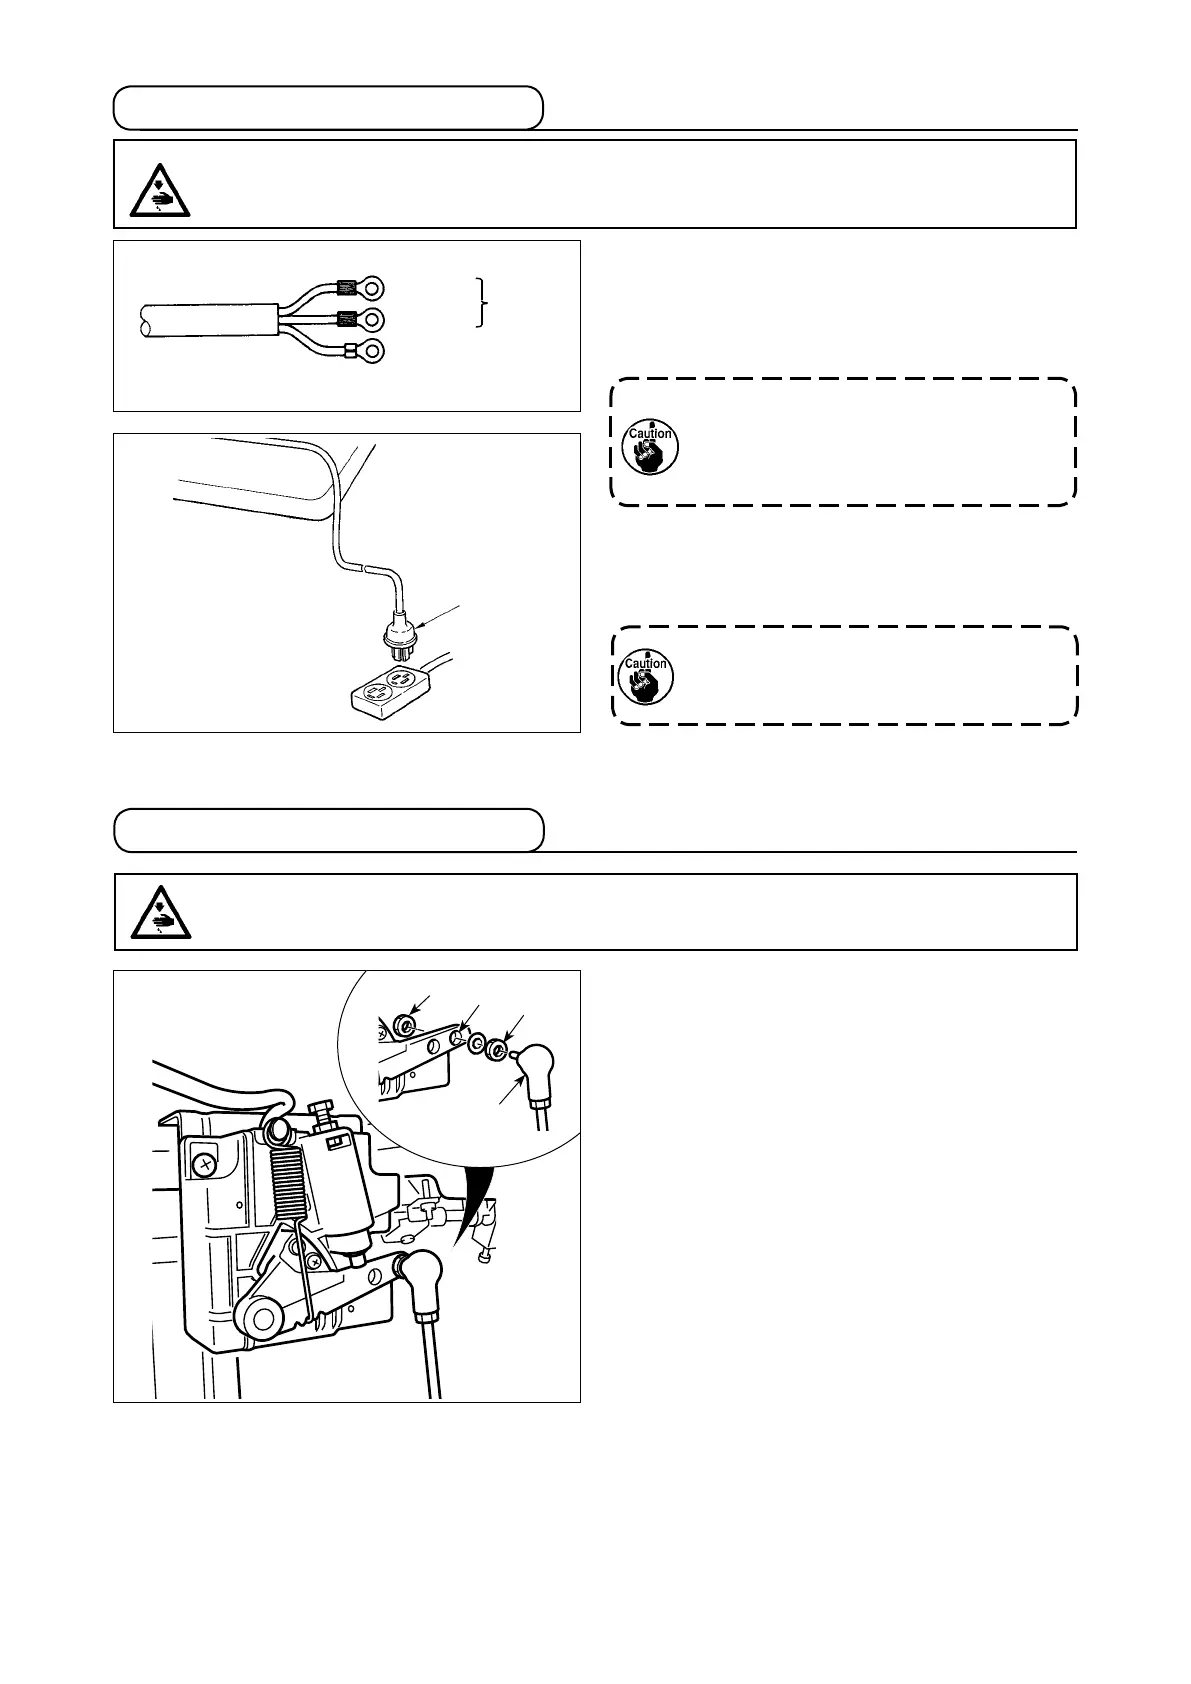
1ø 220V to 240V
AC
220V to
240V
Blue
Brown
Green / Yellow
(ground wire)
WARNING :
1. Be sure to attach the ground wire (green/yellow) to the specied location (on the ground side).
2. Take care not to allow terminals to come in contact with each other.
WARNING :
To protect against possible personal injury due to abrupt start of the machine, be sure to start the
following work after turning the power off and a lapse of 5 minutes or more.
4. How to install the power plug
1) Connect the power cord to the power plug.
As shown in the gure, connect the brown and
blue wires to the power supply side and the
green/yellow one to the grounding side.
1. Be sure to prepare the power plug ❶
which conforms to the safety standard.
2. Be sure to connect the ground lead
(green/yellow) to the grounding side.
2) Check that the power switch is in the OFF state.
Then, insert the power plug coming from the pow-
er switch into the plug receptacle.
In prior to the connection of the power plug,
re-check the supply voltage specication
indicated on the control box.
5. Attaching the connecting rod

 Loading...