83
Check your interface configuration, then click Next when ready to proceed. The
Physical Ethernet DHCP Interface window appears.
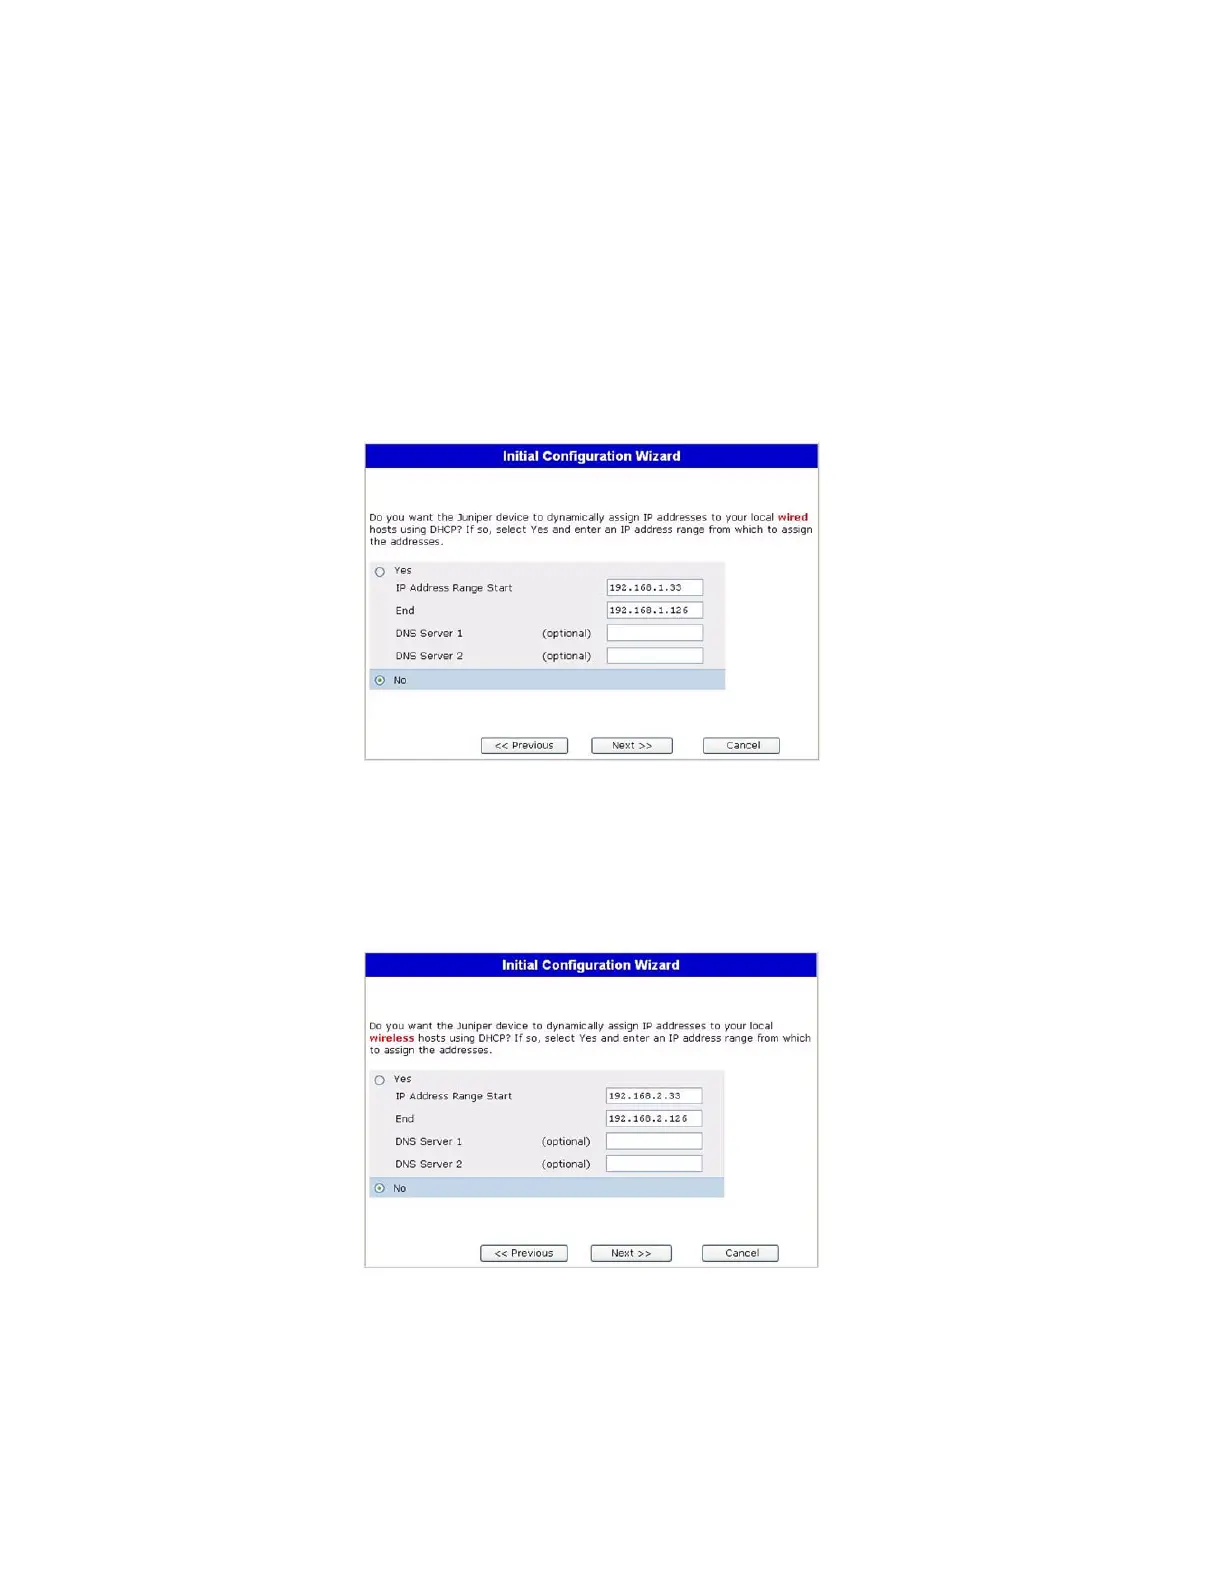
15. Physical Ethernet DHCP Interface Window
Select Yes to enable your device to assign IP addresses to your wired network via
DHCP. Enter the IP address range that you want your device to assign to clients
using your network, then click Next.
Figure 44: Physical Ethernet DHCP Interface Window
16. Wireless DHCP Interface Window
Select Yes to enable your device to assign IP addresses to your wireless network via
DHCP. Enter the IP address range that you want your device to assign to clients
using your network, then click Next.
Figure 45: Wireless DHCP Interface Window