3. Use the mounting bracket as a template to mark the locations for two screws that
secure the mounting bracket to the wall. If practical, use screw holes on opposite
sides or edges of the mounting bracket.
4. If necessary, install anchors for the screws to distribute the weight of the access point
into the wall.
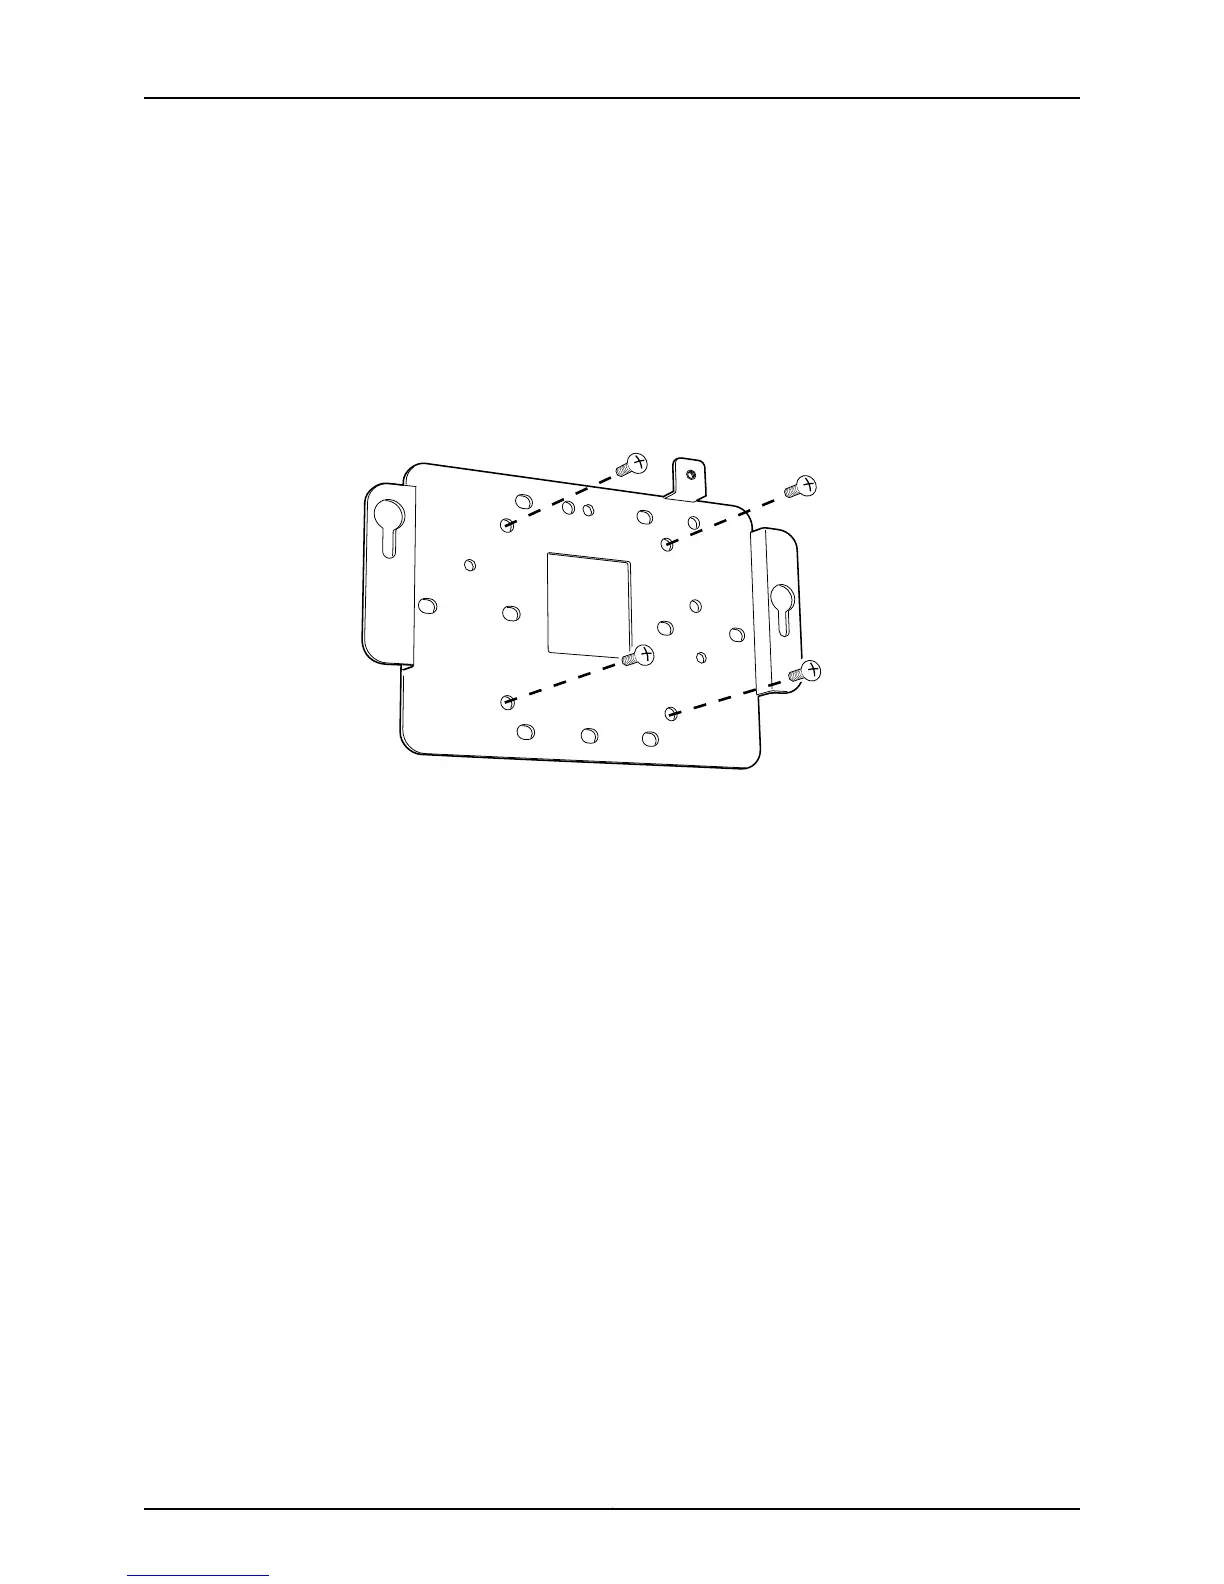
5. Attach the mounting bracket to the wall using screws appropriate to the wall and
anchoring system.
Figure 6: Attaching the Mounting Bracket to a Wall
Attaching the AX411 Access Point to a Mounting Bracket Installed on a Wall
To attach the AX411 Access Point to its mounting bracket:
1. If you are installing the AX411 Access Point on a wall above a suspended ceiling, first
remove the plastic cover from the access point as described in “Removing the AX411
Access Point Plastic Cover” on page 28.
2. Locate the two pins protruding from the underside of the access point.
3. Orient the access point so that the captive screw on the rear panel matches the tab
on the mounting bracket.
4. Press the access point against the mounting bracket so that the two pins go through
the enlarged portions of the keyhole slots on the raised ears at each edge of the
mounting bracket.
5. Slide the access point so that the pins engage the narrower portions of the keyhole
slots in the mounting bracket.
6. Secure the access point to the mounting bracket by tightening the captive screw on
the rear panel of the access point.
Copyright © 2012, Juniper Networks, Inc.24
AX411 Access Point Hardware Guide