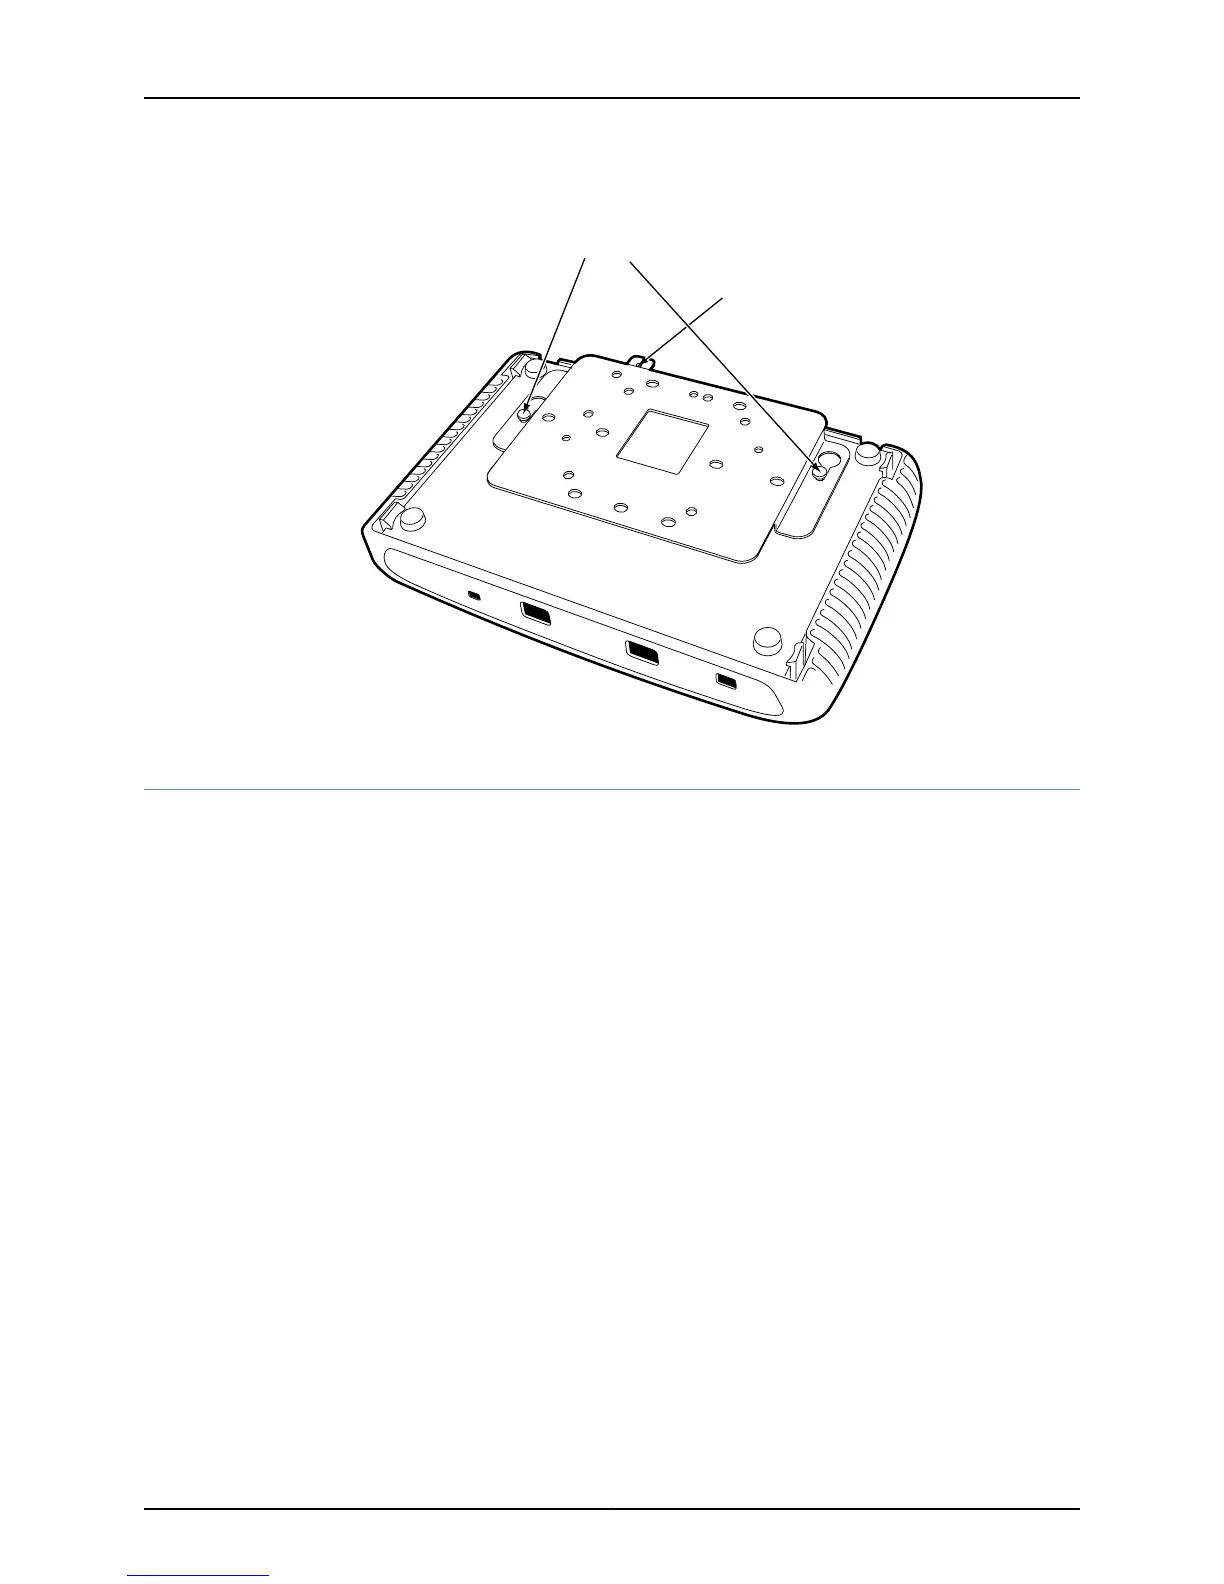
Figure 7: Attaching the Access Point to the Mounting Bracket
Engage pins in slots
Tighten captive screw
(opposite side)
g033105
Installing the AX411 Access Point in an Overhead Enclosure
This procedure describes how to install the AX411 Access Point in a typical overhead
enclosure, in this case the Oberon Wireless model 1052-00 enclosure with 34–ZDUAL
antennas. For installation in other overhead enclosures, see the specific instructions
provided with the enclosure.
To install the access point in an overhead enclosure, perform the following procedures:
1.
Installing the AX411 Access Point Mounting Bracket in an Overhead
Enclosure on page 26
2.
Attaching the AX411 Access Point to a Mounting Bracket in an Overhead
Enclosure on page 26
3.
Connecting External Antennas to the AX411 Access Point on page 27
4.
Installing the Overhead Enclosure Containing the AX411 Access Point on page 28
25Copyright © 2012, Juniper Networks, Inc.
Chapter 5: Installing the AX411 Access Point