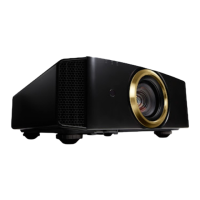
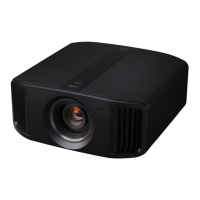
Precautions during Mounting
Securing (mounting) the projector
0
When this unit is to be mounted to a fixed position for
use, install it horizontally.
0
Make
sure
to secure the main unit to prevent accidents
such as during an earthquake.
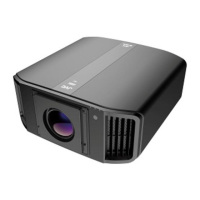
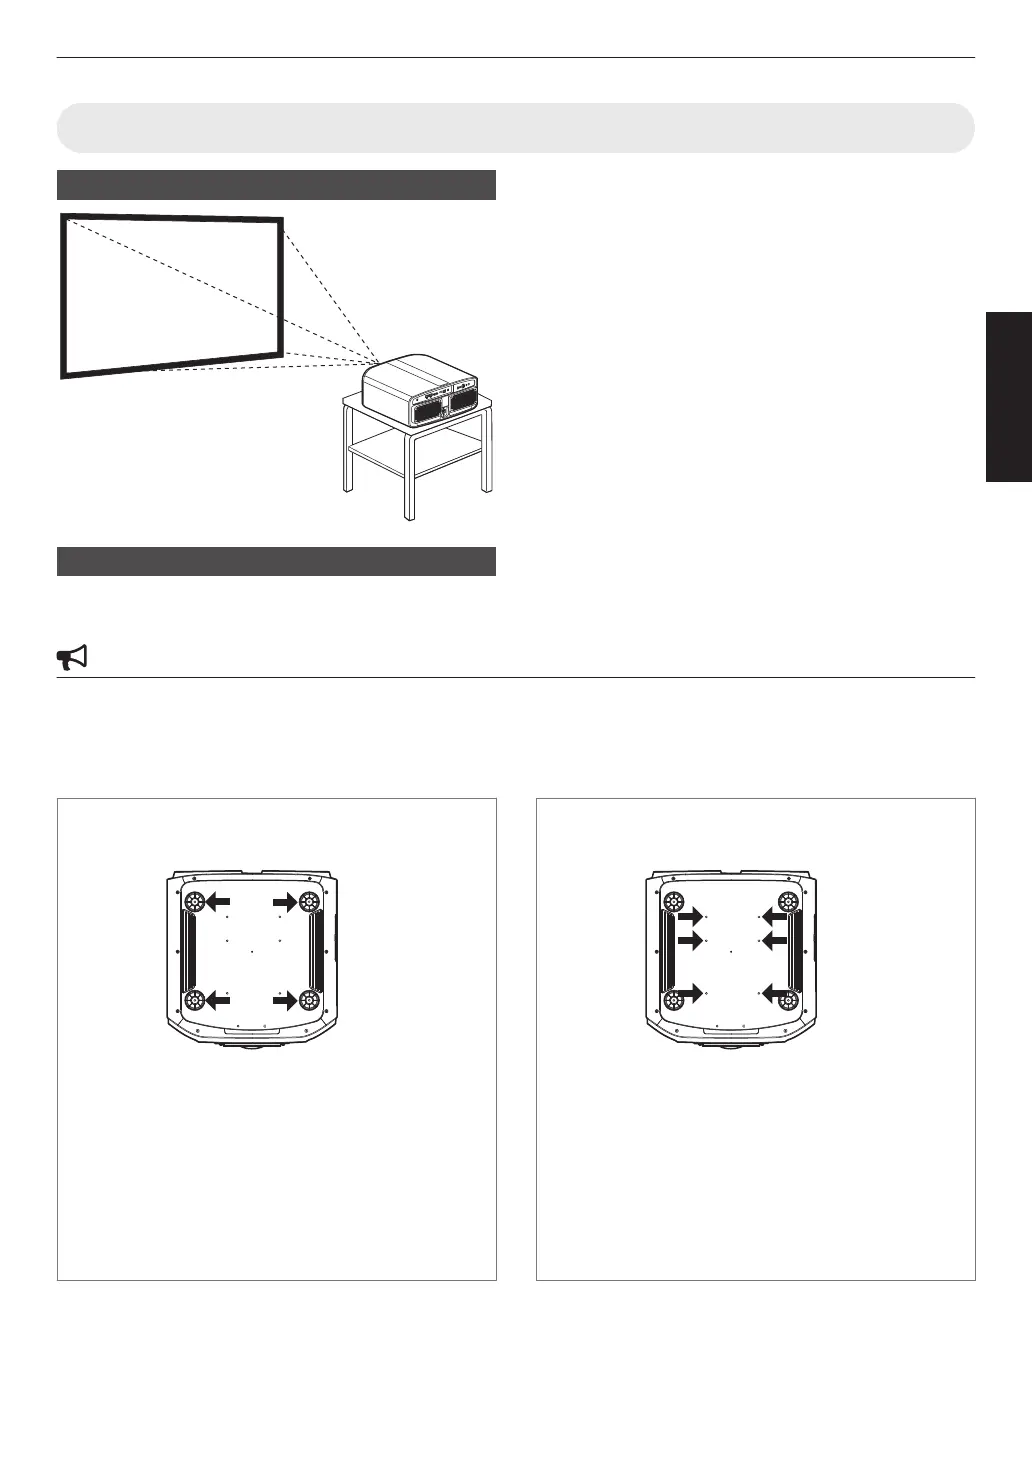
Securing the projector (directly mount)
For directly mounting projectors to a stand for motion or non-motion systems, remove the four feet from the base of the
projector and use the inner six mounting screw holes (see pictures below).
CAUTION
Use ONLY the fixing screws specified for mounting the projector. Using any screws other than those specified can
cause damage and malfunction to the projector. NEVER insert the four outer feet into the inner screw holes, as the
length of
the screws are to long and will cause damage to the unit. If the mounting instructions are not followed, issues
or failure can occur.
Non-Motion Applications
Outer 4 screw holes can be used
Screw Specifications
0
M5 (screw pitch 0.8)
0
The
screw
length into the body of the projector must
not exceed 15 to 25mm.
0
The length of the screw will be determined by the
depth of the projector mounting plate.
Example -
If the plate is 5mm thick a screw between
20 to 30mm must be used.
0
Torque 1.5Nm to 2.0Nm.
Motion Applications
Inner 6 Screw holes must be used
Screw Specifications
0
M5 (screw pitch 0.8)
0
The
screw
length into the body of the projector must
not exceed 9 to 13mm.
0
The length of the screw will be determined by the
depth of the projector mounting plate.
Example -
If the plate is 5mm thick a screw between
14 to 18mm must be used.
0
Torque 1.5Nm to 2.0Nm.
21
Set up
 Loading...