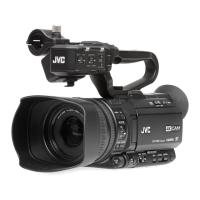
Basic Shooting
Procedures
Preparations
.
1
Supply battery or AC adapter power to the
camera recorder.
(A P32 [Power Supply] )
2
Insert an SD card.
(A
P
43 [SD Card] )
3
Turn on the power of the camera recorder.
Hold down the lock button (blue) at the center of
the [POWER ON/OFF] switch to set to “ON”. The
camera recorder starts up in Camera mode and
is ready for recording.
4
Adjust the angle of the LCD monitor and
viewfinder.
(A P40 [Adjusting the LCD Monitor and
Viewfinder] )
Shooting
The [FULL AUTO] button of this camera recorder
is set to “ON”
by default, the following video items
are automatically adjusted.
0
Iris
0
Gain
0
Shutter
0
White balance
The audio recording level is also set to Auto, and
audio from the built-in microphone is recorded.
When the [FULL AUTO] button is set to “ON”, the
v icon appears at the lower center area of the LCD.
.
AE+6
ND 1 / 1 6
12 :34 : 56
Jan 24,2015
00: 00:00.00
4030 20 10 0
P 15 00 0K
* Press and hold the [FULL AUTO] button to
switch the Full Auto mode ON and OFF.
Memo :
0
To set each individual video setting item
automatically or manually, and to carry out the
audio input settings and the audio recording
level adjustment, refer to the following.
0
[Adjusting the Brightness] (A P 58)
0
[Adjusting the Iris] (A
P 59)
0
[Setting the Gain] (A P 60)
0
[Setting the Electronic Shutter] (A P 61)
0
[Adjusting the White Balance] (A
P 64)
0
[Selecting Audio to Be Recorded in Each
Channel O] (
A P 69)
0
[Adjusting the Audio Recording Level O]
(
A P 70)
.
Basic Shooting Procedures
49
Shooting
 Loading...