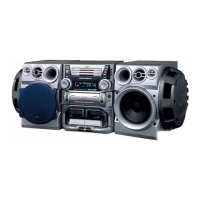
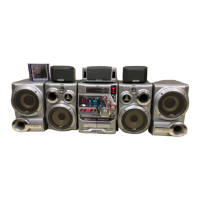
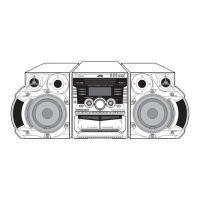
1-18 (No.MB080)
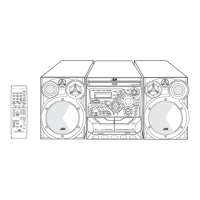
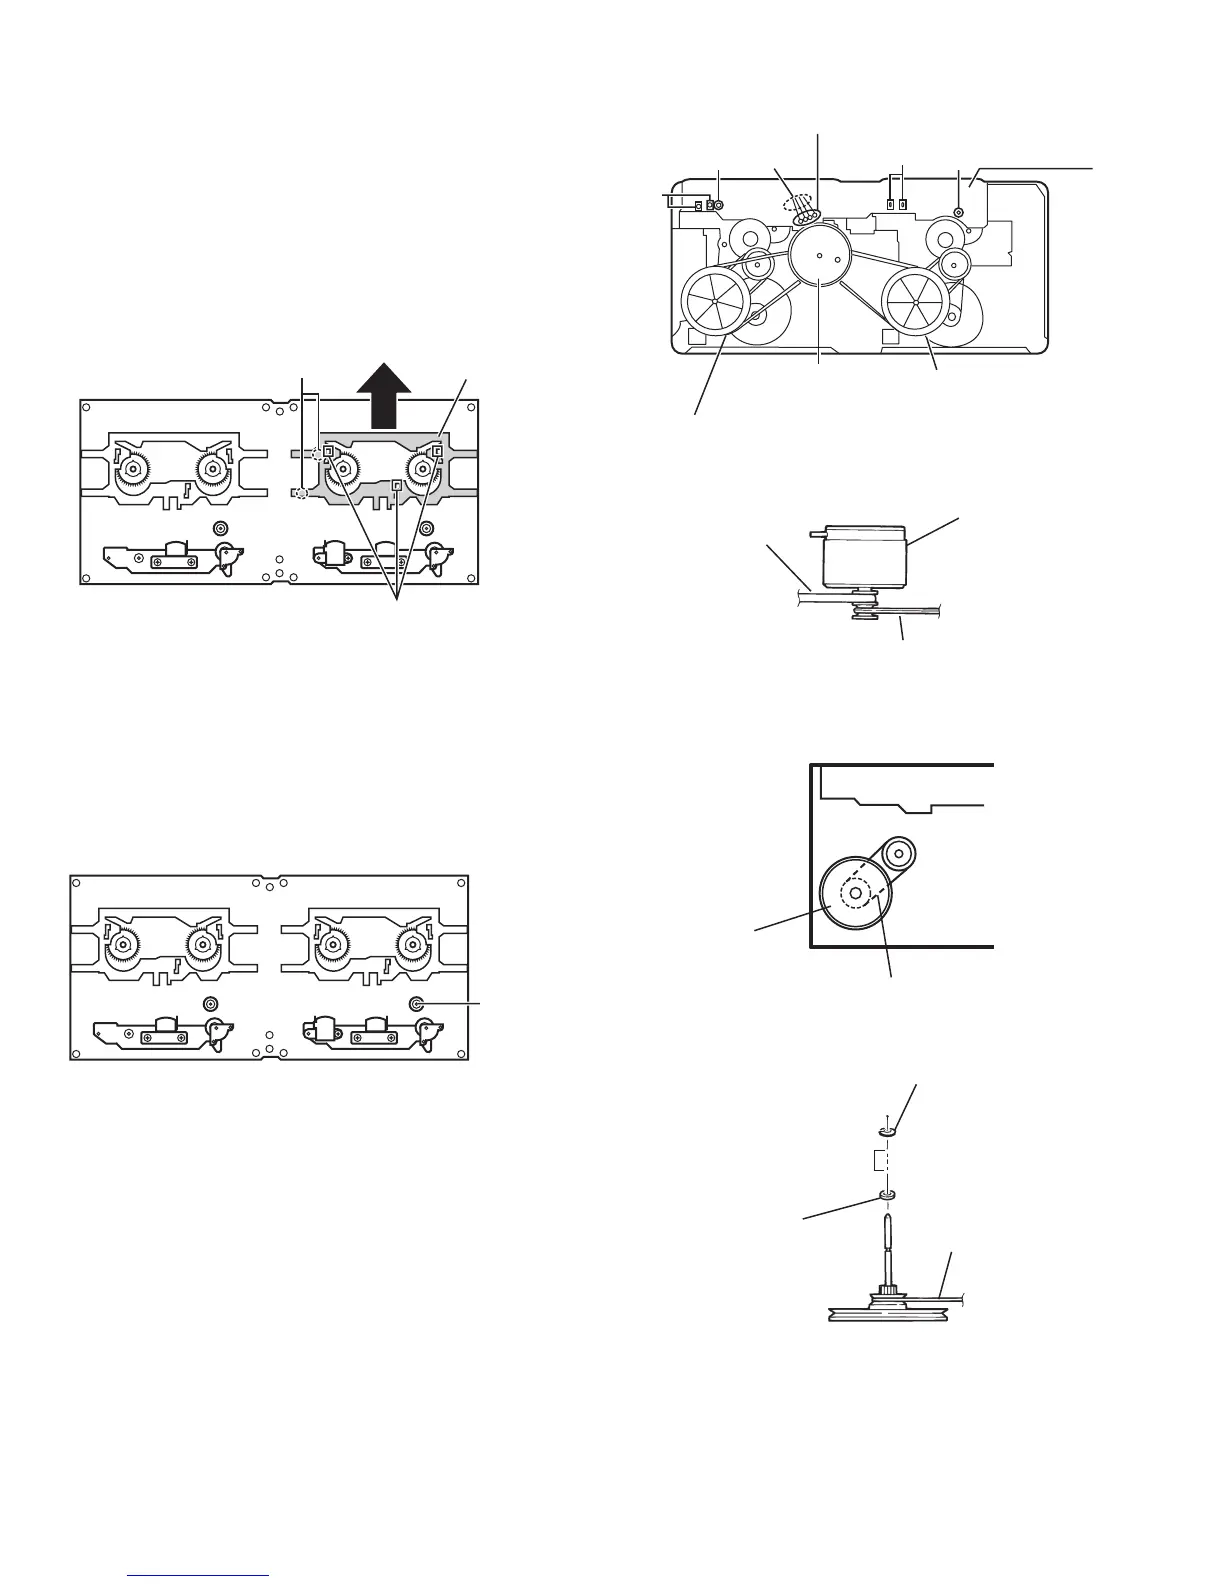
3.5.4 Removing the motor
(See Fig. 4 to 6)
(1) Slide the plastic cover in the direction of the arrow, and re-
move the three claws. Then remove the plastic cover.
(2) Remove the two screws D fixing the motor. Be careful to
grease's splash when the drive belt comes off.
(3) Unsolder the motor terminal.
3.5.5 Removing the mechanism board
(See Fig. 5)
(1) Unsolder the four solder parts a and the four solder parts b.
(2) Remove the two screws E attaching the mecha. board.
Fig.4
Fig.5
Fig.6
3.5.6 Removing the flywheel
(See Fig. 7 and 9)
(1) Remove the cut-washer at c from the capstan shaft, then
remove the flywheel.
When reassembling the flywheel, be sure to use new
washers as they cannot be reused.
Fig.7
Fig.8
Fig.9
Plastic cove
Claw
D
Drive belt
Drive belt
Motor
Motor
terminal
Mecha. board
E E
Solder
part
a
Solder
part
a
Solder
part
b
Drive belt
Drive belt
Moto
Capstan
washer
FR belt
Flywheel
c
FR belt
Washer
Sleeve
 Loading...