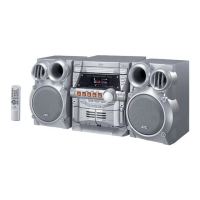
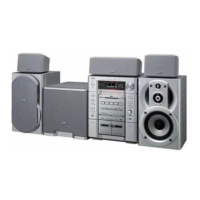
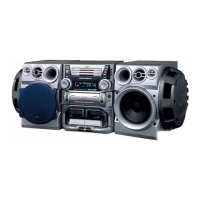
(No.MB080)1-7
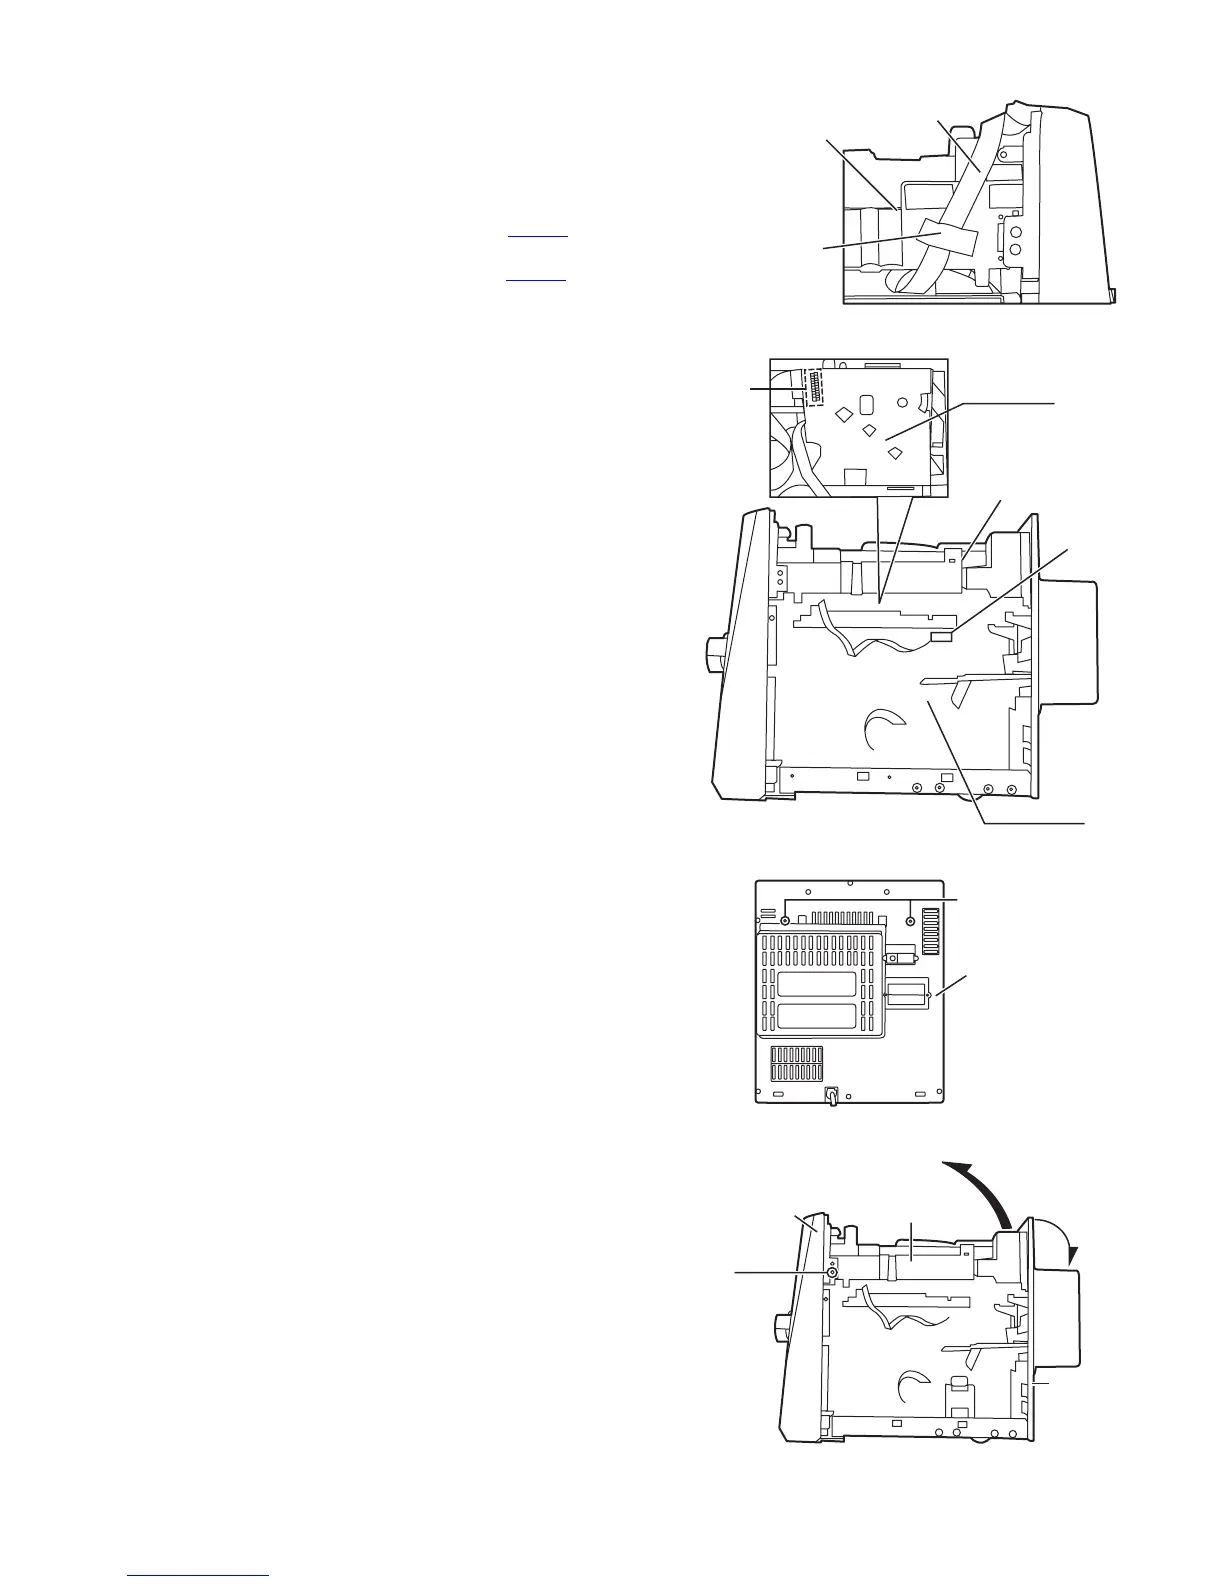
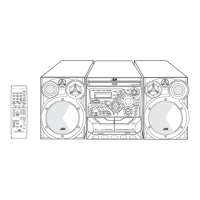
3.1.3 Removing the CD changer unit
(See Fig. 4 to 7)
• Prior to performing the following procedure, remove the metal
cover and CD tray fitting.
(1) Remove the card wire attached to CD changer unit on the
adhesion tape.
(2) Disconnect the card wire from the connector CW105
on the
CD board.
(3) Disconnect the harness from the connector CW104
on the
main board.
(4) Remove the two screws C attaching the CD changer unit to
the rear panel.
(5) Remove the two screws D attaching the CD changer unit to
both sides of the front panel assembly.
(6) Draw the CD changer unit upward from behind while pull-
ing the rear panel outward.
Fig.4
Fig.5
Fig.6
Fig.7
CD changer unit
Card wire
dhesion tape
CW104
CD board
CD changer unit
Main board
CW105
Rear panel
C
D
(both sides)
Rear panel
CD changer unit
Front panel
assembly