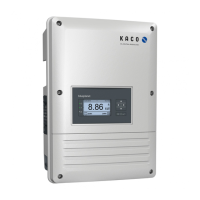
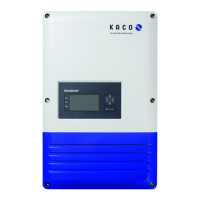
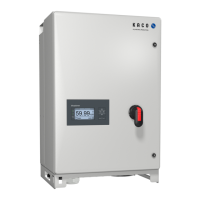
KACO blueplanet 3.0 NX3 M2 KACO blueplanet 5.0 NX3 M2 KACO blueplanet 8.0 NX3 M2 KACO blueplanet 10.0 NX3 M2
KACO blueplanet 15.0 NX3 M2 KACO blueplanet 20.0 NX3 M2 Page 30
Note: The connection is established
exclusively via the hotspot until step 6.
This is how long your mobile end device
must be kept near the communication
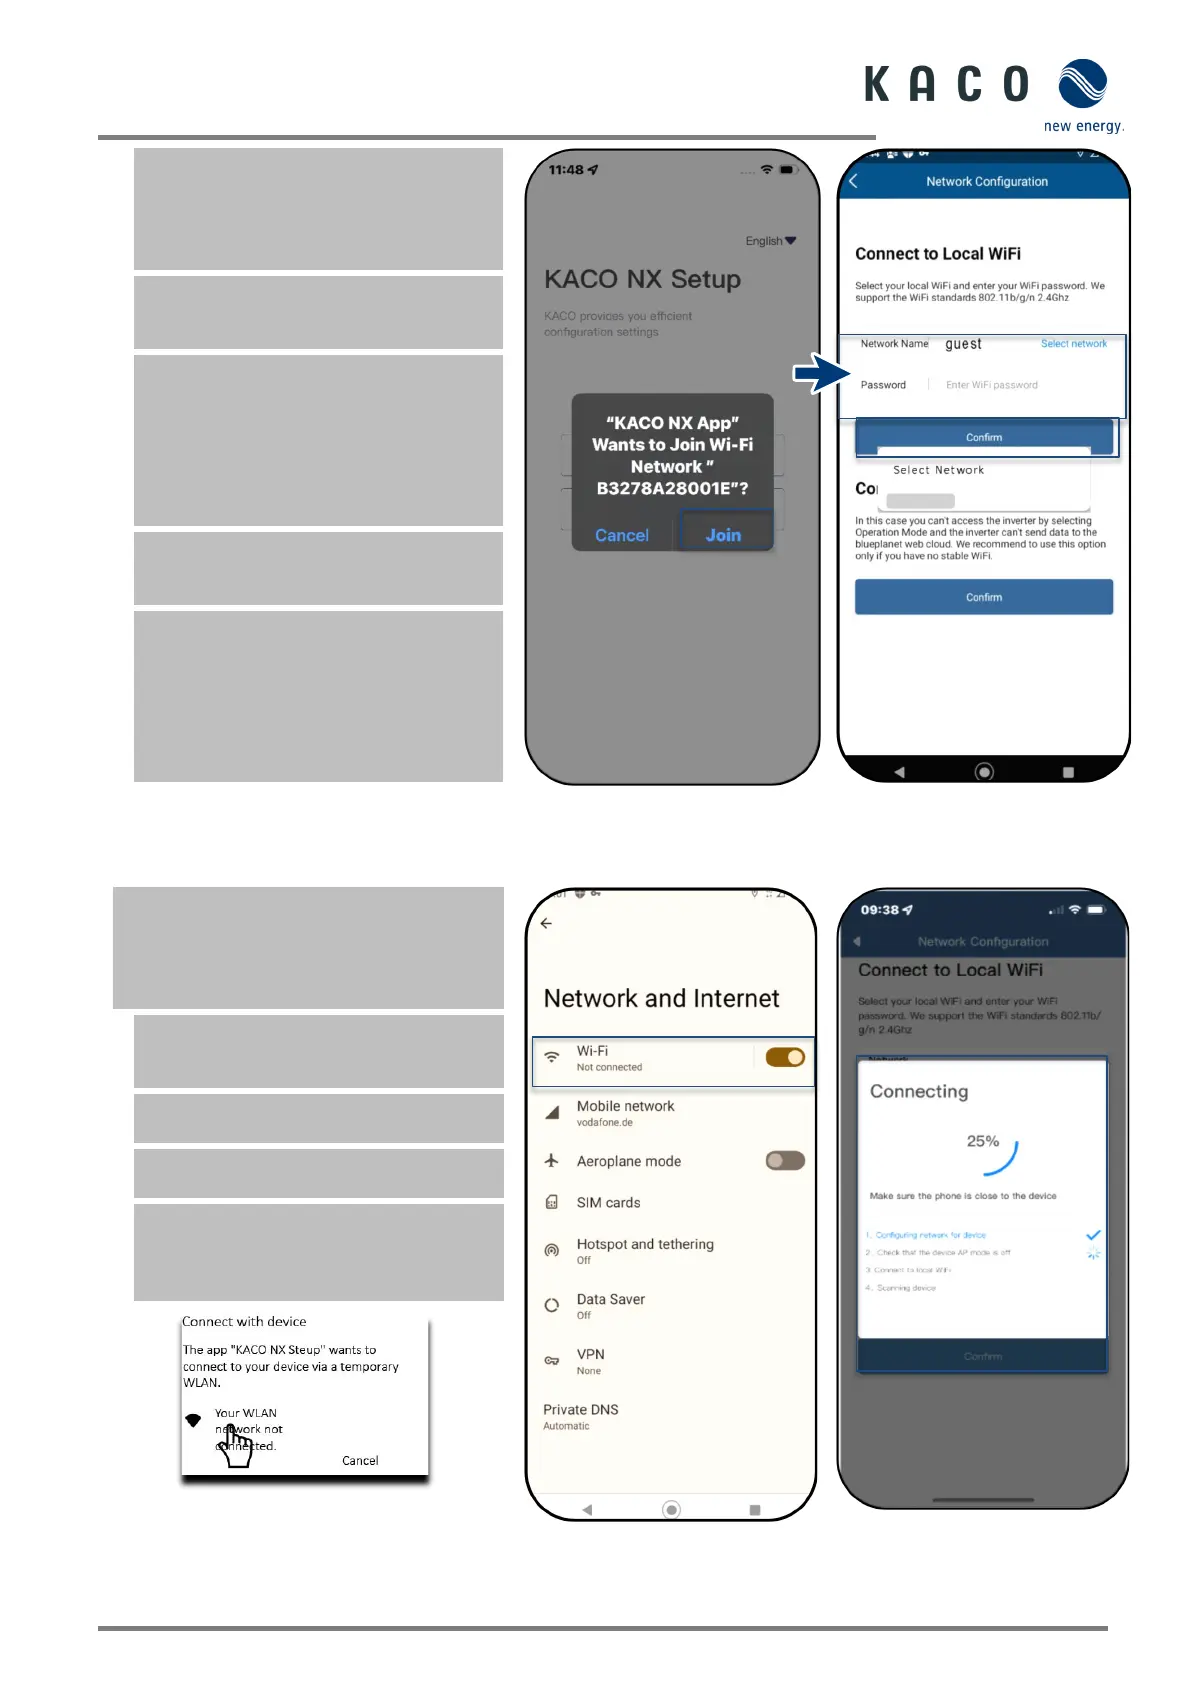
4. Confirm the WLAN network of the
communication unit by tapping the B…
Note: After a short time you will have 2
options in <Network Configuration>.
Option 1- Connect the communication unit
to the local WLAN network.
Option 2 –Use the existing hotspot: Now
follow the instructions in Chapter 9.5.2 on
5. Select the customer’s WLAN network.
The customer needs to enter the password
and press the <Confirm> button.
Note: If the connection fails, the
communication unit is not in range of the
customer’s router. You can improve the
signal quality between the communication
unit and the router by interposing a
repeater. However, this must also be
connected to the same network.
communication unit with a
Fig. 45. Enter the access data for the
customer’s WLAN network
Note: If the connection is successful, your
communication unit will be connected to the
customer’s WLAN network. Your mobile end
device now also needs to be connected to the
6. In <Settings> on the mobile end device,
you now need to establish a connection
with the customer's WLAN network.
Note: The password is pre-filled if a
connection already exists.
7. Note the checklist and status. Process
takes up to 5 minutes.
» Your communication unit and your
mobile end device are now on the same
customer WLAN network. A successful
connection is displayed in a new window.
Fig. 46. Connect the inverter to the customer’s
WLAN
Fig. 47. Connect the mobile end
device to the customer’s WLAN
Fig. 48. The connection to the
customer’s WLAN network is
 Loading...