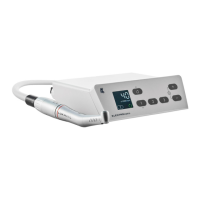
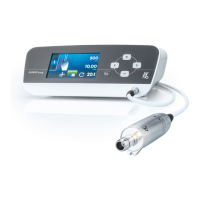
Instructions for use ELECTROmatic M/C and PM/PC
4 Installation | 4.8 Connecting the ELECTROmatic
46 / 78
▪ 4x + 2x screws M4x12 ④ with self-locking nuts ①
▪ 4x + 2x washers ②
▪ Optional: 4x spacer bolts, 35 mm ⑦
▪ Optional: 1x mounting plate
▪ 2x plastic screws ⑥
▶ Open the cabinet.
▶ Define the position of the control panel in the cabinet or on the wall and
draw a hole pattern for attachment. If possible, use existing screws or per-
forations as screw positions.
▶ Installation on a cabinet: Use 2 plastic screws to screw the control panel to
the cabinet.
▶ Installation on the wall: Use 2 screws ④ and washers ② to screw the angle
bracket with control panel to the wall and secure it with the nuts ①.
▶ Mount the control unit.
See also:
2 4.4 Installation position 1: Mount below a holder, Page 33
4.8 Connecting the ELECTROmatic
See also:
2 5.1.2 Connecting the ELECTROmatic, Page 47
2 5.1.5 Connect the power supply, Page 49
4.9 Check the installation
▶ Check if the fastening is secure.
▶ Perform the startup.
See also:
2 5 Startup, Page 47