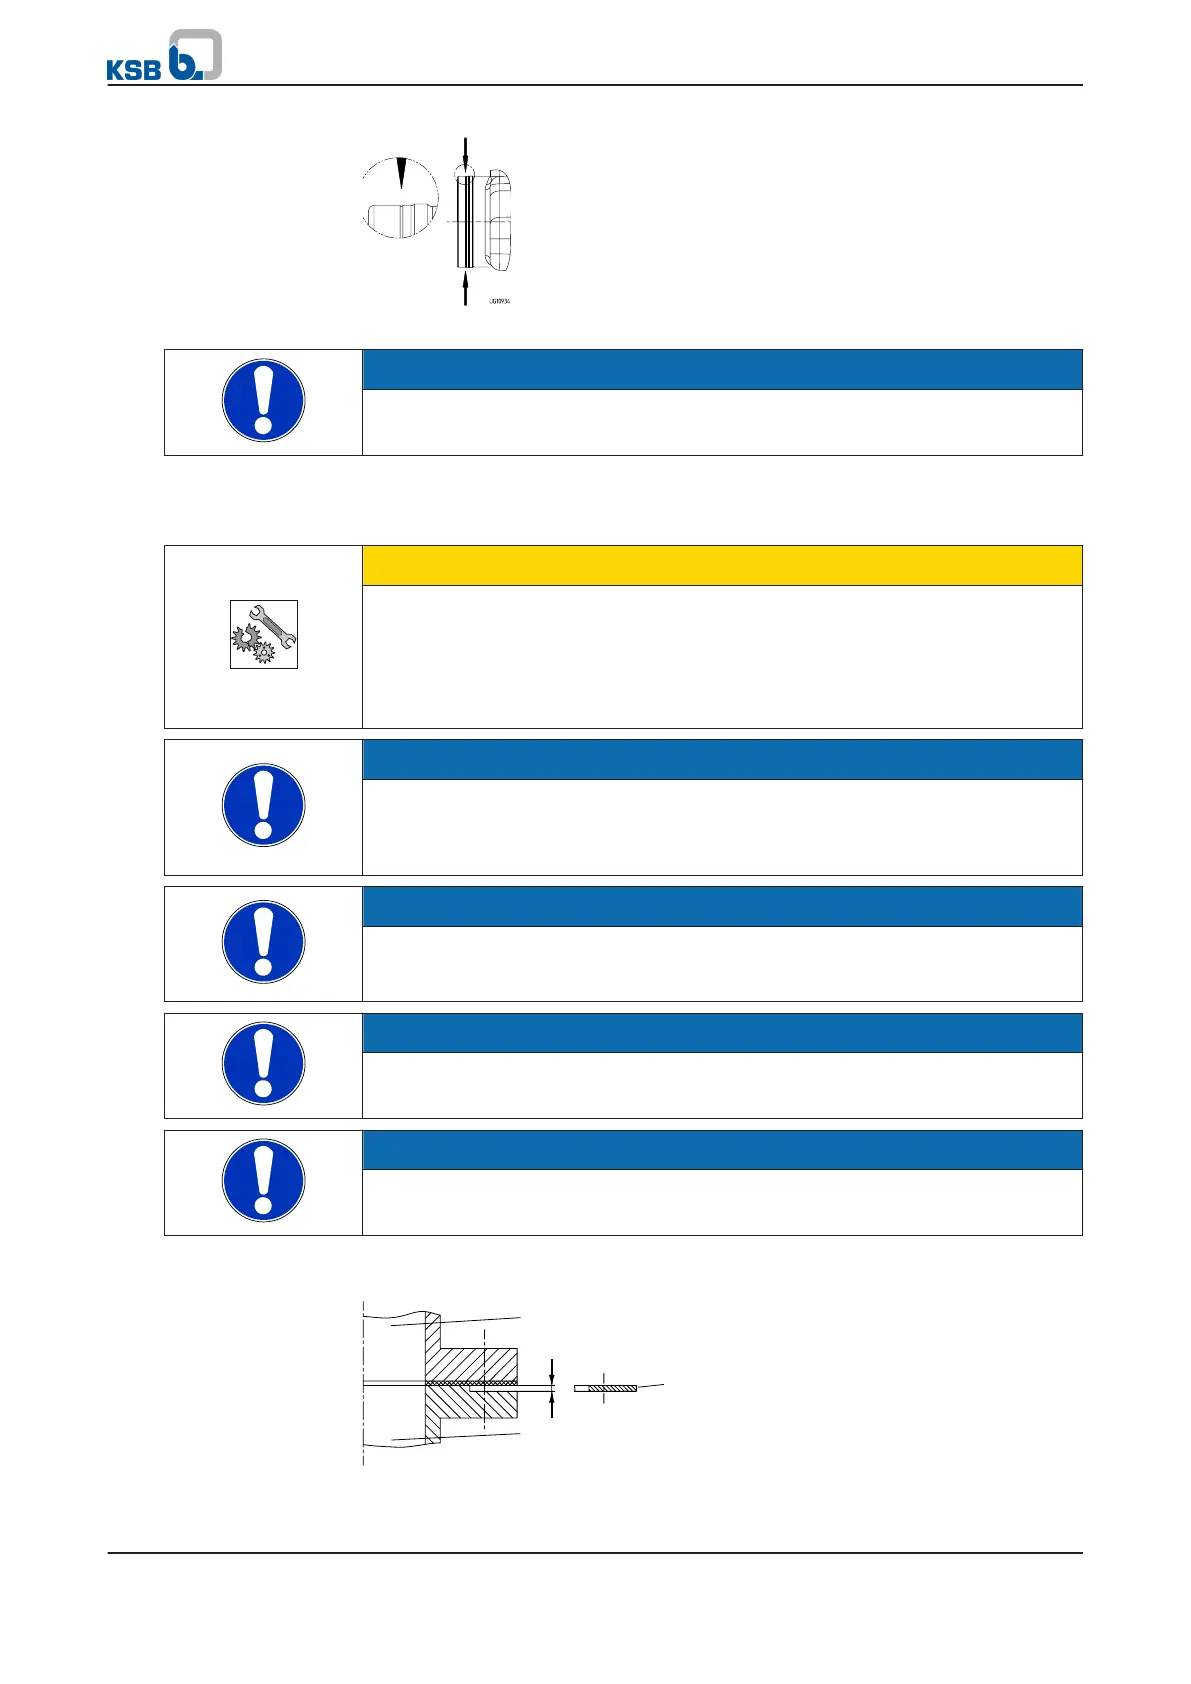
Fig. 8: Opening the nozzles
NOTE
All pipe connections must be sound-insulated and flexible.
Carefully tighten all hose straps.
Discharge line
CAUTION
Incorrect installation of discharge line
Leaks and flooding of installation room!
▷ Run the discharge line above the flood level before leading it into the sewer.
▷ Do not connect the discharge line to the waste water downpipe.
▷ Do not connect any additional sanitary installations to the discharge line.
NOTE
To prevent any backflow from the collecting main, run the discharge line in the
form of a pipe loop whose invert at its highest point must be above the locally
defined flood level (e.g. street level).
A gate valve must be installed downstream of the check valve.
NOTE
Check valves of DN >80 are equipped with a lifting device to allow pipe drainage.
Under normal operating conditions, the valve closes if the stem has been screwed
out as far as it will go.
NOTE
mini-Compacta U/UZ are fitted with an integrated check valve of DN 80.
For UZ dual-pump units, the Y-pipe is included in the scope of supply.
NOTE
Connect the flexible hose serving as discharge line using the broad hose clips 733.03
included in the supplementary equipment enclosed with the lifting unit.
Installation instructions for DN 80 flanged connection
Fig. 9: Flanged connection
5 Installation at Site
mini-Compacta
23 of 86