Do you have a question about the KEB COMBIVERT F0 and is the answer not in the manual?
Explanation of CE certification and compliance with EMC and machine directives.
Important instructions for safe and trouble-free inverter installation and connection.
Instructions to avoid premature ageing or destruction of the KEB COMBIVERT.
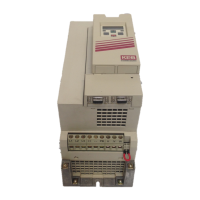
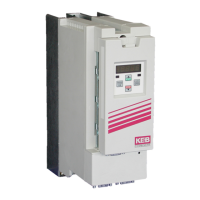
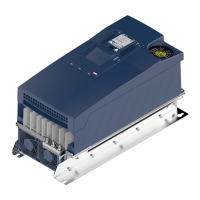
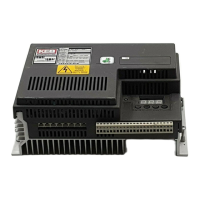
Guidelines for physically installing the KEB COMBIVERT unit.
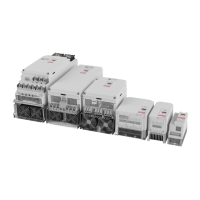
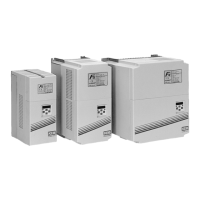
Detailed technical specifications for the 200/400 V class of inverters.
Dimensional data for the chassis version of the inverter.
Dimensional data for the rack version of the inverter, including various sizes.
Detailed wiring diagrams for different inverter sizes and voltage classes.
Diagram showing the control, driver, and power circuit components of the inverter.
Detailed connection diagrams for control terminals with activation and parameter setting options.
Table detailing the function and designation of each terminal on the control terminal strip X2.
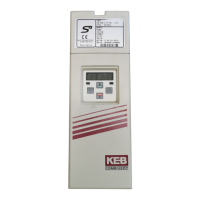
Explanation of the functions of the main operating keys (ENTER, UP, DOWN, FUNCT).
Description of the 3-figure 7-segment display for status messages, parameter numbers, and values.
Flowchart illustrating the menu structure and navigation within the inverter's interface.
How to enable the output and set the rotational direction via keyboard, bus, or terminals.
Overview of setting operating values using analog inputs.
How programmable inputs can activate parameter sets and additional functions.
Overview of analog and programmable relay outputs for signaling.
List of inverter status messages, including inverter status and parameter status reports.
How the password protection works, levels, and how to set/reset passwords.
Introduction to the RUN parameters which cover inverter status, set value, and basic settings.
Introduction to operation parameters for basic application adaptation.
Introduction to protection parameters for preventing overloads and interferences.
Introduction to H-parameters for analog and digital input/output configuration.
Setting switching levels for outputs and DC-braking.
Parameters for motor-specific data definition.
Drive-specific settings defined by the machine builder, not for customer adjustment.
Parameters for programming complete parameter sets 1-6.
Parameters specifying the frequency inverter and helping evaluate errors.
Profile parameters for bus operation, corresponding to DRIVECOM specification.
Explanation of the undervoltage error and its causes.
Explanation of the overcurrent error and its causes.
Explanation of the overvoltage error and its causes.
Explanation of the overload error and its causes.
Explanation of the overheating error and its causes.
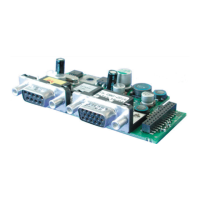
Description of the RS485/OPTOiso-module with isolated control inputs and interface.
List of interface converters, cables, software, and packages.
Description of the braking module for short deceleration times and 4-quadrant operation.
Explanation of the KEB input choke's function in reducing harmonics and improving power factor.
How the frequency inverter exceeds radio interference limits and measures for suppression.
PTC evaluating electronics for thermistor motor protection, installed in the unit.
How the Stall Function protects against overcurrent during constant frequency.
Description of LA-Stop (acceleration overcurrent) and LD-Stop (deceleration overvoltage/overcurrent) functions.
Conditions and diagrams for activating DC braking based on parameter C.7.
Stabilizing speed fluctuations caused by load torques without tachogenerator feedback.
How speed search and automatic retry UP function work.
Flowchart for programming parameter sets via keyboard or bus.
Block diagram illustrating the internal structure and components of the frequency inverter.
Table of default parameter settings for various parameter groups.
Description of communication parameters for application program preparation and control.
Application software for positioning, offering faster operation and simple control.
State diagram showing inverter states based on control word (Pr.6) and status word (Pr.7).
Information on TÜV acceptance for F0-devices.
Setting the Boost parameter for improved low-speed torque.
Setting the minimum output frequency.
Setting the maximum output frequency.
Setting the acceleration time.
Setting the deceleration time.
Selecting a parameter set for programming via keyboard.
Copying a parameter set from source to target.
Saving complete parameter sets using Global Enter.
Step-by-step example of adjusting deceleration time (o.8) in parameter set 3.
| Protection Features | Overcurrent, overvoltage, undervoltage, overtemperature, short circuit |
|---|---|
| Communication Interfaces | RS485 |
| Humidity | < 95% relative humidity, non-condensing |
| Enclosure Rating | IP20 |
| Dimensions | Varies depending on model (refer to datasheet) |
| Weight | Varies depending on model (refer to datasheet) |