Installing the hardwire kit not only helps prevent the camera battery from draining
the car battery thanks to its smart low voltage protection system but also provides
a continuous and stable power supply. So it’s of necessity to purchase a hardwire
kit and install it onto your dash cam.
Pro tip: We highly recommend the professional installation of the dashcam hardwire
kit. If you choose to install it yourself, please note that KingSlim cannot take
responsibility or liability for any product or vehicle damage, or personal injuries that
may occur due to improper operation during the process. It is crucial to ensure that
all necessary preparations are made and that the installation process is carried out
with a strong emphasis on safety.
Installation Instructions
Step 1: Make sure all the necessary components are readily available. You will need
a hardwire kit, a circuit tester, wire stripper, installation tool, and a fuse tap (sold
separately).
Tip: The red wire of the hardware kit is designed as the ACC wire, which should not
be connected to power until you start your car engine. The yellow wire requires a
constant power supply. And the black wire serves as the ground wire and should
be connected to a metal ground point.
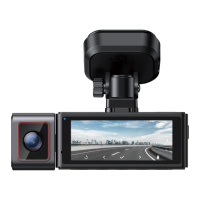
7. Hardwiring Your E2 Pro Dash Cam
1 2 3
1
2
3
Red Wire (Connected to the ACC fuse slot)
Yellow Wire (Connected to constant power supply)
Black Wire (Connected to a metal ground point)