Section 9
High Pressure Water System
20412997
8-2012/Rev 12
9-24
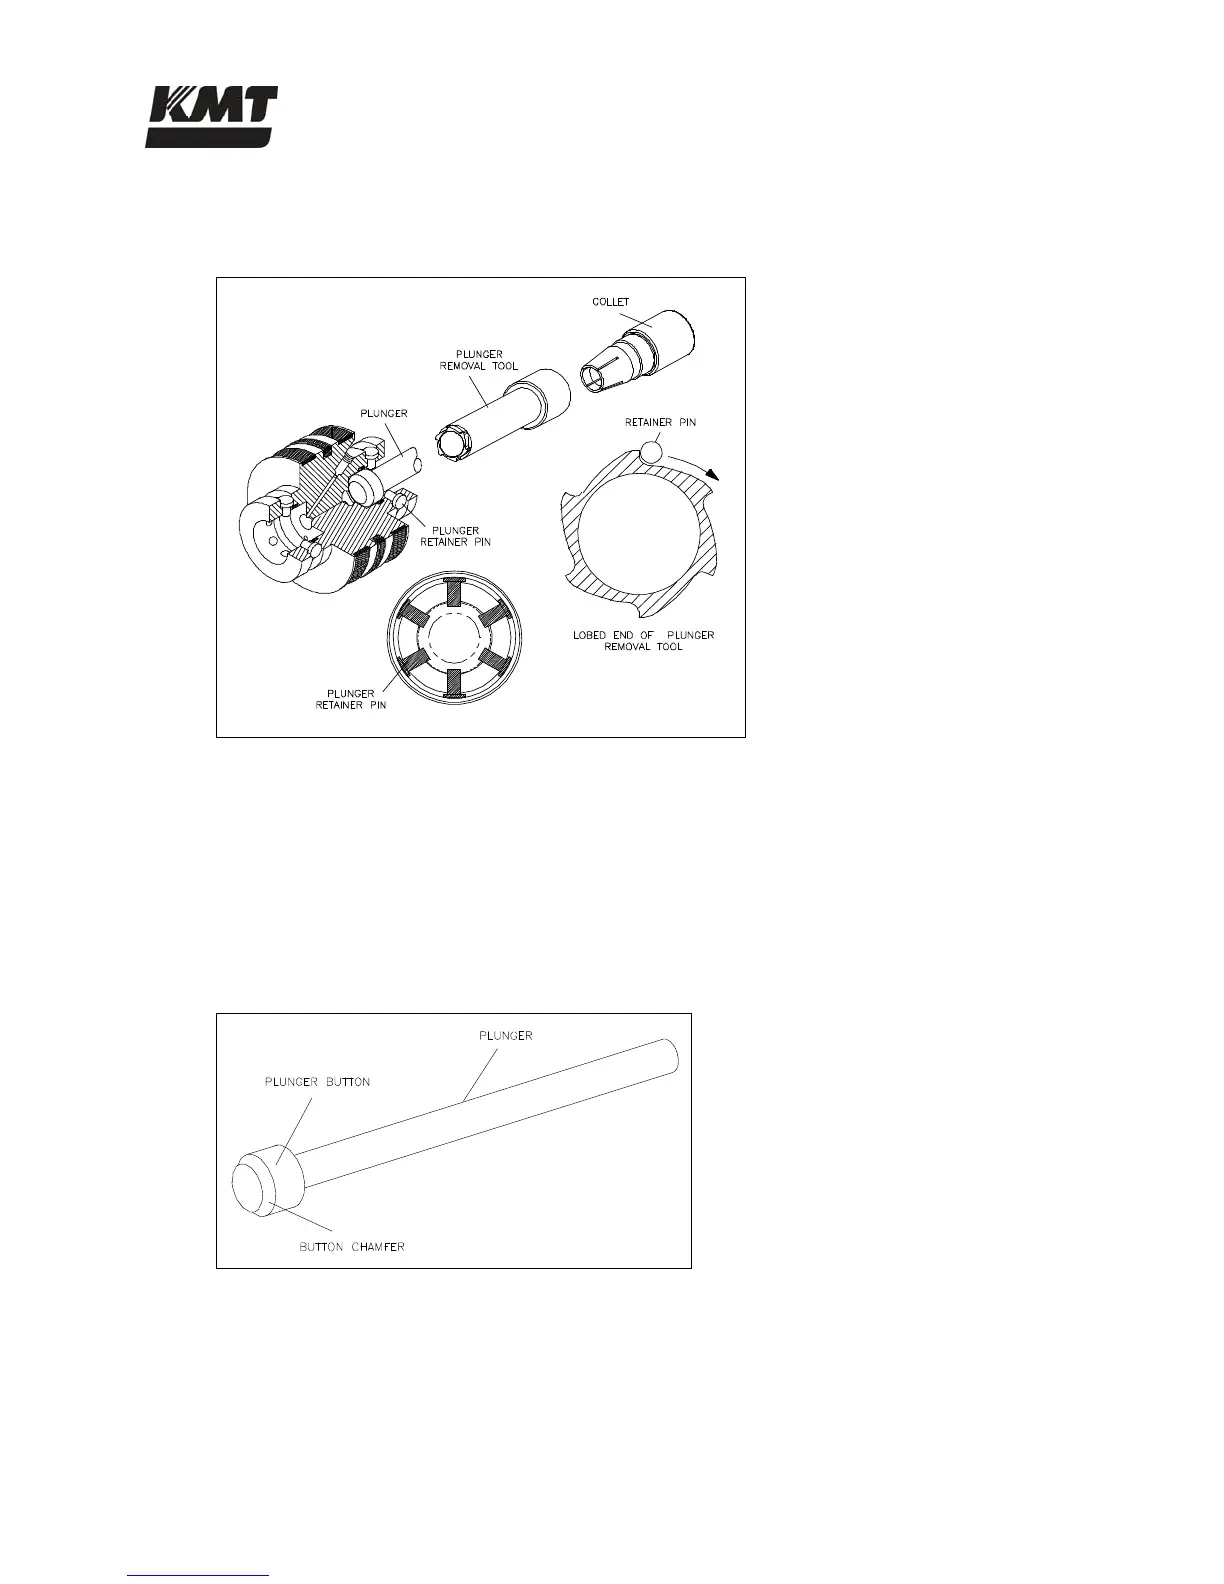
Tighten the collet and rotate the tool slightly, causing the pins to retract and release the
plunger. Remove the plunger from the hydraulic piston.
Figure 9-16: Plunger Retainer Pins
Plunger Maintenance
Plunger surfaces can become streaked with longitudinal scratches or flaws, and discolored or dull
in appearance. If any of these conditions become severe, the high pressure seal assembly and
possibly the hydraulic cartridge seal will leak.
Accumulation of debris on the surface of the plunger can be removed by polishing in a radial
direction with 600-grit sandpaper. However, plunger surface flaws usually cannot be repaired on
site. The plunger can be returned to KMT Waterjet for reconditioning.
Figure 9-17: Plunger
Plunger Installation
To install the plunger, slide the plunger removal tool over the plunger with the lobed end toward
the plunger button to help center the plunger in the hydraulic cylinder head. Position the plunger
in the button socket of the piston and force the plunger into place by hand. Use a flashlight to
verify that all six pins are equally extended to grip the plunger button.
 Loading...