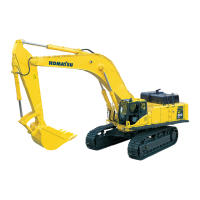
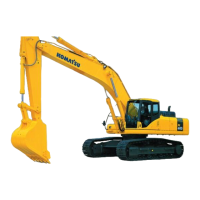
SEN01058-00 50 Disassembly and assembly
14 PC800, 850-8
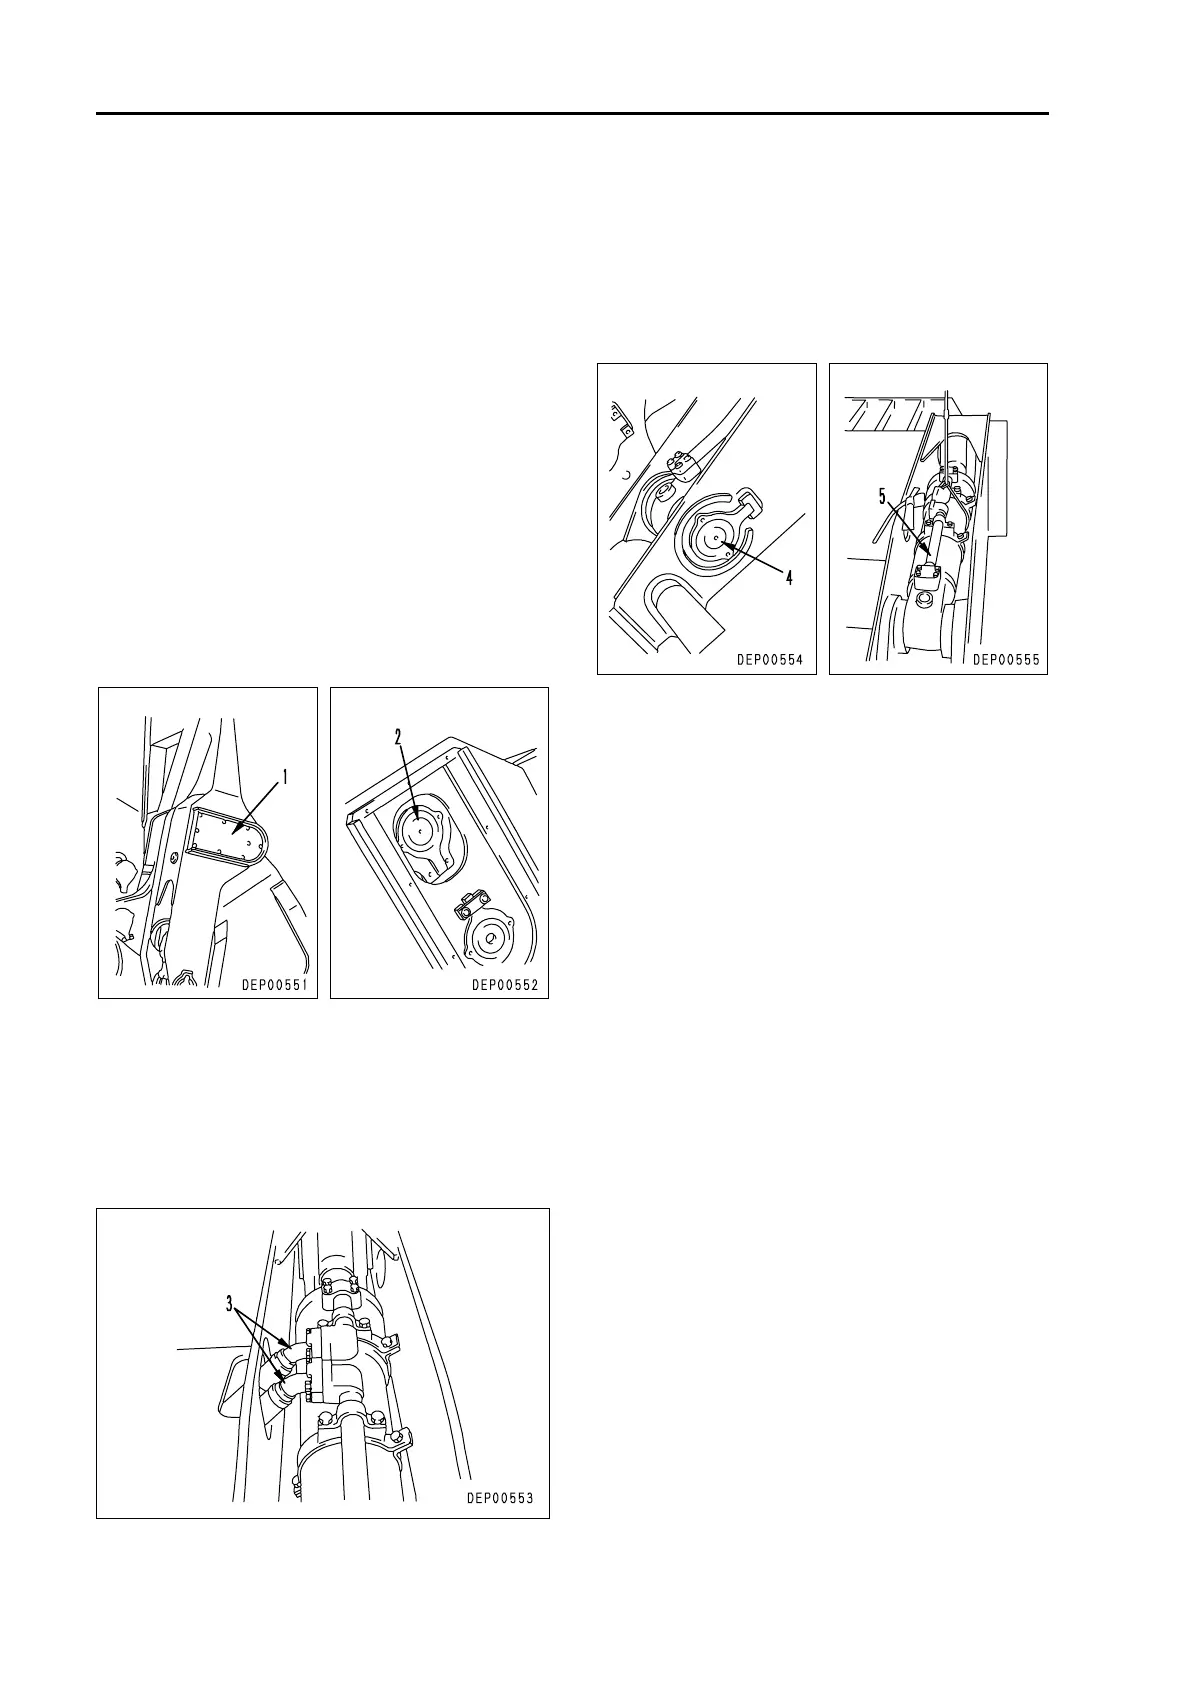
Removal and installation of
bottom dump cylinder assembly 1
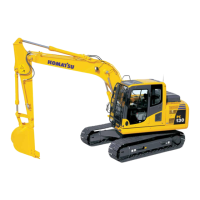
Loading shovel
Removal
k Set the bottom of the bucket horizontal, and
retract the rod to a position where the rod
connecting pin of the bottom dump cylin-
der can be removed. Then fit a block under
the bucket, lower the work equipment com-
pletely to the ground and stop the engine.
a Fit plugs in the hoses after disconnecting
them, to prevent dirt or dust from entering.
1. Remove cover (1).
2. Sling bottom dump cylinder assembly, and
remove lock plate, then using forcing screws
(Thread dia. = 16 mm, Pitch = 2.0 mm), pull out
pin (2). [*1]
3. Start engine and retract piston rod fully.
k After stopping the engine, release the
pressure inside the piping.
For details, see Testing and adjusting,
“Releasing pressure in PPC circuit”.
4. Remove hoses (3).
5. Remove 3 mounting bolts, then using forcing
screws (Thread dia. = 16 mm, Pitch = 2.0 mm),
pull out pin (4). [*2]
4 Pin: 35 kg
6. Lift off bottom dump cylinder assembly (5).
4 Bottom dump cylinder assembly: 140 kg
Installation
q Carry out installation in the reverse order to
removal.
[*1]
k When aligning the mounting position of the
pin, do not insert your fingers in the pin hole.
[*2]
k When aligning the mounting position of the
pin, do not insert your fingers in the pin hole.
a Bleed the air from the work equipment circuit.
For details, see Testing and adjusting, “Bleed-
ing air from hydraulic cylinder”.
q Refilling with oil
a Add oil to the specified level, and run the
engine to circulate the oil through the sys-
tem. Then check the oil level again.
 Loading...