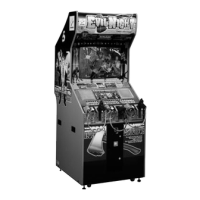
15
5 PCB settings
5-2 Adjusting the game environment (manual test)
Manually check and change the settings for the screen displays and game contents
and change them as reguired.
Starting the manual test mode
1 Turn ON the power switch.
2 While the demonstration game is playing, press the test button on the service
panel. (Do not turn ON the power switch with the test button held down. The
current settings will be erased and the machine will have the factory settings.)
·The unit is set in the manual test mode and the main menu is displayed on the
screen.
Quit the manual test mode
1 Press the 1P start button to select “GAME MODE” on the main menu screen.
2 Pull the trigger of the 1P gun.
·The screen goes back to the game mode.
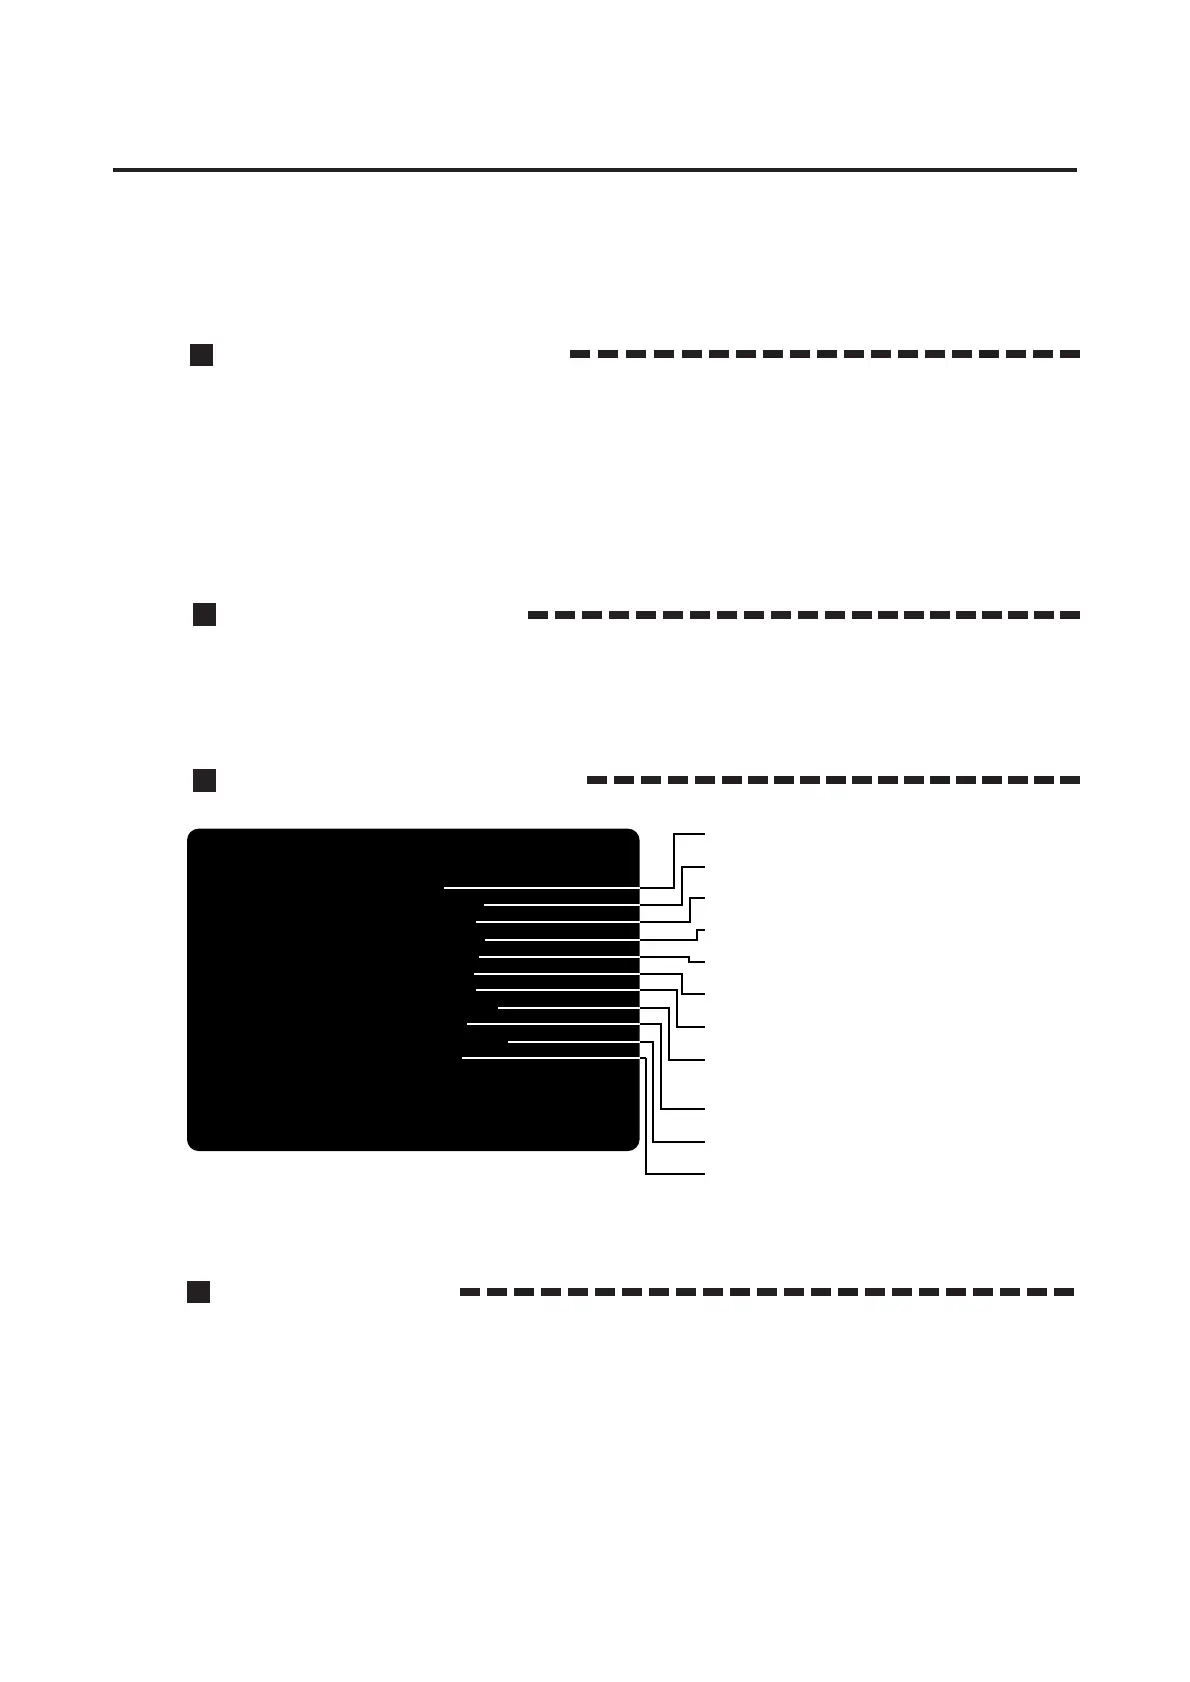
Main menu screen (basic items)
Selecting each mode
How to select each mode from the main menu
·SELECT --> Press the 1P start button.
·SET --> Pull the trigger of the 1P gun.
After selecting a mode, refer to the page on which that mode is described in details.
I/O CHECK
SCREEN CHECK
COLOR CHECK
SOUND OPTIONS
GAME OPTIONS
COIN OPTIONS
BOOKKEEPING
MASK ROM CHECK
CALIBRATION
FLASH BRIGHTNESS
GAME MODE
1PLYR START = SELECT ITEM
1PLYR TRIGGER = DO CHECK
•Checking the controls.
--> Page 16
•Adjusting the screen distortion.
--> Page 17
•Adjusting the display color.
--> Page 17
•Setting the sound options.
--> Page 17
•Setting the game options.
--> Page 18
•Setting the coin options.
--> Page 19
•Displaying the coin data.
--> Page 20
•Checking the contents of the MASK ROM
on the game PCB.
--> Page 21
•Setting the gun's target points.
--> Page 22
•Adjusting the brightness of flashes.
--> Page 23
•Return to game mode.
MAIN MENU