15
Tutorial
Playing a Style (Automatic Accompaniment)
7. TUTORIAL
Thischapterisfullydevotedtostep‐by‐stepinstructions,that
wehopemaybeusefultolearnthebasics—inthefield.
PLAYING A STYLE
(Automatic Accompaniment)
A Stylewill be your virtual band for your best solos. Select
oneofthe304Styleswefittedinthismachine…
1 OK, select your favorite musical Style.
Thereareplenty ofStylestochoosefrom.Wewillgowitha
JazzStyle—the“JazzBrush”.
1. SelectthesecondrowofStyles.PresstheleftmostSTYLE
buttontoswitchthelowerLEDon.
2. Now, you are free to press button number 4, called
“JAZZ1”.
TheStyleSelectwindowappears.
3. Press one of the A VOLU
ME/VALUE buttons to select
“JazzBrush”.
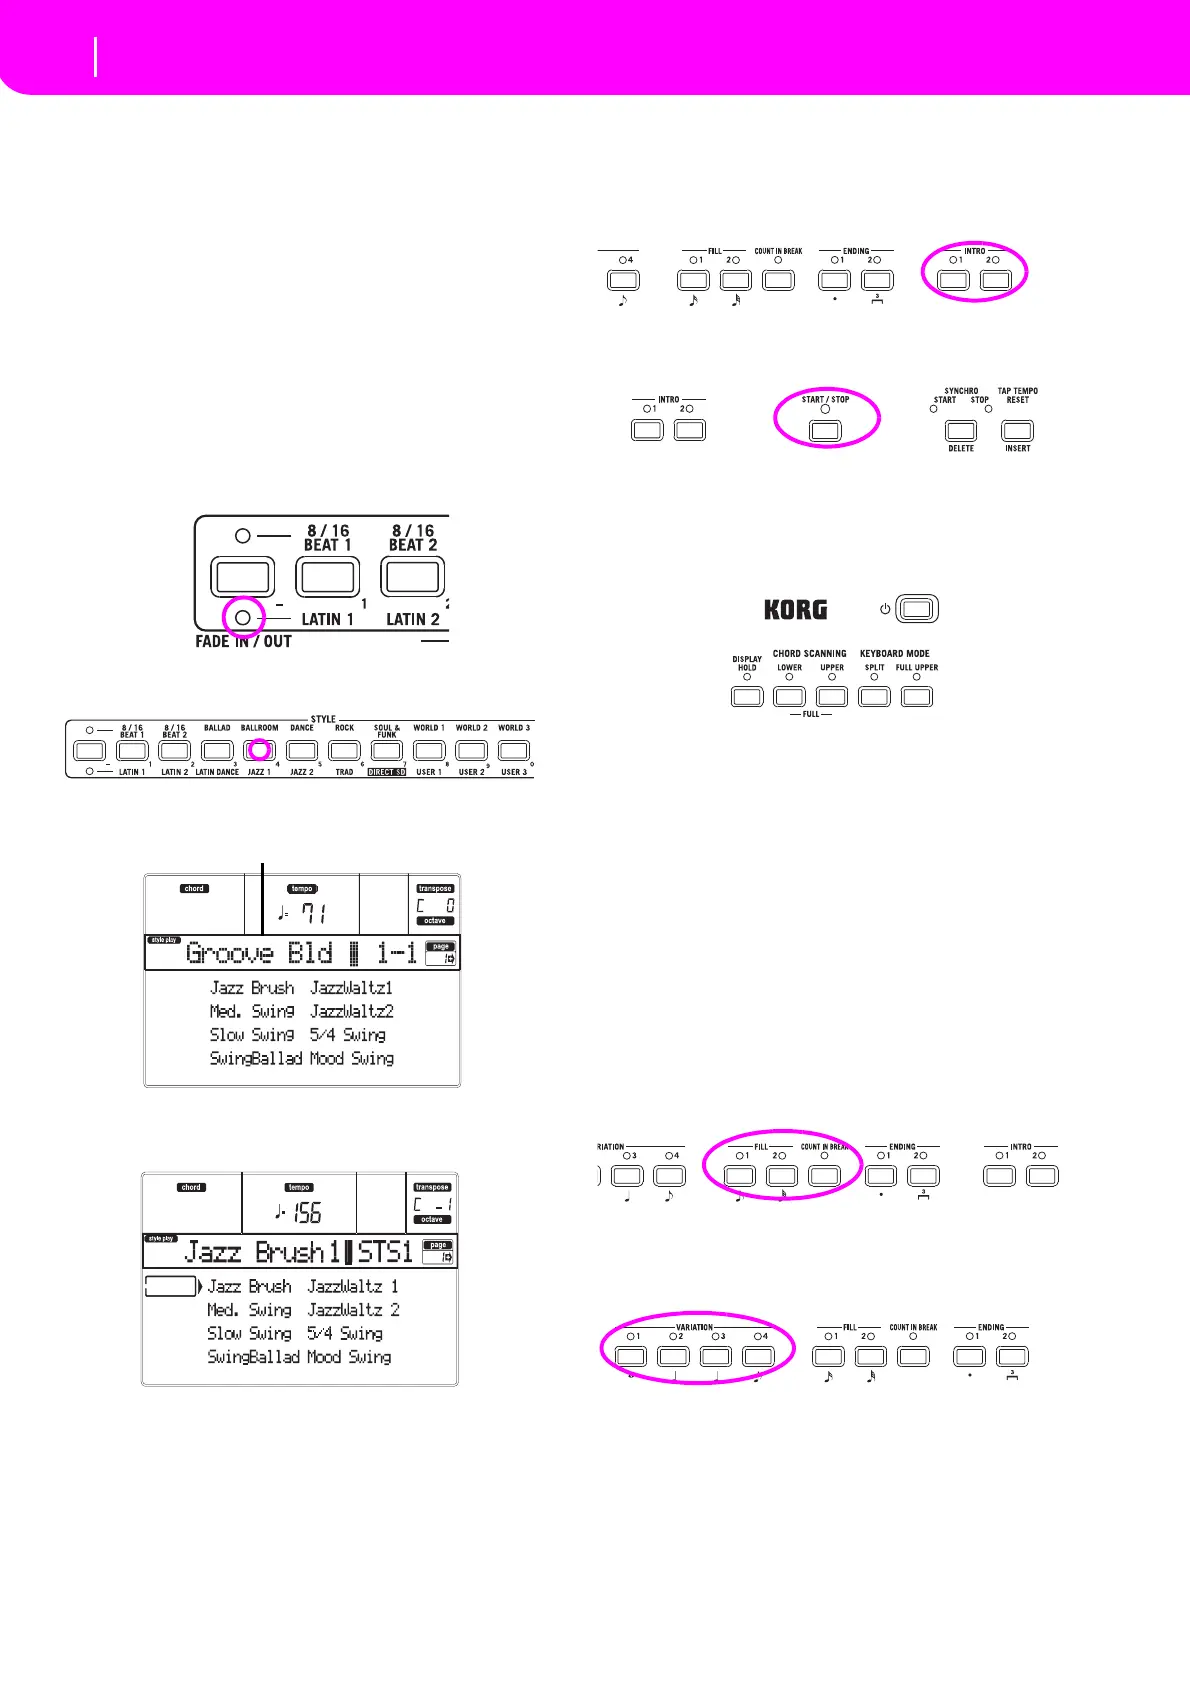
2 Call an Intro.
You can engage an Intro to be played before the Style.Press
INTRO1 or INTR O 2 . The former plays more freely, without
lettingyoud e cidethechords.Thelatterletsyouplayachord
progressionwhileit’splaying.
3 Start the Style!
Playachord,andpresstheSTART/STOPbutton.
Thenbeginplaying.
Usually (when the SPLIT LED is on) chords are recognized
underthesplitpoint,i.e.ontheLowerpartofthekeyboard.
With the UPPERor FULL Chord Scanning mode,you must
playthreeormorenotestohaveachordrecognized.
4 Play your chords and your melody.
Go on playing. As you may notice, the microARRANGER
features a very sophisticated chord recognition engine.Rec‐
ognizedchordsareshowninthedisplay.
5 Make a break—or should we say “a fill”?
Duringyourplaying,youarefreetocallaone‐barbreak.Try
it:
PRESS BREAK
Doyousee?Musicstoppedforonebar.Then,itisbackagain.
Afterawhile,let’sgoforsomethingdifferent…
PRESS FILL1 OR FILL2
Nosilence,thistime.microARRANGERplaysacomplexpas‐
sagetoletyoutakeabreath.FILL1isthesi
mplerone,where
FILL2 is more sophisticated. Usually, you will use FILL1
whenplayingwithVariations1and2(themosteasy),FILL2
whenworkingwithVariations3and4(morecomplexones).
6 Select other Variations.
TherearefourVARIATIONbuttons.Thesearefourdifferent
versionsofthesameStyle.Trythemall!
YoucangotoaVariationafteraFill.JustpressaFILLbutton,
then,immediatelyafterpressaVARIATIONbutton.