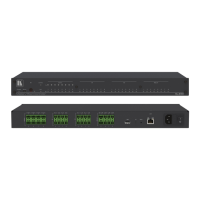
Connecting to FC-18 via Ethernet
You can connect to the FC-18 via Ethernet using either of the following methods:
• Directly to the PC using a crossover cable (see Connecting the Ethernet Port Directly to
a PC on page 9).
• Via a network hub, switch, or router, using a straight-through cable (see Connecting the
Ethernet Port via a Network Hub or Switch on page 11).
If you want to connect via a router and your IT system is based on IPv6, speak to your IT
department for specific installation instructions.
Connecting the Ethernet Port Directly to a PC
You can connect the Ethernet port of the FC-18 directly to the Ethernet port on your PC using
a crossover cable with RJ-45 connectors.
This type of connection is recommended for identifying the FC-18
with the factory configured default IP address.
Press the front panel ON and OFF buttons simultaneously to show the current device IP
address on the display connected to the HDMI output of the FC-18.
After connecting the FC-18 to the Ethernet port, configure your PC as follows:
1. Click Start > Control Panel > Network and Sharing Center.
2. Click Change Adapter Settings.
3. Highlight the network adapter you want to use to connect to the device and click Change
settings of this connection.
The Local Area Connection Properties window for the selected network adapter appears
as shown in Figure 4.