Basic Operation
3-23
14
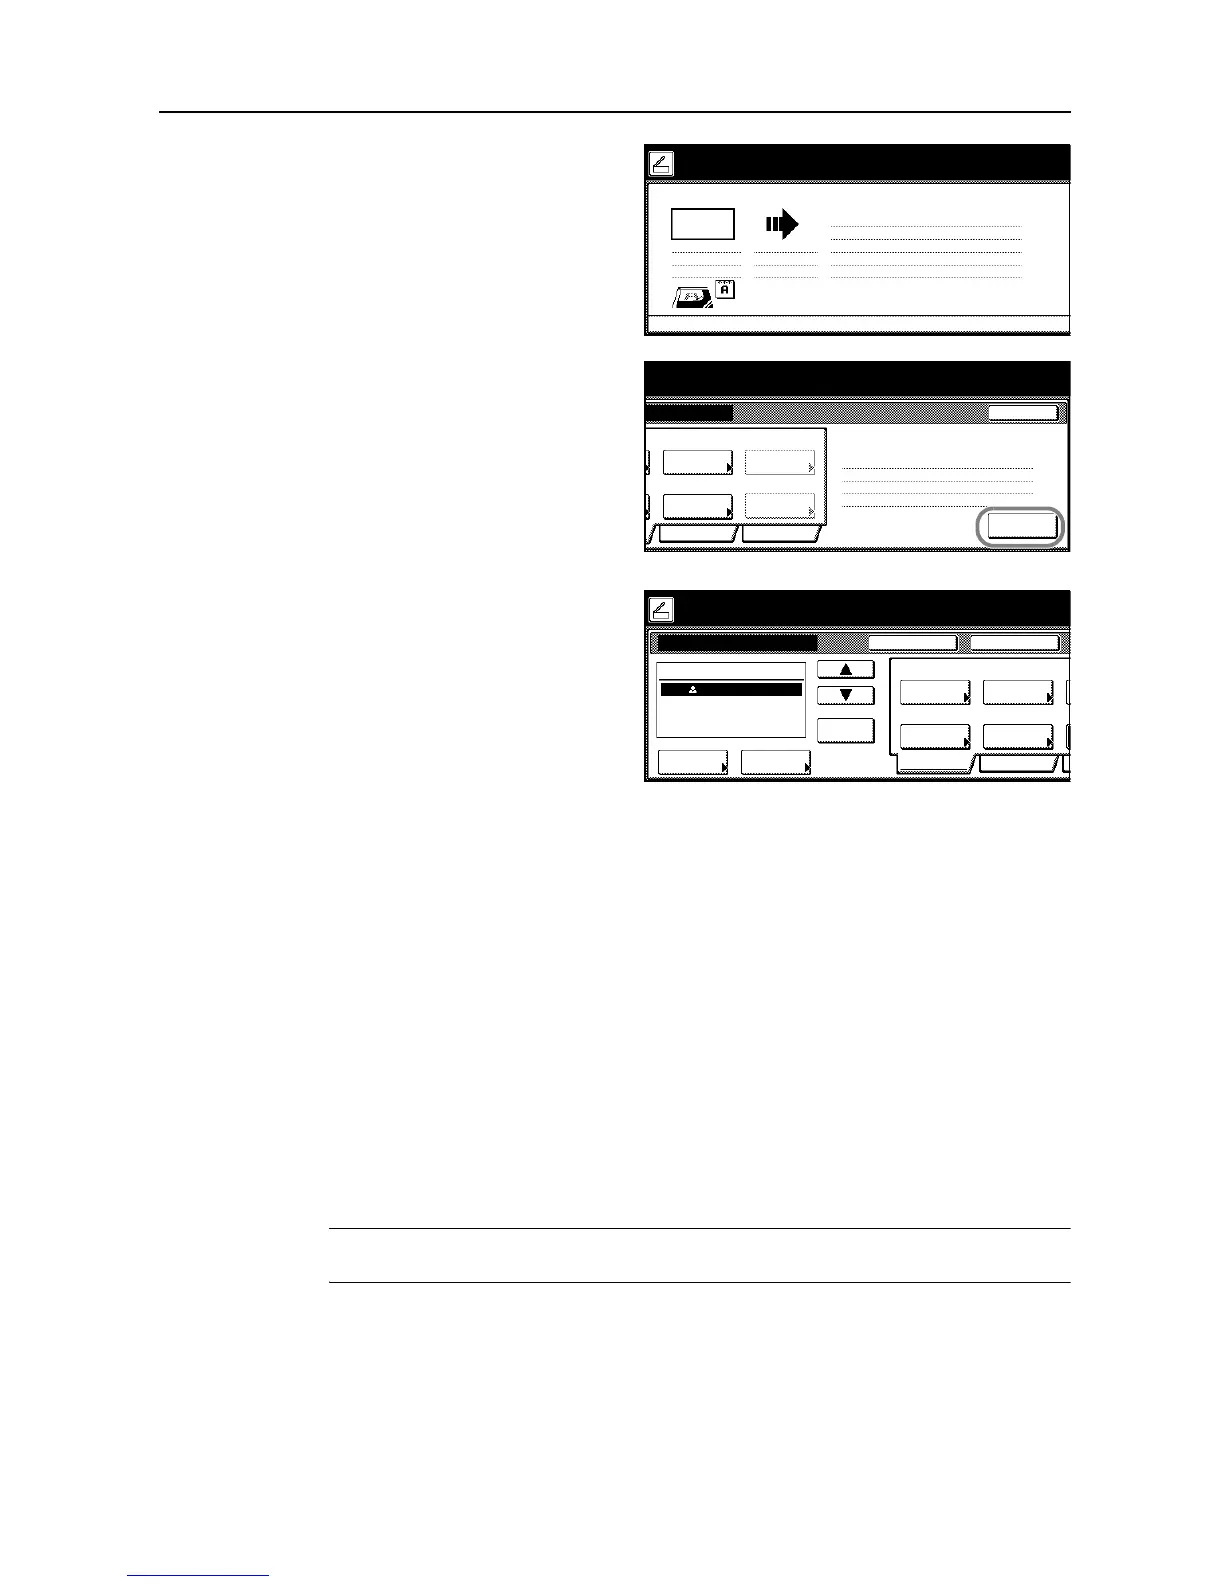
Confirm settings, place the original, and
press the Start key.
Scanning of the original begins.
If continuous scan is enabled, proceed
to Step 15. If continuous sending is
enabled, proceed to Step 16.
15
If [Batch Scanning] is set to [On] from
[Edit] from the scanner settings screen,
after scanning is complete, a screen
prompt appears asking whether to
continue scanning or to finish.
To continue scanning, place the next
original, select scanner settings as
necessary and press the Start key.
When done, press [Scanning finished].
16
If [Continuous TX] is enabled from the
scanner settings screen, after a
transmission is complete, the scanner
settings screen is displayed with the
same settings used in the previous
transmission.
To continue, place the next original,
select scanner settings as necessary
and press the Start key.
To end the operation, press [Cancel] ([Job cancel]).
Scan an Image for Scan to PC
Use Scan to PC to save scanned original images as files to a folder on a computer. Access to this
feature is provided by installing the Scanner File Utility on the target computer.
Before using Scan to PC
Configure the following before using Scanner File Utility for the first time.
1
Install Scanner File Utility on the sending computer.
2
Launch Scanner File Utility and register the folders to save image files.
3
From the operation panel, register the IP address of the target computer, a registration name and a
save number.
In the save number entry field, enter the same number (from 001-100) as registered for the save
folder in Scanner File Utility.
NOTE: Refer to Modifying Common Address Book on page 2-35 for how to add to the Common
Address Book from the operation panel.
Now scanning originals.
1 sided
Orig. Page
Top Edge
11×8½"
User name:
Send
SCAN0006_nnn.jpg
Send E-mail
8½×11"
08/0

 Loading...


