3
• Do not use direct or high pressure water jets to clean the
appliance.
• Do not use corrosive products to clean the oor beneath the
appliance.
3 SAFETY AND CONTROL DEVICES
SAFETY THERMOSTAT
The manufacturer will not be liable for any damage or in-
jury resulting from failure to observe the following rules.
• The appliance is equipped with a manual reset safety ther-
mostat which interrupts heating when the operating tempera-
ture exceeds the maximum permitted value.
• To restore appliance operation, press the thermostat reset
button. This procedure must only be carried out by a quali-
ed, authorized technician.
4 DISPOSAL OF PACKAGING AND THE APPLIANCE
4.1 PACKAGING
The packaging is made using environmentally friendly mate-
rials. The plastic recyclable components are:
• the transparent cover, the bags containing the instructions
manual and nozzles ( made of polyethylene - PE.).
• the straps (in polypropylene - PP).
4.2 APPLIANCE
Recyclable materials account for over 90% of the nished ap-
pliance's weight (stainless steel, aluminum sheet, copper.... ).
The appliance must be scrapped in compliance with current
regulations governing such disposal.
• It must be disposed of properly.
• Make the appliance unusable before scrapping.
RISKS DUE TO NOISE
• As regards airborne acoustical noise emissions, the A-
weighted sound pressure level is below 70 dB(A).
INSTRUCTIONS FOR INSTALLATION
REMINDERS FOR THE INSTALLER
The manufacturer will not be liable for any damage or in-
jury resulting from failure to observe the following rules.
• Read this manual carefully. It provides important information
for safe installation, use and maintenance of the appliance.
• Installation, conversion to a different type of gas and applian-
ce maintenance must be carried out by qualied technicians
authorized by the manufacturer, in compliance with current
safety standards and the instructions given in this manual.
• Identify the specic appliance model. The model number is
detailed on the packaging and on the appliance data plate.
• The appliance must be installed in a well-ventilated room.
• Do not obstruct any air vents or drains present on the ap-
pliance.
• Do not tamper with appliance components.
5 REFERENCE STANDARDS AND LAWS
Install the appliance in compliance with current safety regula-
tions.
6 UNPACKING
Check the state of the packaging and in the event of damage,
ask the delivery person to inspect the goods.
• Remove the packaging.
• Remove the protective lm from the exterior and interior pa-
nels. Use a suitable solvent to remove any residual adhesive
from the panels.
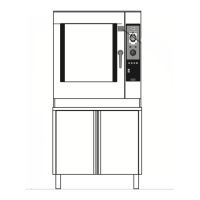
7 POSITIONING
• The overall dimensions of the appliance and the position of
connections are given on the installation diagram at the start
of this manual.
• The appliance can be installed singly or in combination with
other appliances in the same product range.
• The appliance is not suitable for integrated installation.
• Position the appliance at least 10 cm from adjacent walls.
This distance can be reduced in the presence of non-combu-
stible walls or heat-insulated walls.
• Level the appliance by means of the height-adjustable feet.
• The countertop appliance weighing less than 40kg, where
installed singly, must be secured using the anged feet pro-
vided.
8 CONNECTIONS
The position and dimensions of connections are given in the
installation diagram at the start of this manual.
8.1 ELECTRICAL CONNECTIONS
Check that the appliance is designed to operate at the voltage
and frequency of the power supply present on site. Check the
details given on the appliance data plate.
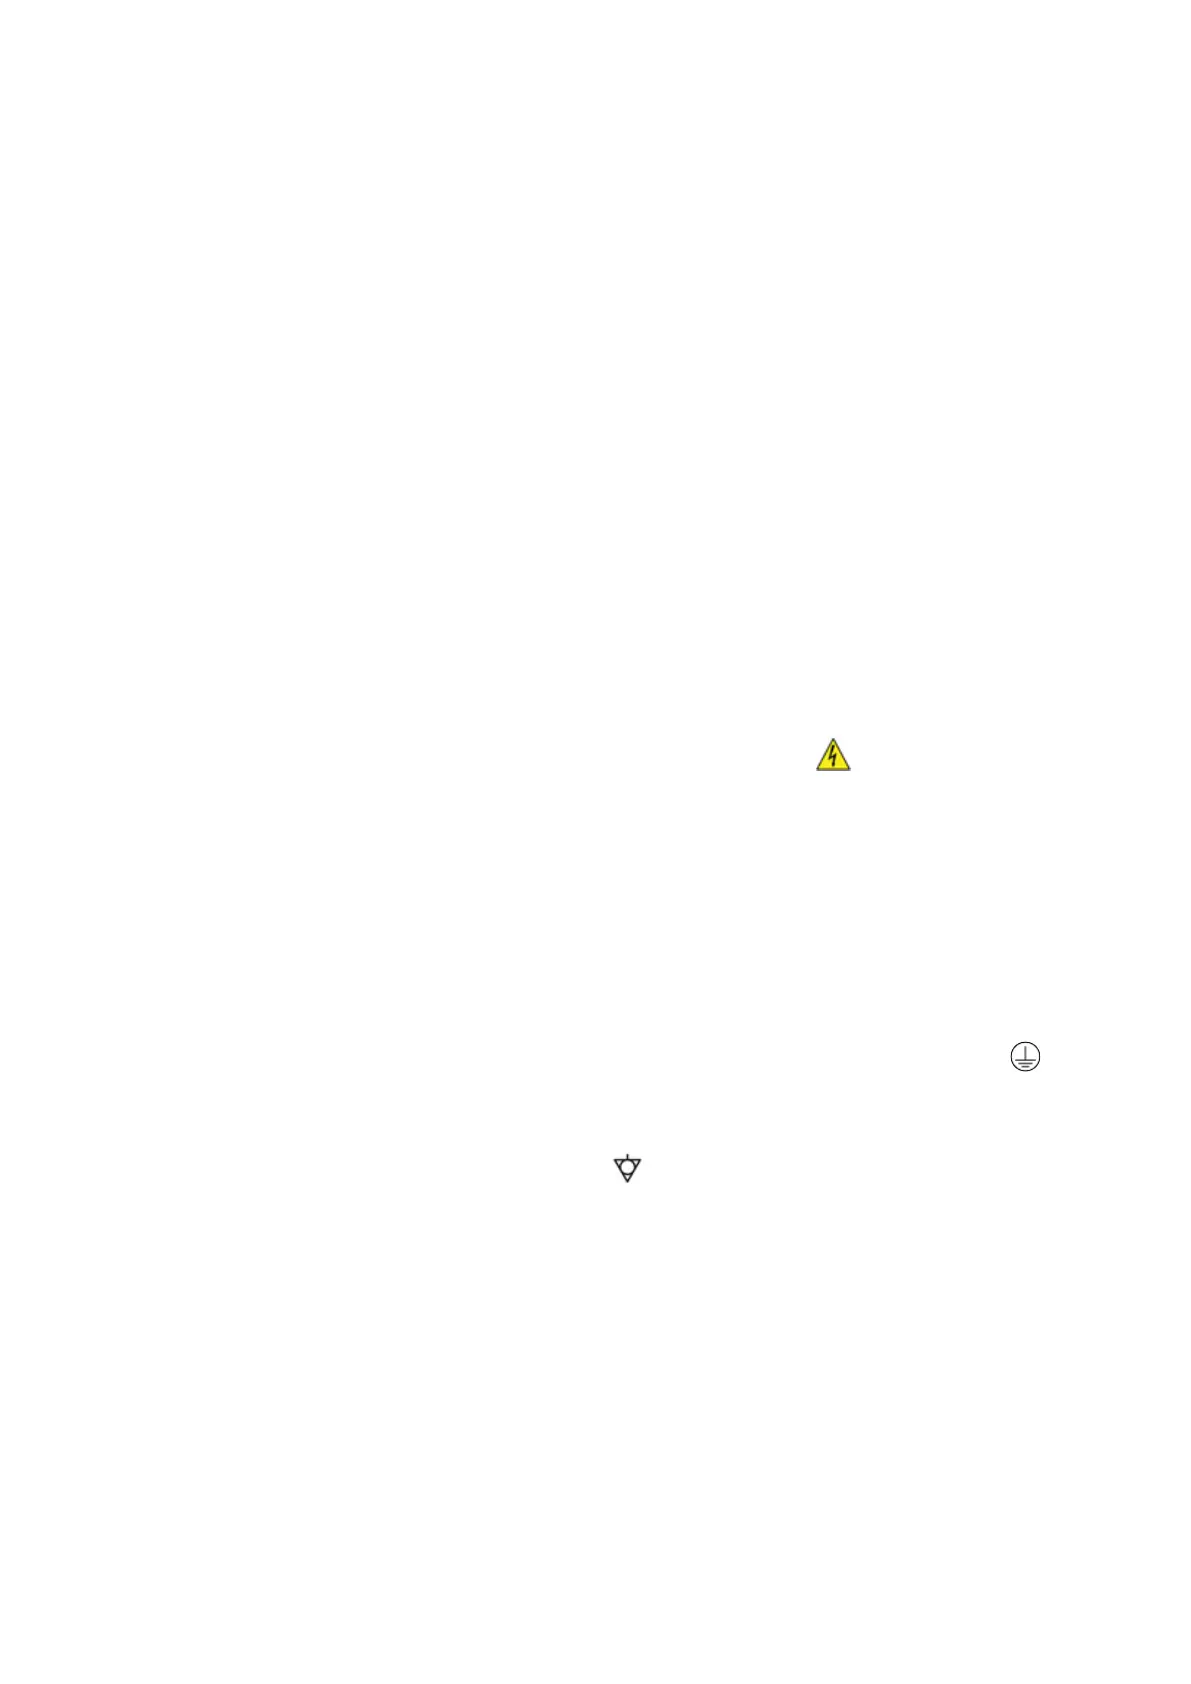
Where used, the symbol indicates:
CAUTION - HAZARDOUS VOLTAGE.
• For electrical connection, use a rubber-sheathed exible ca-
ble which is oil resistant, type H05RN-F or H07RN-F.
• If the power supply cable is damaged, it must be replaced
by the manufacturer or the technical after-sales service or,
in any case, by a suitably qualied technician, so as to avoid
any risk whatsoever.
8.2 PROTECTIVE EARTH AND EARTH BONDING CON-
NECTIONS
Connect the appliance to an efcient ground circuit. Connect
the earth conductor to the terminal with the symbol located
next to the main terminal board.
Connect the metal structure of the appliance to the equipoten-
tial node. Connect the conductor to the terminal with the symbol
on the outside part of the bottom.
• This symbol indicates that the appliance must be included in
an equipotential system connected in compliance with cur-
rent regulations.
9 COMMISSIONING
See Chapter " INSTRUCTIONS FOR MAINTENANCE".
INSTRUCTIONS FOR USE
REMINDERS FOR THE USER
The manufacturer will not be liable for
any damage or injury resulting from fai-
lure to observe the following rules.
 Loading...