NMS045 Reference Manual Securing the Pole 3-13
3.5 Securing the Pole
After installation and calibration, put the pole back to its upright
position.
Step 1 Gently pull the rope until the pole tips back into place.
Step 2 Secure the bolt using a 3/4” wrench.
Step 3 Remove carabiners and secure with padlock.
Step 4 If a security band is purchased, wrap around case and
secure with lock.
3.6 Calibrating the 831C
TAKE NOTE For best results,
use Larson Davis Precision
Acoustic Calibrators and
Larson Davis Microphone-
Preamplifiers.
Refer to your calibrator and microphone-preamplifier product manuals
for specific requirements in performing the acoustic calibration.
Tools Needed
• Keys for removing locks, and tools for opening box and putting
the pole in the tip down position.
• Calibrator like the Larson Davis CAL200 or CAL250.
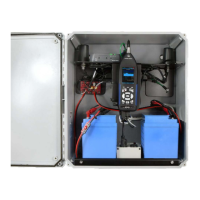
• Access to the 831C in the box, or a mobile device with Internet
access.
Step 1 The pole should be in the tip down position. See 3.3.1
"Positioning the Pole Tip-Down" on page 3-2.
Step 2 If windscreen is over microphone, then remove. Holding
windscreen and b ird spike together, unscrew the
assemblies until they come apart.
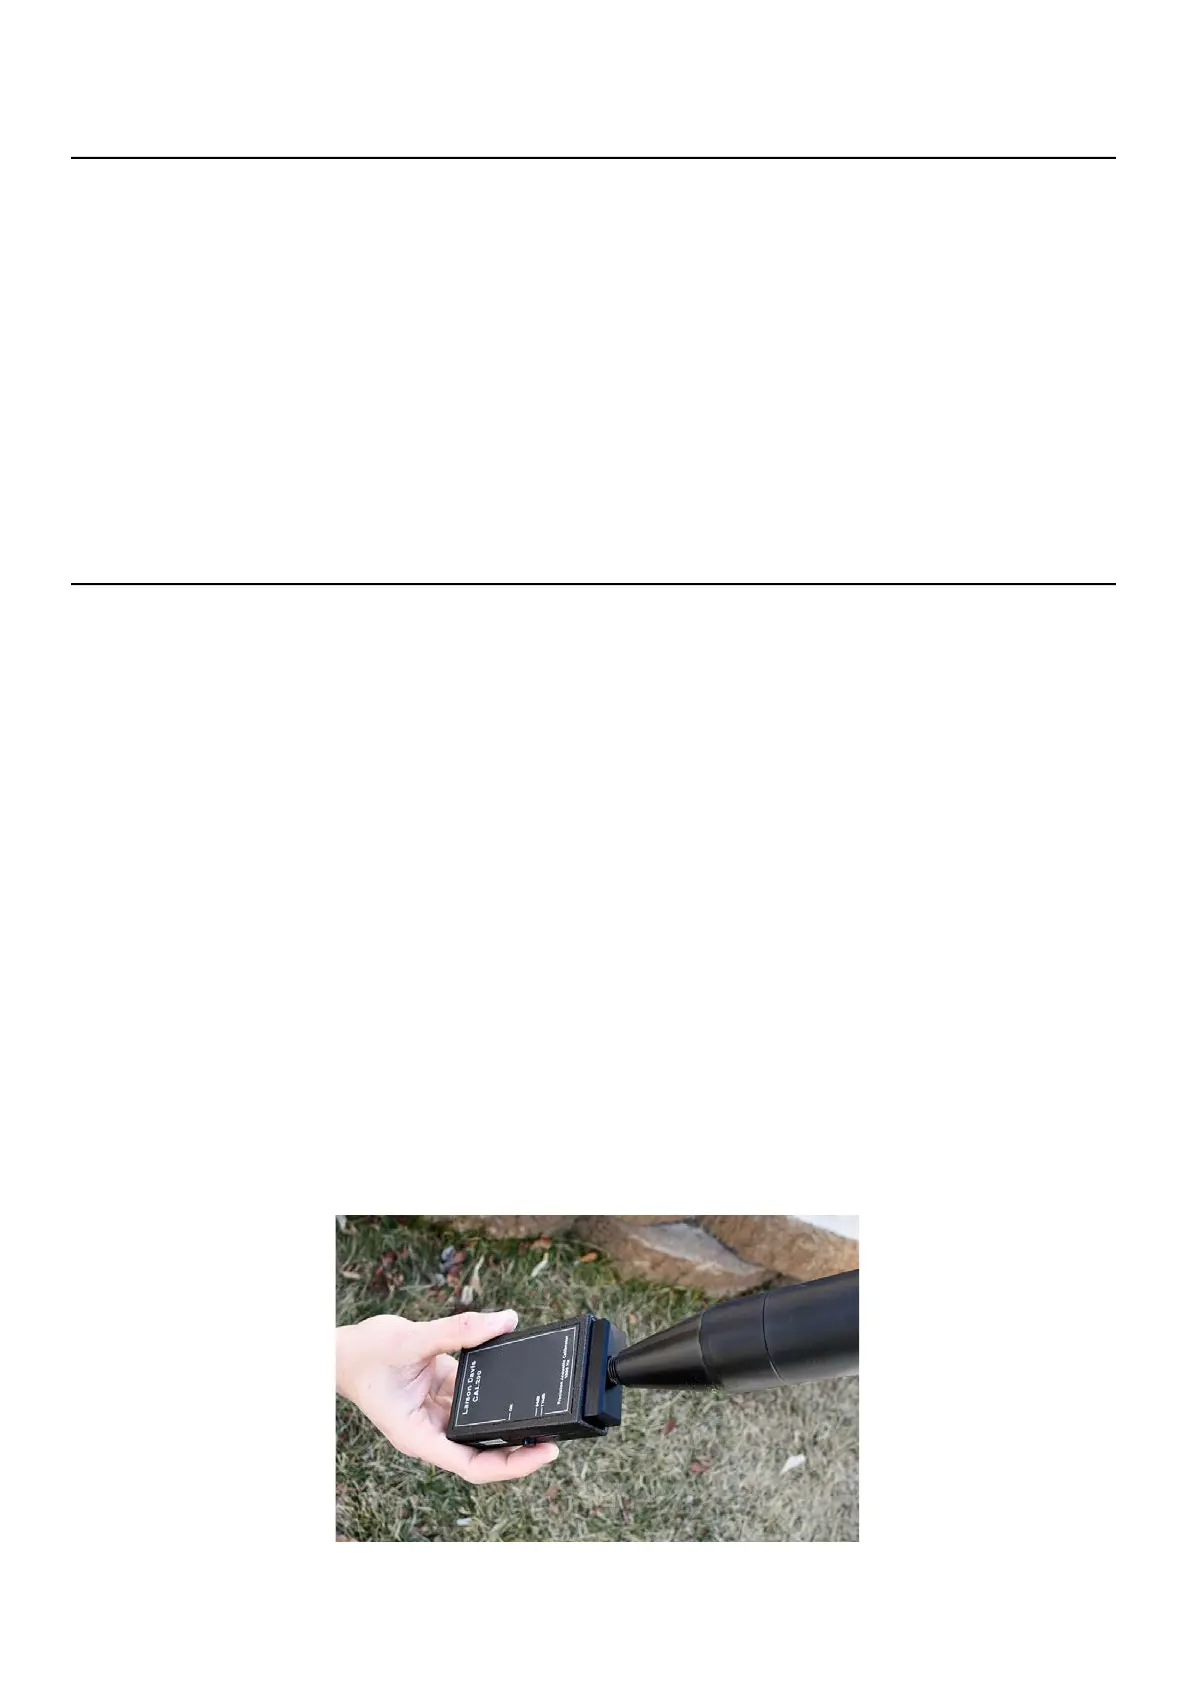
Step 3 Place calibrator over microphone. Apply it carefully to
avoid sudden large pressure changes to the microphone
diaphragm.
FIGURE 3-18 CAL200 Calibrator