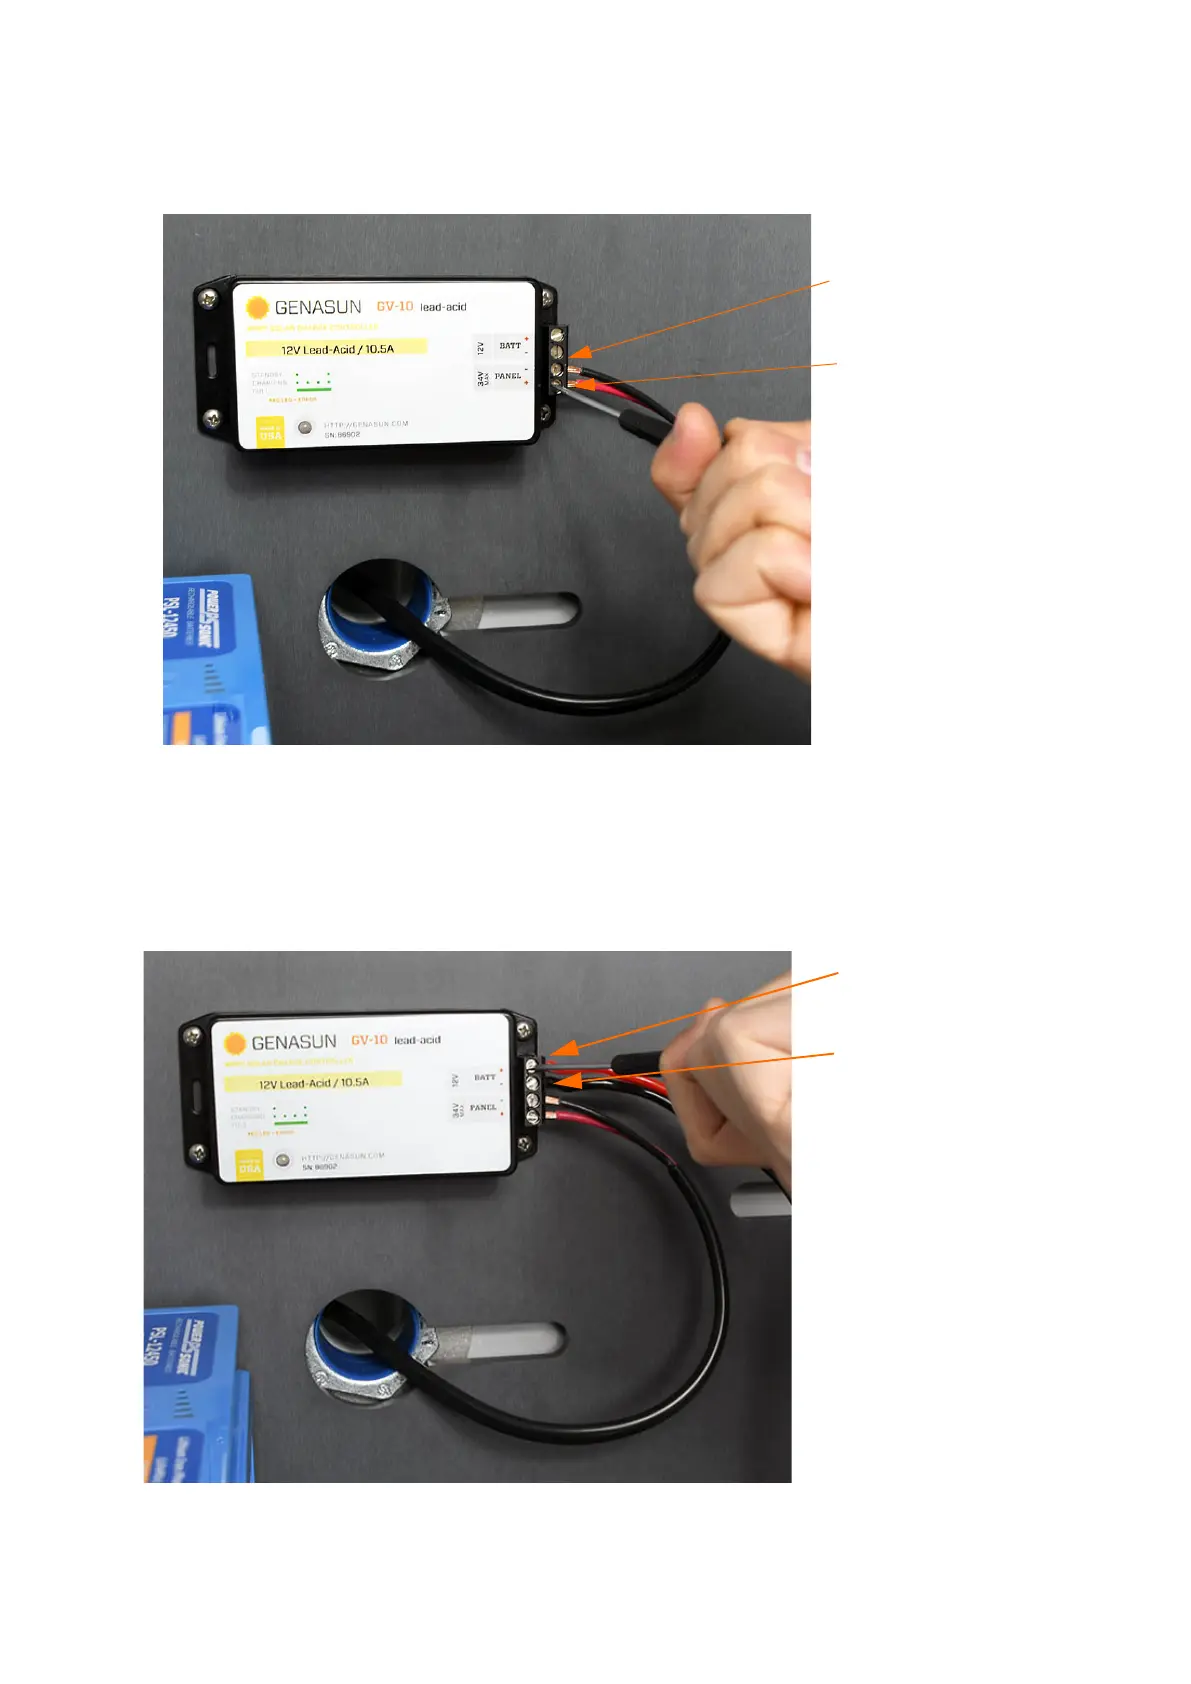
NMS045 Reference Manual Solar Installation 4-5
correct cable ends, then tighten down. Black to negative,
red to positive.
FIGURE 4-5 CBL233-12 to Solar Charger
Step 10 Connect CBL226-03 to the solar charger in the space
marked Battery. Loosen the screws, insert the correct
cable ends, then tighten down. Black to negative, red to
positive.
FIGURE 4-6 CBL226-03 to Solar Charger
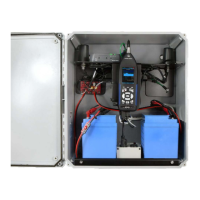
Step 11 After the plate has been placed into the box (see "Step 2"
on page 3-4), connect CBL226-03 to the control power
Black to negative
Red to positive
Red to positive
Black to negative
 Loading...