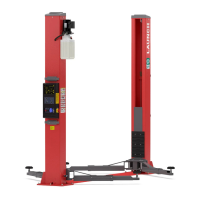
LAUNCH Electronic Two-post User’
23
To get the correct and safety installation, please follow
the following installation steps.
Wear the safety goggles
Use hard alloy drill-bit.
Don’t use the drill-bit with wearing exceeding the
tolerance.
The drill and concrete surface should be kept
perpendicular.
Let the drill work itself. Don’t apply the extra force,
and don’t ream the hole or allow the drill to wobble.
The drilling depth of hole is based on the length of
anchor Bolt .The distance from the Bolt head to the
concrete floor should be more than twice of the Bolt
diameter.
Remove the dust from the hole.
Gently tap the Bolt into the hole till the washer rests
against the base plate of column.
Fasten Bolts
10.2.4 Install the floor plate, top beam
10.2.4.1 Install the floor plate
TLT235SBA
、
、、
、
TLT235SBA
(
((
(
E
)
))
)、
、、
、
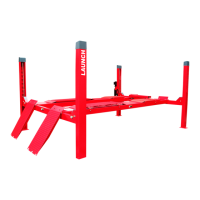
TLT240SBA Models
:
Position the offside column at the designated chalk line
location, carefully making the base align with the chalk line
layout. Insert the floor plate into the U gaps of the base
seat of two columns.
Note:
Since the offside column is not fixed to the ground,
you must operate carefully to avoid the falling of
the column.
The wire protective pipe on the floor plate must be
in same direction with the pipe on the column near
the base. And the floor plate would be placed in
front position.
10.2.4.2 Install the top beam
TLT240SCA
、
、、
、
TLT235SCA
(
((
(
U
)
))
)
Models
:
::
:
Position the offside column at the designated chalk location.
Lift the top beam to its high position, and use four M12 Bolt
s, washers and lock nuts to fix it with the columns (as
shown in Fig. 9a). When installing the top beam, ensure
the above micro switch support bracket adjacent to the
power side column. In Fig 9a:The symmetric top pulleys
are to be installed at position 1
、
1″,asymmetric top pulleys
are to be installed at position 2
、
2″.
Note: Since the offside column is not fixed to
the ground, you must operate carefully to avoid the
falling of the column.
(C) Diagtools; www.diagtools.eu; diagtools@diagtools.lv; Pernavas 43A, Riga, Latvia, LV-1009; +37129416069