36
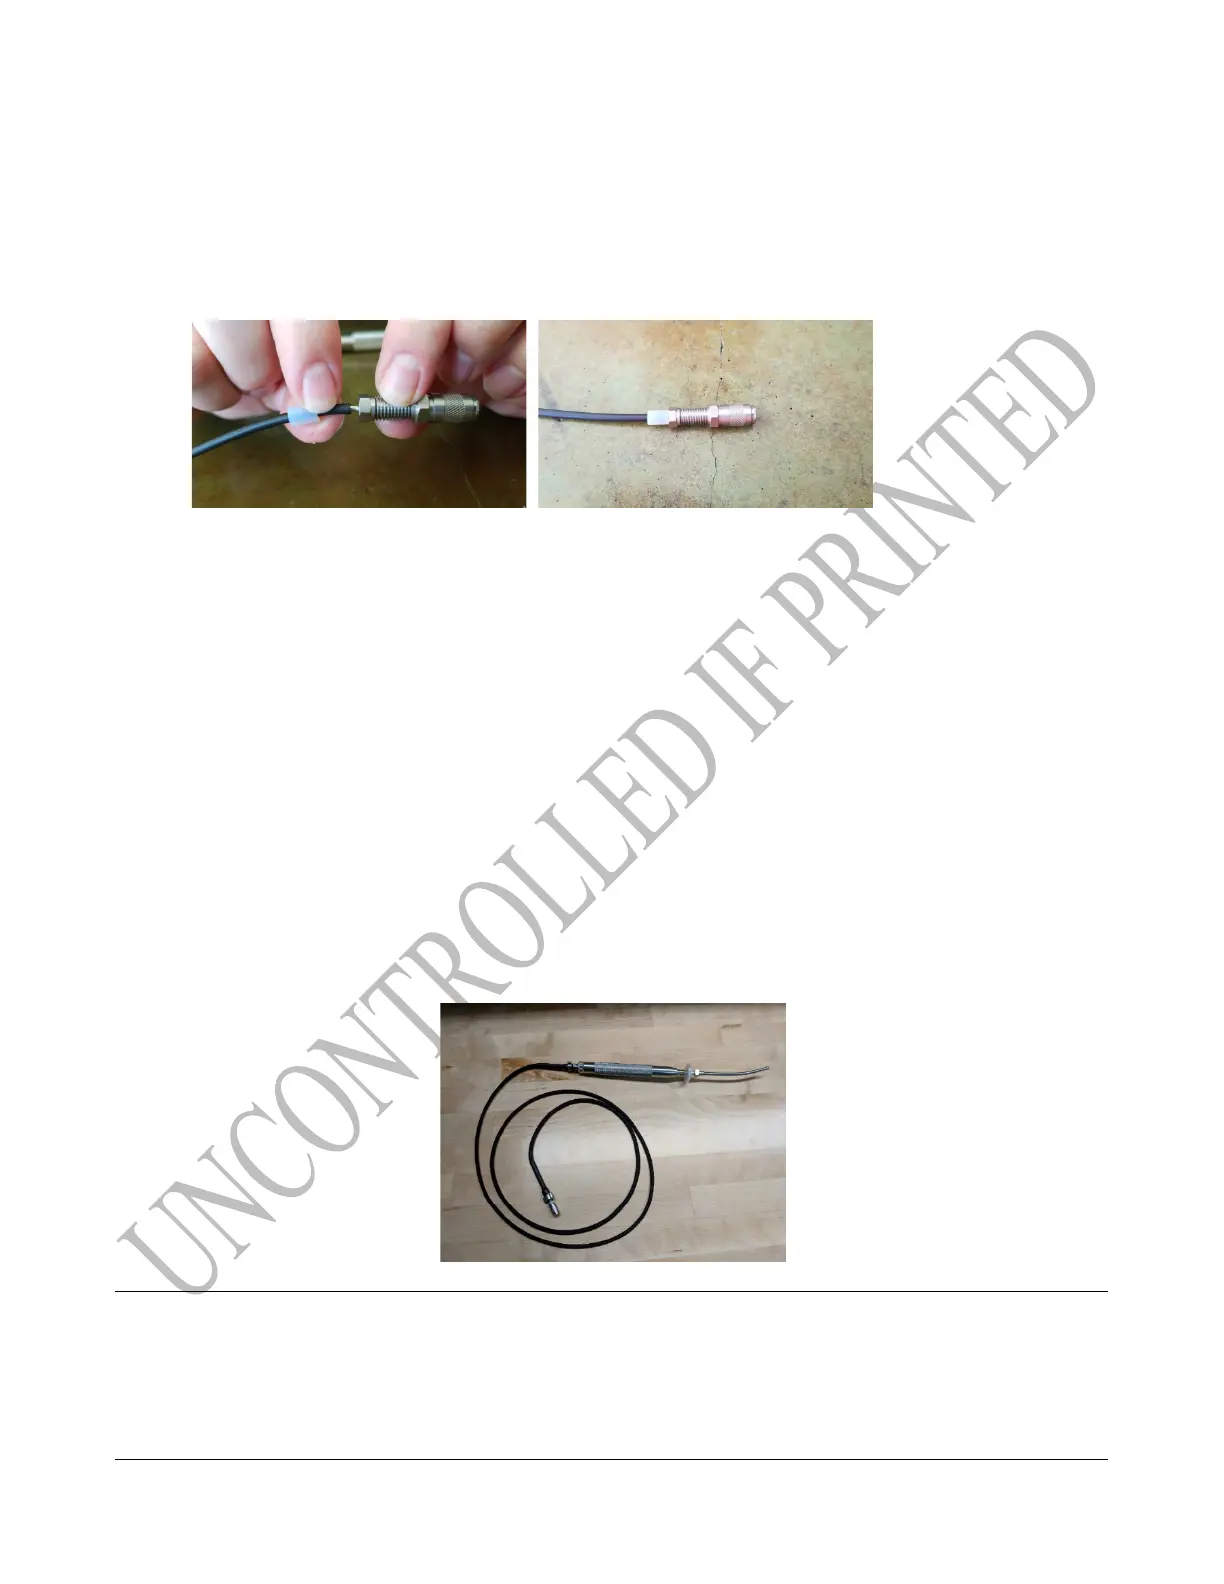
14. Slide the white Collar (LDAR#42420) over the tubing and away from the edge.
15. Slide the Tubing onto the 1/16” barb side of the Quick Disconnect. Slide the Collar forward
onto the barb until it and the Tubing are flush with the base of the Quick Connect.
Tech Tip: Do not try to fully seat the Tubing onto the barb. The Collar will push the tubing
the rest of the way onto the barb. If the tubing cannot move forward you will create a bubble.
16. Slide the Sheath over the threaded portion of the Quick Disconnect, again making sure it is on
far enough that it will be covered by the heat shrink, but not so far that there are errant strands
sticking out from under the Heat Shrink.
TECH TIP: You want strands extending all the way to the top of the threaded section. Trim
off any that extend past the threaded section.
17. Slide the Heat Shrink over the barb, then shrink it down over the Sheath and the Quick
Disconnect with the Heat Gun, follow “Heat Gun Tips” above and work from the Tubing
side toward the Quick Disconnect.
18. Slide the Large Pinch Clamp (LDAR#42093) over the Heat Shrink covered Quick
Disconnect and tighten it the same way you tightened the Small Pinch Clamp
(LDAR#42091) in step 10 above.
Probe Inspection (Part 2):
13. To ensure that the probe repair has been successful, follow the “Weekly Probe Integrity Inspection”
procedure outlined in this manual.