35
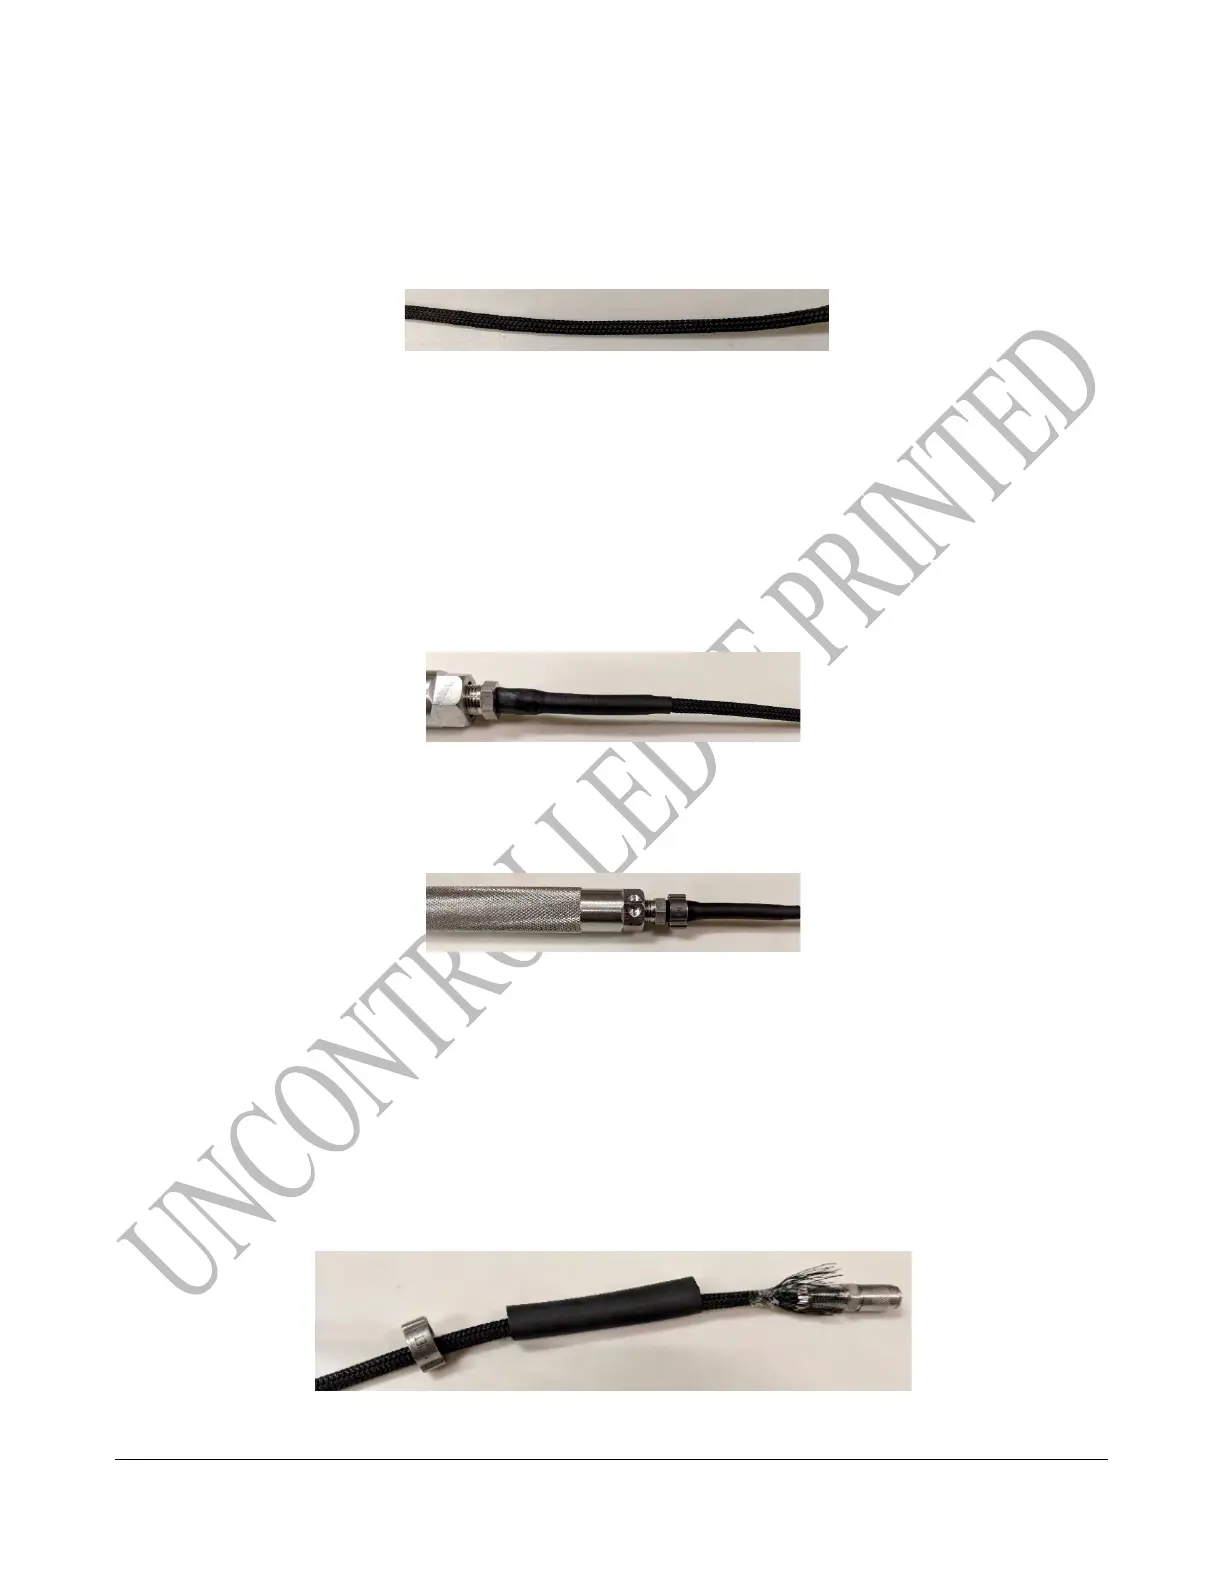
7. Use the Rod (LDAR#42099) provided with tool kit to feed the Tubing (LDAR#42083)
through the Sheath (LDAR #42082).
.
8. Slide the Sheath over the Barb at the base of the probe Handle, far enough to cover the barb
but not so far that it has errant strands sticking out once the heat shrink is in place.
TECH TIP: You must have some fraying to allow the Sheath to fit over the barb.
9. Insert 2 ½ inches of Large Heat Shrink (LDAR #42094) over the Sheath covered barb, then
heat it with the Heat Gun following the “Heat Gun Tips” outlined above.
REMINDER: It is important to use the heat gun provided with the Probe Repair Tool Kit. Use
of a different tool may result in the melting of the Sheath material.
10. Slide the Small Pinch Clamp (LDAR #42091) over the Heat Shrink then crimp in place
using the Crimping Pliers. Lightly crimp one side and then the other. Once they are crimped
lightly, crimp each side tightly.
11. Starting at the Handle slowly work the Sheath down toward the Quick Disconnect end of the
probe to ensure that there are no kinks/bunching.
TECH TIP: The Sheath and Tubing should come out even with frayed ends sticking out.
12. Slide Large Pinch Clamp (LDAR #42093) over the Sheathing.
13. Slide 2 ½ inches of Large Heat Shrink (LDAR #42094) over the Sheathing, according the
photo.