System Installation
PHOTON
+
System Guide 12
4 System Installation
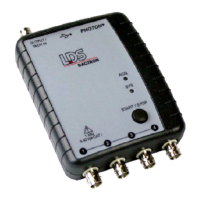
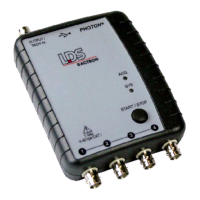
Step 1: PHOTON
+
Driver Installation Instructions
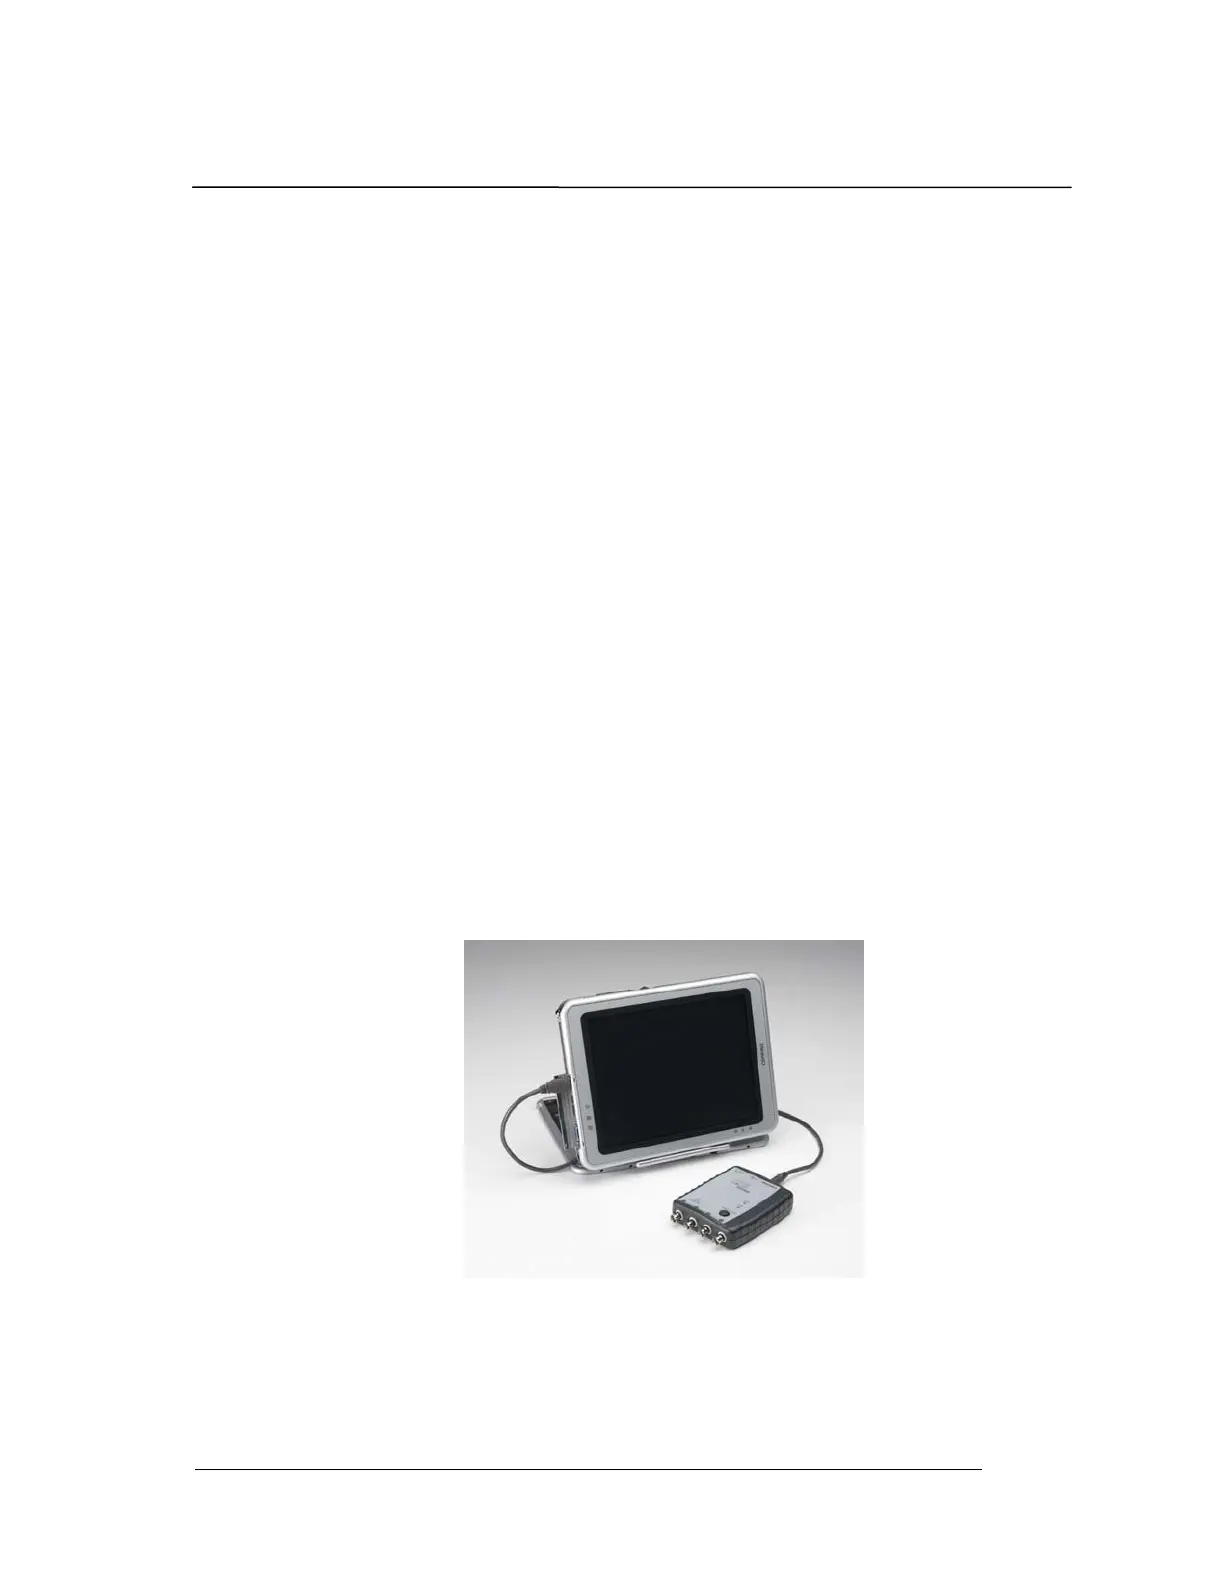
The PHOTON
+
communicates with the PC through a USB
connection. This requires Windows driver software to enable the
USB connection. The USB is a “plug and play” device which
means that after the driver is initially installed, the configuration
of the driver is automatically launched every time the device is
plugged into the USB port. To install the PHOTON
+
driver you
will need the PHOTON
+
hardware, a USB cable, and the
installation CD.
The driver installation process first locates the INF file named
Photon.inf on the CDROM. Using the information provided by
Photon.inf, the device driver file Photon.sys is copied into the
Windows\ System32 \drivers folder. The operating system
registers the PHOTON
+
device in its registry so the next time the
PHOTON
+
is plugged in it can be identified. Finally the
Photon.inf file is copied into the Windows\INF or its subfolder
for future use.
Follow the instructions below to install the PHOTON
+
driver
software.
1. Turn on the PC and launch Windows. Your PC must use a
Windows Vista or XP operating system. If you are using
Windows Vista you must be logged on with administrator
privileges to install a new driver.
2. Place the Install CD into the CD drive.